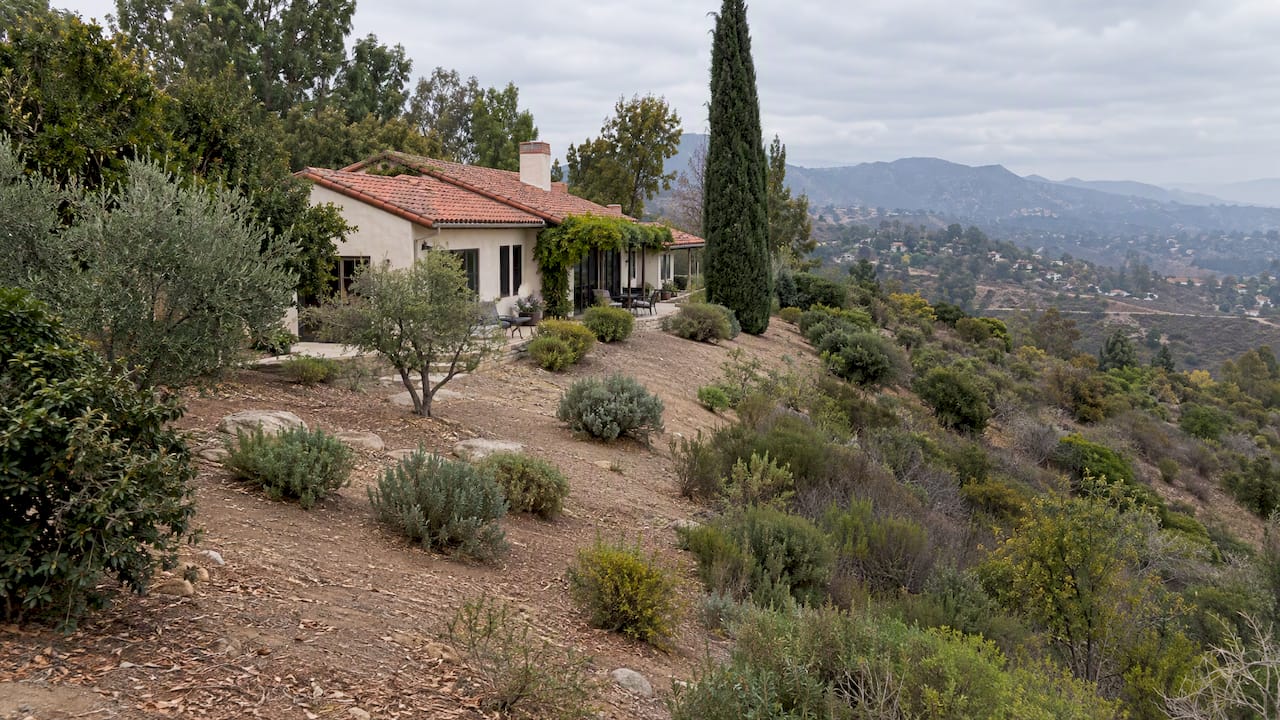
Drought-tolerant landscaping means designing a yard around plants and systems that thrive on minimal water once established, instead of fighting your climate with a thirsty lawn. The single best first move is shrinking irrigated turf and hydrozoning what remains, grouping plants by water need. Layer in mulch and drip irrigation right away, and you’ll cut outdoor water use fast without losing the yard’s character.
TL;DR:
- Reducing turf by at least a third and grouping plants by water need can significantly lower irrigation requirements in a drought-tolerant landscape.
- Installing drip irrigation before planting and applying mulch effectively conserves water and supports plant health during establishment.
- Native plants combined with climate-appropriate species from similar regions create a diverse, resilient, and bee-friendly landscape.
- Deep, infrequent watering for one to three years is essential to develop drought-tolerant plants’ root systems and prevent future failures.
- Investing in soil health and a properly designed irrigation system can reduce water use by up to 75 percent and improve landscape performance.
Table of Contents
- Quick Checklist: 10 Immediate Actions to Start Your Drought-Tolerant Landscaping Project
- How Do You Plan a Water-Wise Yard Layout?
- What Plants Work Best for Drought-Tolerant Landscaping?
- Why Does Soil Health Matter More Than People Think?
- Which Irrigation Systems Save the Most Water?
- What Are the Best Lawn Alternatives and Hardscape Options?
- How Long Does It Take for a Drought-Tolerant Landscape to Establish?
- How Much Does Drought-Tolerant Landscaping Cost?
- Design Ideas: What Does Drought-Tolerant Landscaping Actually Look Like?
- Why This Matters: Lessons From 25 Years of Water-Wise Design
- The Editorial Take: What Drought-Tolerant Landscaping Advice Gets Wrong
- Ready to Redesign Your Yard for Water Efficiency?
- Sources
Quick Checklist: 10 Immediate Actions to Start Your Drought-Tolerant Landscaping Project
You don’t need a full redesign to start saving water this month. Work through these steps in roughly this order, whether you’re doing it yourself or briefing a contractor.
- Measure your turf area. You can’t shrink what you haven’t quantified, so grab a tape measure or satellite view first.
- Cut lawn size by at least a third. Even a partial reduction lowers your irrigation demand immediately.
- Group plants by thirst level. Thirsty plants near the house, drought-tolerant plants at the edges.
- Install drip lines before you plant. Retrofitting irrigation after installation costs more and disturbs roots.
- Add 3 to 4 inches of mulch everywhere exposed soil shows. Bare dirt bakes and loses moisture fast.
- Test your soil’s drainage. Dig a 12-inch hole, fill it with water, and time how fast it drains.
- Pick three or four hardy anchor plants first. Build the design around what survives, not what looks nice on a tag.
- Skip landscape fabric under mulch. It suffocates soil life more than it blocks weeds.
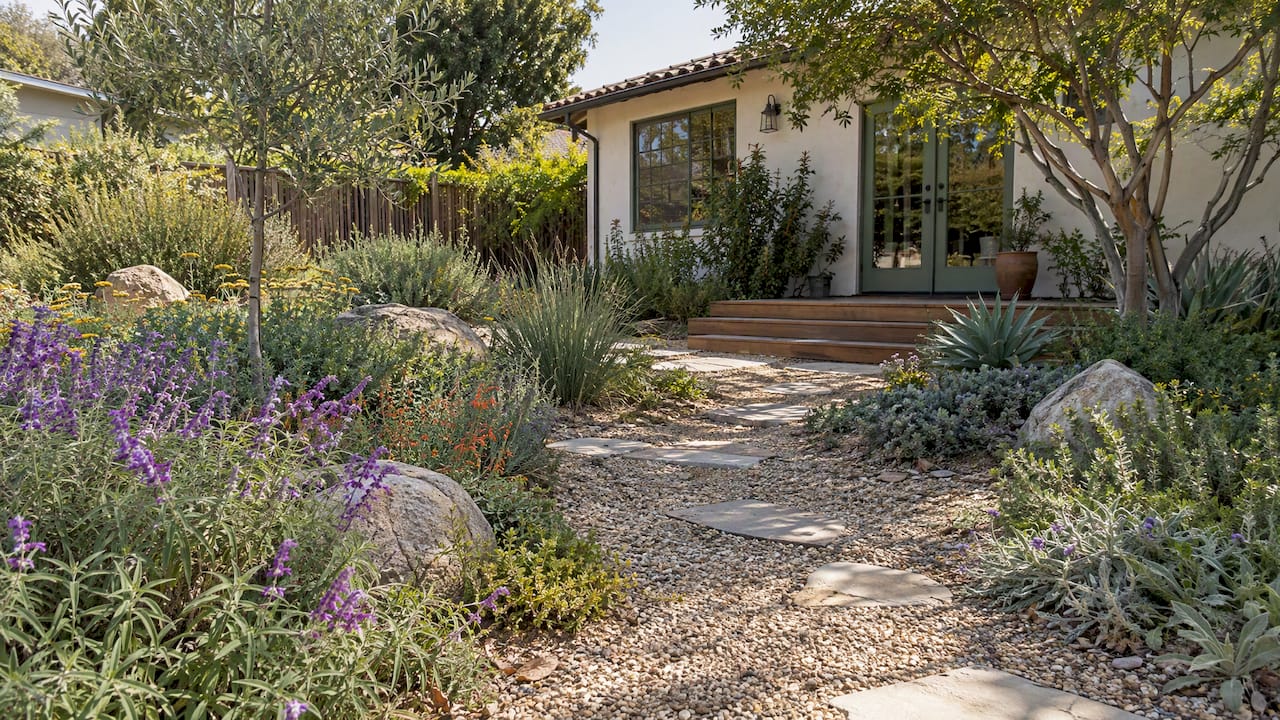
- Sketch a Mediterranean palette if you want silvery foliage, lavender, and rosemary framing a gravel path.
- Try a native meadow look if you’d rather have grasses and wildflowers that move in the wind.
- Consider a succulent rock garden for a small, low-maintenance focal bed near an entry or mailbox.
Pick two or three of these to tackle this weekend. Momentum matters more than perfection.
How Do You Plan a Water-Wise Yard Layout?
Start by hydrozoning: dividing your yard into zones based on how much water each area actually needs, then irrigating each zone independently. University extension programs describe three basic zones: an “oasis” near the house for higher-water plants, a transition zone with moderate water needs, and a low-water zone for everything else, according to New Mexico State University’s xeriscape guidance. Wiring separate irrigation valves to each zone means you’re never overwatering drought-tolerant plants just to keep a rose bush alive nearby.
Before you sketch anything, walk your property and answer a few questions:
- Where does the sun hit hardest, and for how many hours a day?
- Which areas slope, and where does water pool or run off?
- What’s your soil type: sandy, clay, or loam?
- Where does drainage already work, and where does it fail?
- Which spots get foot traffic or need to stay functional (paths, seating, play areas)?
Once you’ve mapped that, apply a few core design rules. Keep plants with similar water needs together so no single sprinkler head has to serve both a fern and a sedum. Plan irrigation zones around those groupings, not the other way around. Prioritize shade wherever you can, since a mature tree canopy cools the soil beneath it and reduces evaporation for everything planted nearby. And favor permeable surfaces over solid concrete, since permeable pavers and gravel let rainwater soak in rather than run off into the street.
This is the part most homeowners skip, and it’s the reason so many drought-tolerant landscaping projects underperform. A yard planted well but irrigated poorly still wastes water.
What Plants Work Best for Drought-Tolerant Landscaping?
The native versus climate-analog debate trips up a lot of homeowners. Native plants are adapted to your exact regional conditions and typically support local pollinators better. Climate-analog plants, species from other regions with similar rainfall and temperature patterns, expand your options without sacrificing drought tolerance. Use natives as your backbone and climate analogs to fill gaps in color, texture, or bloom timing.
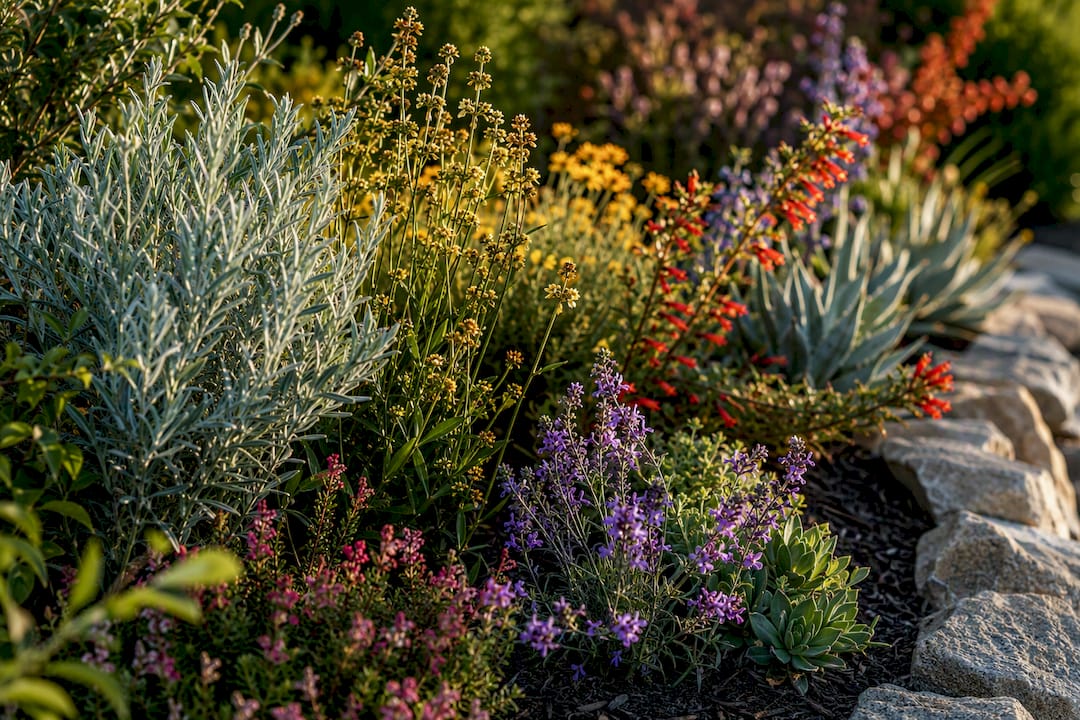
One caution worth repeating: don’t let “drought-tolerant” become code for “gravel and three cacti.” Garden design experts warn against the zero-scape trend precisely because a diverse plant palette does more than look better. It cools the soil, supports pollinators, and builds the kind of biodiversity that a rock yard simply can’t, as BobVila’s water-wise design guide points out.
Here are four starting palettes you can adapt to your region:
- Mediterranean style: lavender, rosemary, santolina, olive trees, and ornamental grasses for silvery, aromatic texture.
- Warm-arid style: agave, yucca, red yucca, and flowering groundcovers like trailing lantana for bold structural contrast.
- Temperate dry style: coneflower, black-eyed Susan, yarrow, and native bunch grasses for a soft, prairie-like feel.
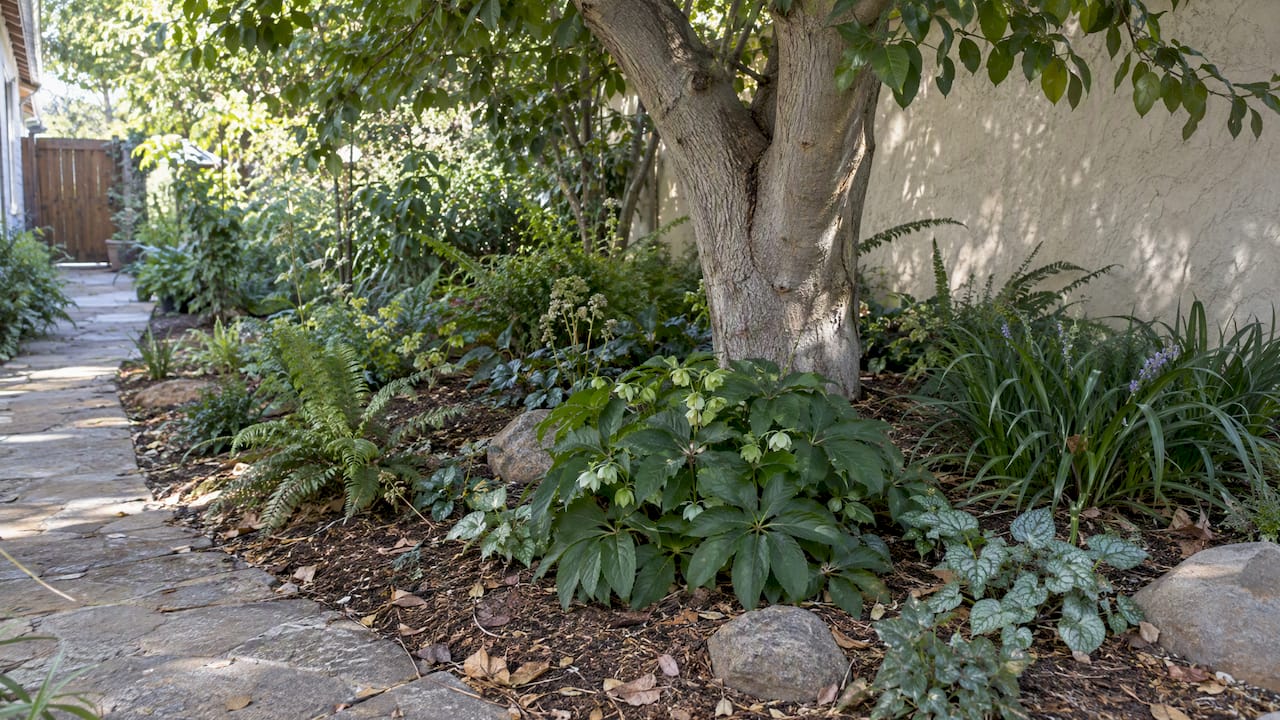
- Shade and groundcover style: creeping thyme, dwarf periwinkle, sedge varieties, and ferns tolerant of dry shade under trees.
For turf alternatives, look at low-growing sedges, clover lawns, or ornamental grasses mowed high. They handle foot traffic reasonably well while using a fraction of the water a traditional cool-season lawn demands. Keep a small patch of real turf only where kids or pets genuinely need it, and treat everything else as fair game for replacement.
Why Does Soil Health Matter More Than People Think?
A soil test tells you what you’re actually working with, and most homeowners skip it entirely. For $15 to $30 through a local extension lab, you’ll learn your soil’s pH, nutrient levels, and texture, information that determines whether your plant choices will even survive. Skipping this step is the most common reason a drought-tolerant landscaping project underperforms in year one.
Whether to add compost depends on what the test shows. Sandy soil that drains too fast benefits from organic matter that helps it hold moisture longer. Heavy clay sometimes needs the opposite: coarser amendments that improve drainage instead of trapping water around roots. If your native soil already supports healthy plant growth, leave it alone. Over-amending can throw off the very conditions your drought-tolerant species evolved to handle.
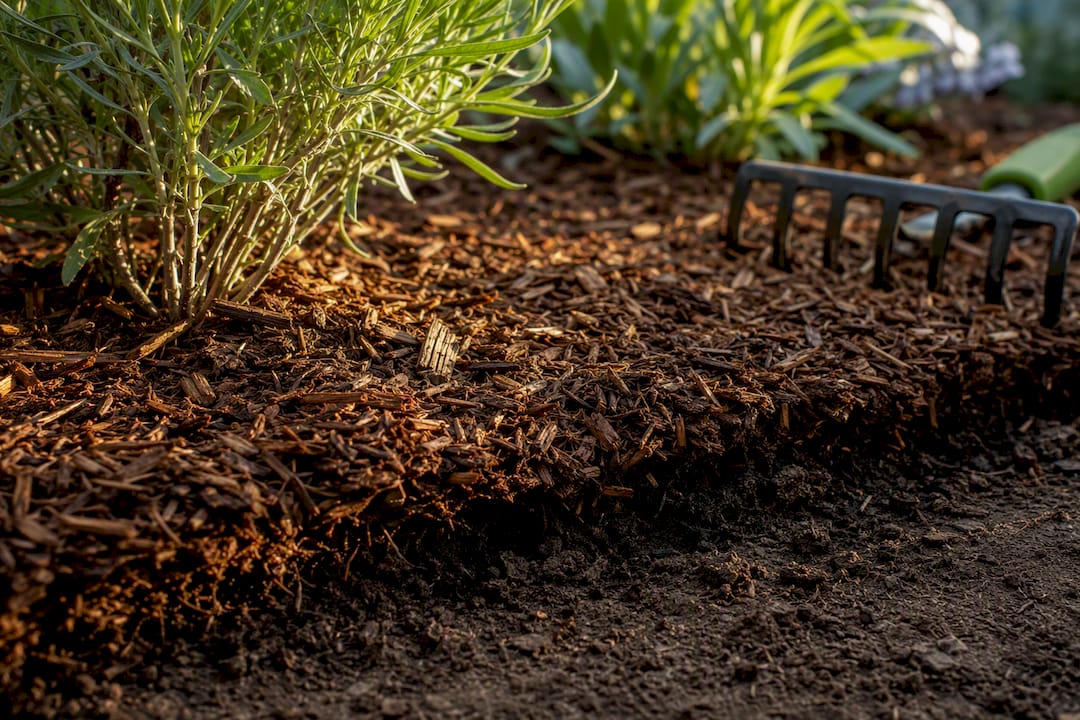
Mulch does the heavy lifting once soil prep is done. A 3 to 4 inch layer of organic mulch (wood chips, shredded bark, or straw) cuts evaporation dramatically and feeds soil biology as it breaks down, per BobVila’s guidance on xeriscape best practices. Skip landscape fabric underneath it. Fabric blocks the natural exchange between mulch and soil, smothers beneficial organisms, and often ends up tangled in roots within a couple of years. Refresh mulch annually, and keep it a few inches back from trunks and stems to avoid rot.
Which Irrigation Systems Save the Most Water?
Drip irrigation beats overhead sprinklers by a wide margin because it delivers water directly to root zones instead of spraying it into the air where wind and sun evaporate a chunk before it ever hits soil. Micro-spray heads split the difference for denser plantings, while subsurface drip works well for trees that need deep, wide root systems.
Efficient irrigation paired with smart scheduling can cut outdoor water use by roughly 30 to 50 percent compared with standard overhead sprinklers, based on Washington State University Extension’s drought-tolerant landscaping research. That’s not a marginal improvement. For a household spending hundreds of dollars a year on landscape irrigation, it’s often the single highest-return change you can make.
A few practical setup notes:
- Use a smart controller with weather adjustment. It automatically skips watering after rain and adjusts for seasonal temperature swings.
- Space emitters wide for trees. Spiral tubing or multiple emitters radiating outward from the trunk encourages deeper, broader root systems than a single emitter parked at the base, according to New Mexico State University’s irrigation guidance.
- Adjust scheduling by season, not by habit. Spring and fall need far less water than peak summer.
- Add a rain barrel or cistern where roof runoff can supplement irrigation for smaller beds and container plantings.
Even a basic drip retrofit on an existing bed pays for itself within a season or two in reduced water bills.
What Are the Best Lawn Alternatives and Hardscape Options?
Turf isn’t inherently bad, it’s just expensive to keep alive in a dry climate. If you want to keep some lawn, shrink it to the footprint you actually use and swap the rest for lower-water alternatives.
- Clover or sedge lawns stay green with far less water and rarely need mowing more than once a month.
- Permeable pavers handle patios and walkways while letting rainwater soak into the ground instead of running off.
- Gravel paths with stepping stones create defined walkways without the maintenance of a solid surface.
- Terracing on slopes slows runoff and gives you flat planting pockets instead of erosion-prone hillsides.
- Dry creekbeds channel stormwater during rain events and double as a design feature the rest of the year, a strategy detailed in the Planting Atlas xeriscape guide.
Keep a small, real turf zone if kids or dogs need a soft place to play. Everything else, the strip along the driveway, the side yard nobody walks through, the slope that’s always struggled, is a candidate for one of these swaps. You lose almost nothing in usability and gain a yard that survives a dry summer without a fight.
How Long Does It Take for a Drought-Tolerant Landscape to Establish?
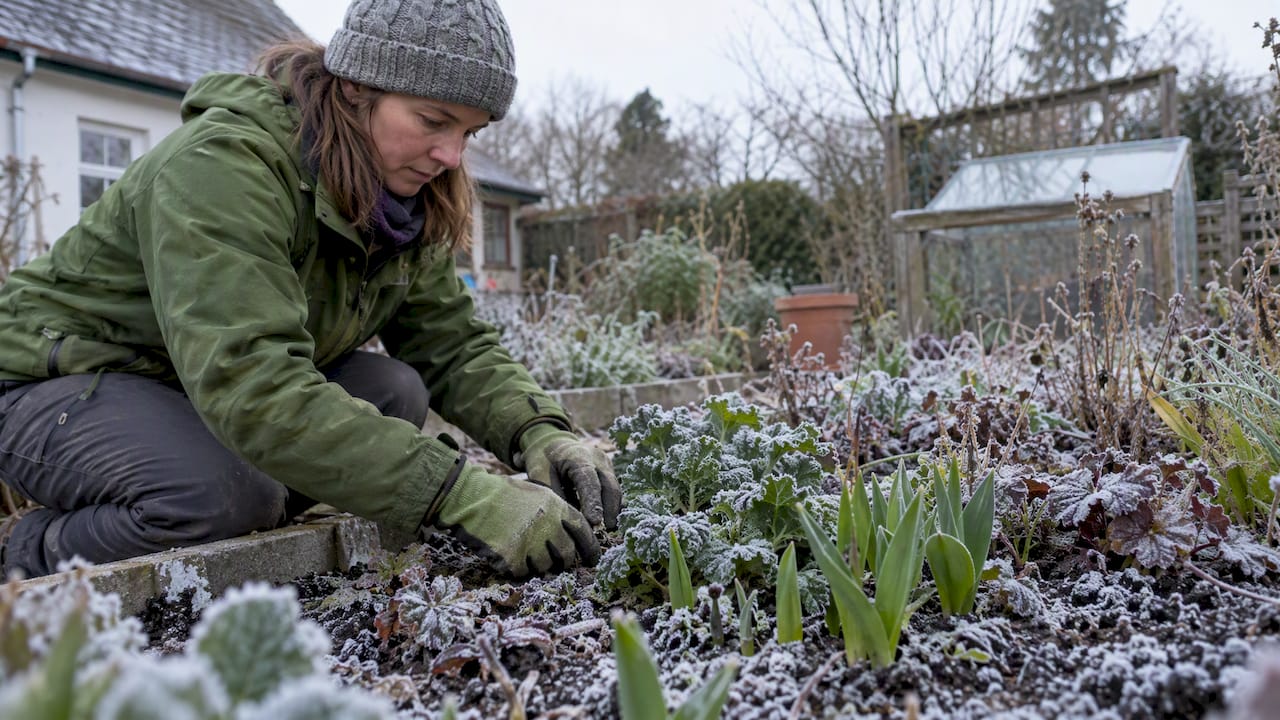
Most people assume “drought-tolerant” means “no water, ever,” starting the day you plant. It doesn’t. University extension research is clear that many drought-tolerant species need consistent supplemental irrigation for one to three years while their root systems develop enough depth to find moisture on their own, per University of Arizona Extension’s xeriscape guidance.
- Year one: water deeply two to three times a week, encouraging roots to grow down instead of staying shallow near a frequently wet surface.
- Year two: taper to once a week, watching for wilting during heat spikes as your signal to adjust.
- Year three and beyond: most established plants need only occasional deep watering during extended dry stretches.
Deep watering, soaking to 12 to 18 inches and letting soil dry between sessions, builds stronger roots than frequent shallow watering, based on Planting Atlas’s design research. Watch for overwatering symptoms (yellowing leaves, fungal spots, mushy stems) and soil compaction, which blocks the root growth you’re trying to encourage.
Pro Tip: Push your finger two inches into the soil before every watering session during year one. If it’s still damp, skip that watering entirely, you’re probably overdoing it.
How Much Does Drought-Tolerant Landscaping Cost?
Costs scale with project size, but the pattern holds across most yards: small conversions are affordable DIY territory, and full-yard retrofits benefit from professional design.
- Small bed conversion (one area, DIY-friendly): a few hundred dollars in plants, mulch, and basic drip components.
- Partial retrofit (front yard or half the property): a few thousand dollars, especially with irrigation redesign.
- Full-yard transformation with hardscape, grading, and professional installation: costs climb into the tens of thousands depending on slope work, materials, and design complexity.
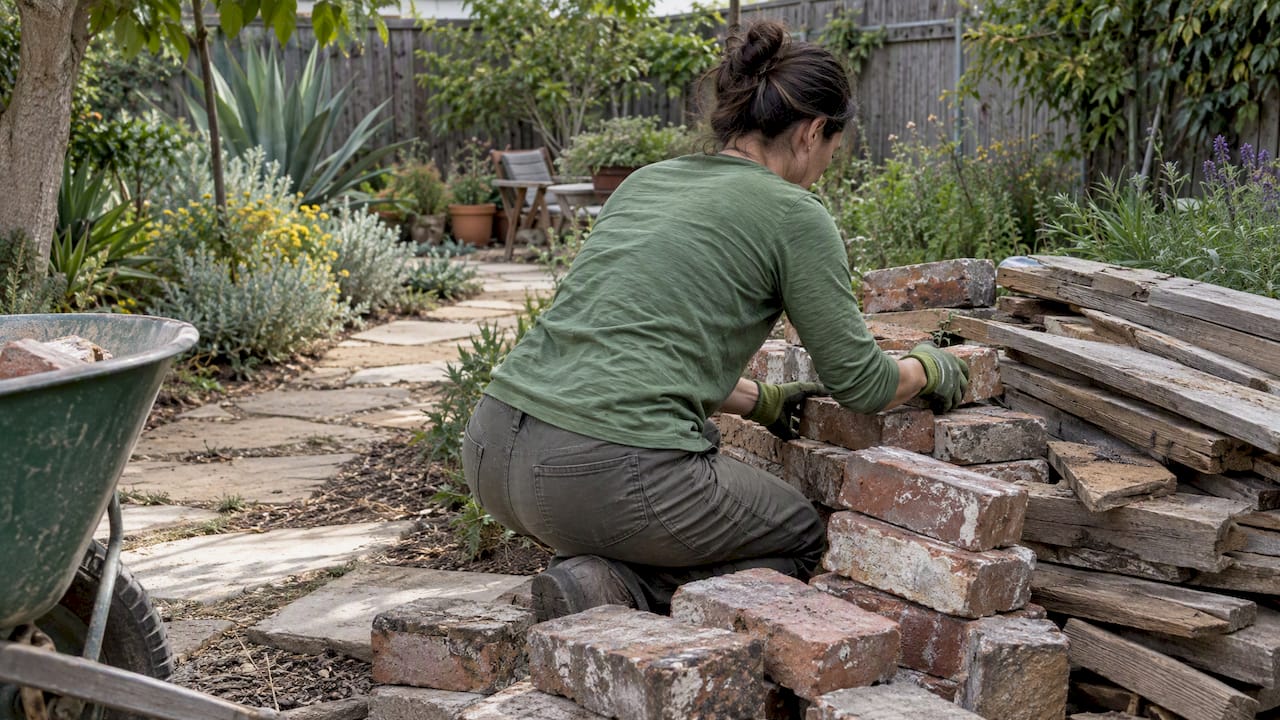
The biggest cost drivers are irrigation redesign, hardscape materials, and soil correction if drainage problems exist. DIY makes sense for plant swaps and mulch. Hire a professional for grading, slope stabilization, or anything involving retaining walls.
If you’re prioritizing spend, put money into soil prep and irrigation first. Xeriscaping done right can cut irrigation needs by 50 to 75 percent, according to Planting Atlas’s water-use research, and that savings compounds every year the system runs. A shade tree is the third high-value investment: it reduces evaporation for everything planted beneath it and cuts summer cooling costs indoors.
Design Ideas: What Does Drought-Tolerant Landscaping Actually Look Like?
Seeing the concept applied to real yard types makes it easier to picture on your own property.
- Front yard curb strip: swap grass along the sidewalk for low grasses and drought-tolerant groundcover, since narrow strips rarely get enough water anyway.
- Parking strip conversion: gravel with stepping stones and clustered succulents handles foot traffic without the maintenance headache of grass.
- Backyard entertaining space: a permeable paver patio surrounded by a reduced lawn footprint keeps the social area functional while cutting irrigated square footage in half.
- Sloped backyard: terracing with dry-stacked stone creates flat planting pockets and stops erosion in its tracks.
- Succulent rock garden: a focal bed near the entry using agave, sedum, and decorative boulders for year-round structure.
- Rain garden: a shallow, planted depression that captures roof runoff and slowly filters it into the ground instead of the storm drain.
- Dry creekbed feature: channels seasonal rainwater through a decorative rock path that stays dry most of the year.
- Mediterranean courtyard: lavender, rosemary, and olive trees around a gravel seating area for a fragrant, low-water retreat.
Pick the one or two that match your yard’s actual use pattern before you commit to a full redesign.
Why This Matters: Lessons From 25 Years of Water-Wise Design
Sacred Garden Designs has spent over 25 years building drought-tolerant landscapes across residential yards and public spaces, work recognized with six Houzz Awards and a feature on HGTV’s Ground Rules. That project history keeps surfacing the same lesson: the yards that fail aren’t the ones with the wrong plants, they’re the ones treated as finished the day installation ends.
The biggest mistake homeowners make with xeriscape is assuming it means zero maintenance. Successful drought-tolerant gardens need real attention during establishment and periodic upkeep after, not a one-time install and walk away.
That pattern shows up across University of Arizona Extension’s research too. Plant diversity, active monitoring in year one, and soil-first thinking consistently separate the yards that thrive from the ones that get ripped out and redone within a few seasons.
The Editorial Take: What Drought-Tolerant Landscaping Advice Gets Wrong
Most drought-tolerant landscaping content online defaults to a false choice: keep your thirsty lawn, or replace it with gravel and three cacti. Neither serves homeowners well. The research backs a plant-forward approach instead, one where diversity, shade, and soil health do more work than rock ever could.
The conventional advice undersells establishment. Plenty of guides make xeriscaping sound like a weekend project that runs itself afterward. It doesn’t. The one to three year establishment window is where most projects succeed or fail, and skipping deep, consistent watering during that stretch is the single most common reason a “drought-tolerant” yard needs replanting.
If you take one thing from this guide, prioritize soil and irrigation design before you buy a single plant. Get those two right, and almost any reasonable plant palette will thrive. Get them wrong, and even the hardiest native species will struggle. Design beauty and water efficiency aren’t in tension. They just require sequencing the work correctly.
— Denise
Ready to Redesign Your Yard for Water Efficiency?
Sacred Garden Designs turns the DIY approach in this guide into a done-for-you project, without the trial-and-error most homeowners hit during establishment years. If you’ve read this far and started wondering whether your slope, soil, or irrigation setup can actually handle a redesign, that’s exactly the kind of site assessment the firm has run for over 25 years across Los Angeles and beyond.
The team’s water-wise landscape design and installation service covers everything this guide walks through: hydrozoning, irrigation zone design, slope stabilization, and plant palettes suited to your specific microclimate, not a generic regional list. That combination of design sense and engineering know-how is why the firm has picked up six Houzz Awards and a spot on HGTV’s Ground Rules. Browse recent project examples and planting strategies for a sense of what’s possible on a yard like yours, then reach out through Sacred Garden Designs to schedule a site consultation and get a real cost estimate for your specific property.