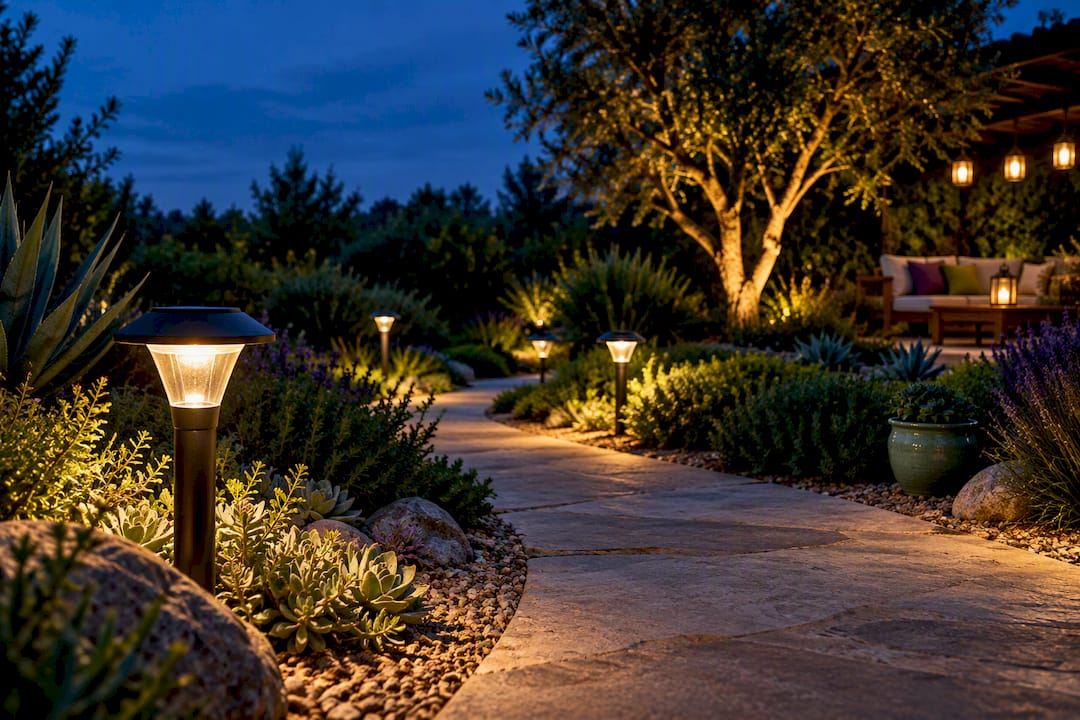
Edible landscaping design means weaving food-producing plants into a yard that still looks intentional, not like a farm plot dropped on a lawn. Pick your integration level first: different levels of integration—from light supplementation with container plants and a few fruiting shrubs, to a hybrid yard mixing ornamentals with food crops, or a near-fully productive landscape incorporating greenhouses, trellised arbors, and dense planting. Whichever level you choose, the plant still has to match its spot: right light, right soil, right water.
TL;DR:
- Edible landscaping can range from small container herbs to nearly full-yard food forests, requiring appropriate plant placement based on microclimate conditions.
- Building a layered design with backbone perennials, structural plants, and focal points enhances both aesthetics and productivity while reducing maintenance.
- Grouping plants by water needs and role, such as drought-tolerant herbs or deep-rooted fruit trees, optimizes irrigation and minimizes resource waste.
- Starting with soil testing, proper mulching, and phased planting helps ensure long-term success and avoids costly mistakes.
- Professional design services typically cost between $1,500 and $2,500, with site assessments crucial for tailoring to specific yard conditions.
Table of Contents
- What Edible Landscaping Design Looks Like at 15%, 50%, and 90%
- Applying Classic Design Principles to a Productive Yard
- Choosing the Right Edible Plants for Each Role
- Laying Out Paths, Beds, and Structures That Work Both Ways
- Getting the Soil and Water Right Before You Plant
- A Phased Timeline From Bare Yard to Full Harvest
- Three Starter Layouts You Can Adapt
- Why This Guide Reflects Real Landscape Design Practice
- What I’d Tell a Friend Before They Plant Anything
- Turning This Plan Into a Real Yard
- Where to Go for Deeper Technical Detail
- Sources
- FAQ
What Edible Landscaping Design Looks Like at 15%, 50%, and 90%
The percentages describe how much of your planted area is doing double duty as food production, and NC State Extension uses this exact framework to lay out example designs for a quarter-acre lot, from light supplementation to near-total food production. Each level asks something different of your time and your water bill.
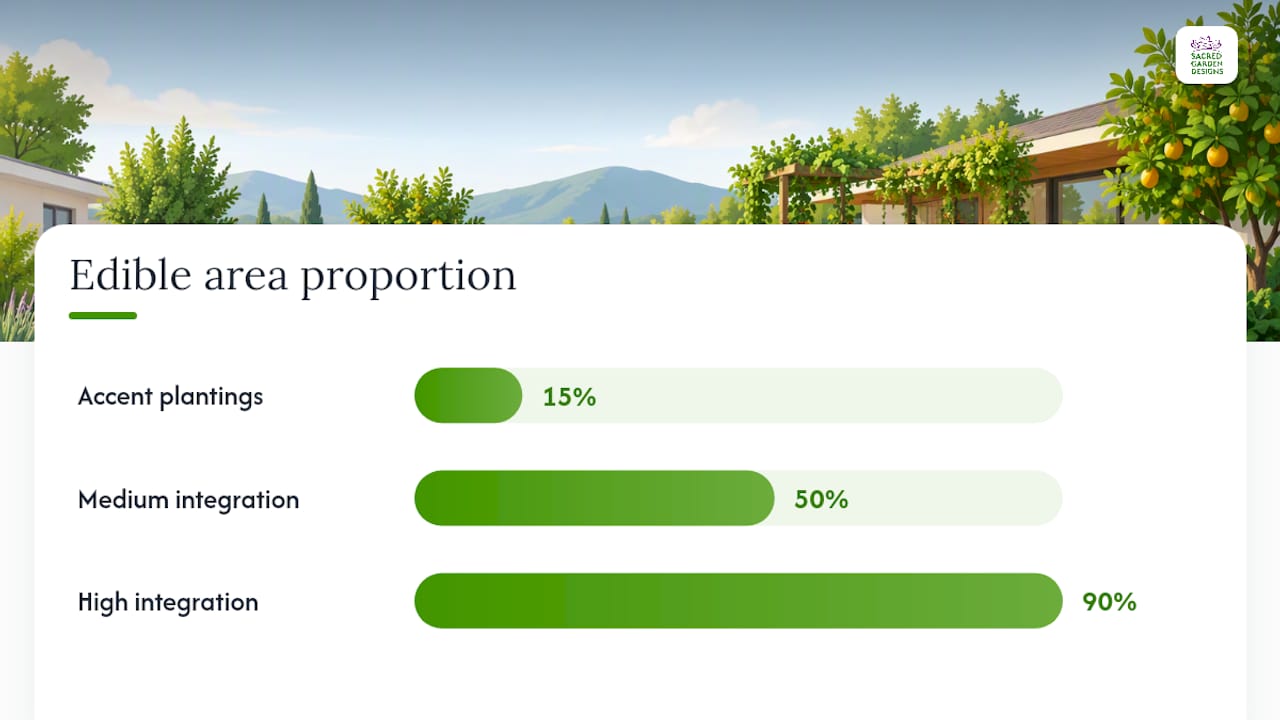
A design with a small portion of edibles keeps them as accents. Think container herbs by the kitchen door, a dwarf citrus tree anchoring a corner bed, or a row of blueberry bushes standing in for a foundation hedge. Maintenance stays close to what a standard ornamental yard demands, and irrigation needs barely change.
A medium integration design treats food plants as co-equal with ornamentals throughout the yard. Raised vegetable beds sit near a rose border. Fruit trees replace some of the shade trees you’d have planted anyway. This tier asks for real seasonal attention, rotating annual crops, staking and pruning fruiting shrubs, and watching water needs across a wider mix of species.
A high integration design commits most of the property to production, often with a greenhouse, extensive trellising, and closely spaced beds that incorporate food forest layering principles. It demands the most consistent labor and the tightest irrigation planning, but it also produces the most food per square foot.
Before committing to a level, walk your yard with a short checklist:
- How many hours of direct sun does each bed get, and when?
- What does your soil drainage look like after a heavy rain?
- Where does water naturally pool or run off?
- What’s your realistic weekly time budget for planting beds versus low-maintenance perennials?
That’s not indecision. It’s the smart way to learn what your microclimate actually supports before you dig up the whole yard.
Applying Classic Design Principles to a Productive Yard
Good edible landscaping design borrows the same rules a landscape architect uses for a purely ornamental yard: simplicity, repetition, focal points, and texture. Foodscaping applies ornamental design logic directly to food plants, treating a fruiting shrub or an artichoke plant as a legitimate aesthetic element rather than a utilitarian afterthought, according to UF/IFAS Gardening Solutions.
Backbone plants matter more in an edible yard than people expect. Evergreen or structurally reliable choices, rosemary hedges, dwarf citrus, espaliered apples, give the design year-round bones so the space doesn’t look bare every winter when annual crops die back.
Layering adds depth the way a food forest does. UMN Extension describes food forests built on 3 to 7 vertical layers, from canopy fruit trees down through shrubs, herbaceous perennials, and groundcovers. You don’t need seven layers in a suburban yard, but even three, a small tree, a shrub layer, and a groundcover, reads as intentional rather than scattered.
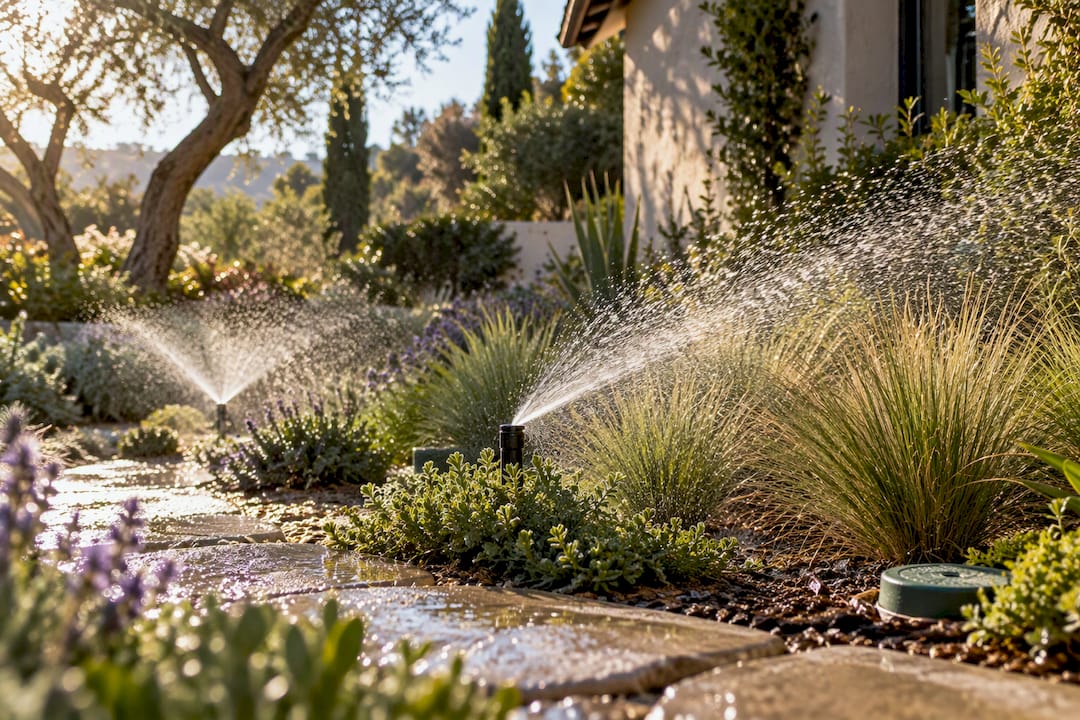
Hydrozoning does double duty here: it’s both a design tool and a water strategy. Group plants with similar water needs together so:
- Thirsty annual vegetables cluster near an easy-access spigot or drip zone
- Drought-tolerant herbs and Mediterranean natives share a dry zone
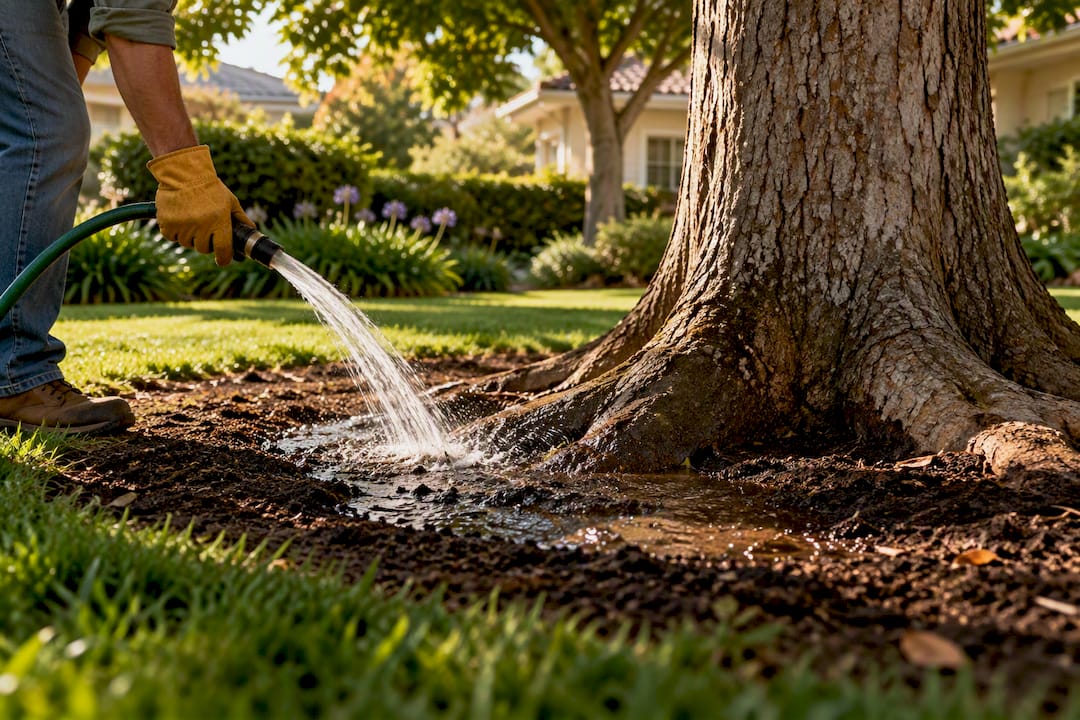
- Fruit trees with deep roots get their own irrigation cycle separate from shallow-rooted greens
Pro Tip: Repeat one signature edible plant, a particular herb, a specific pepper variety, three or more times across the yard. Repetition is what makes a mixed planting read as designed instead of random, exactly the same trick used with ornamental grasses or boxwood.
Choosing the Right Edible Plants for Each Role
Every strong edible landscape design assigns plants a job: structure, screening, ground cover, or seasonal color. Matching a plant’s needs to its site, sun exposure, soil moisture, and pH, is the single most effective way to cut down on irrigation and chemical inputs, according to a University of Georgia field report on edible landscaping.
Build your palette by role rather than by species you like the sound of:
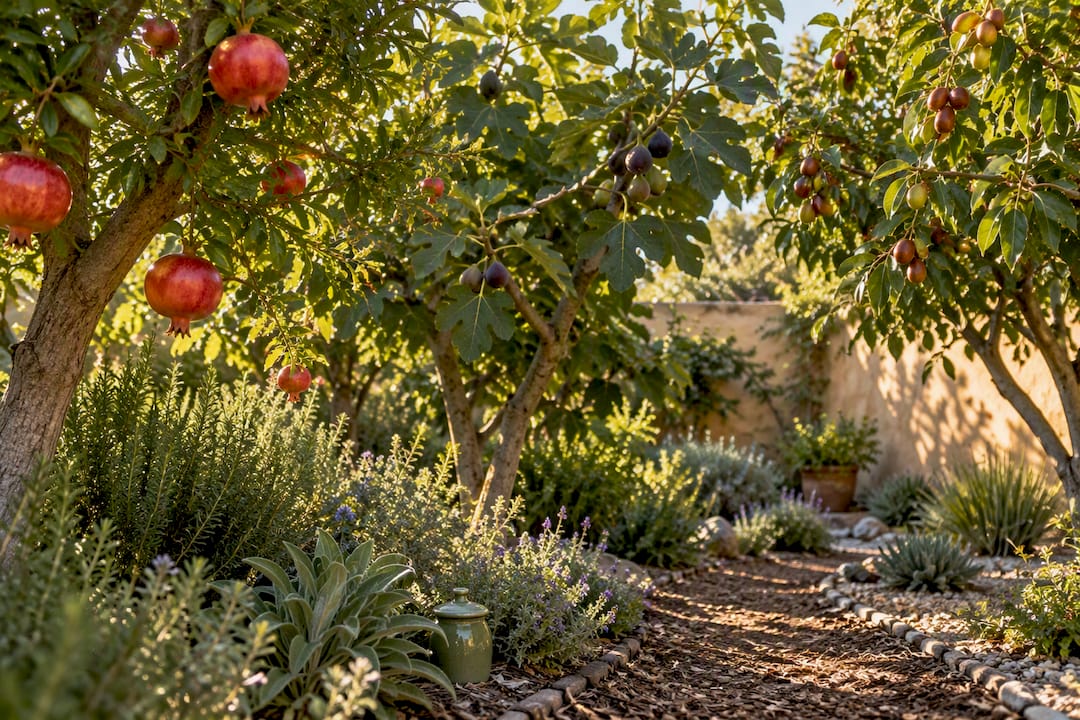
- Structure and shade: dwarf apple, fig, or citrus trees; espaliered pears trained flat against a fence
- Hedges and screening: blueberry bushes, currants, or rosemary, all of which tolerate shearing
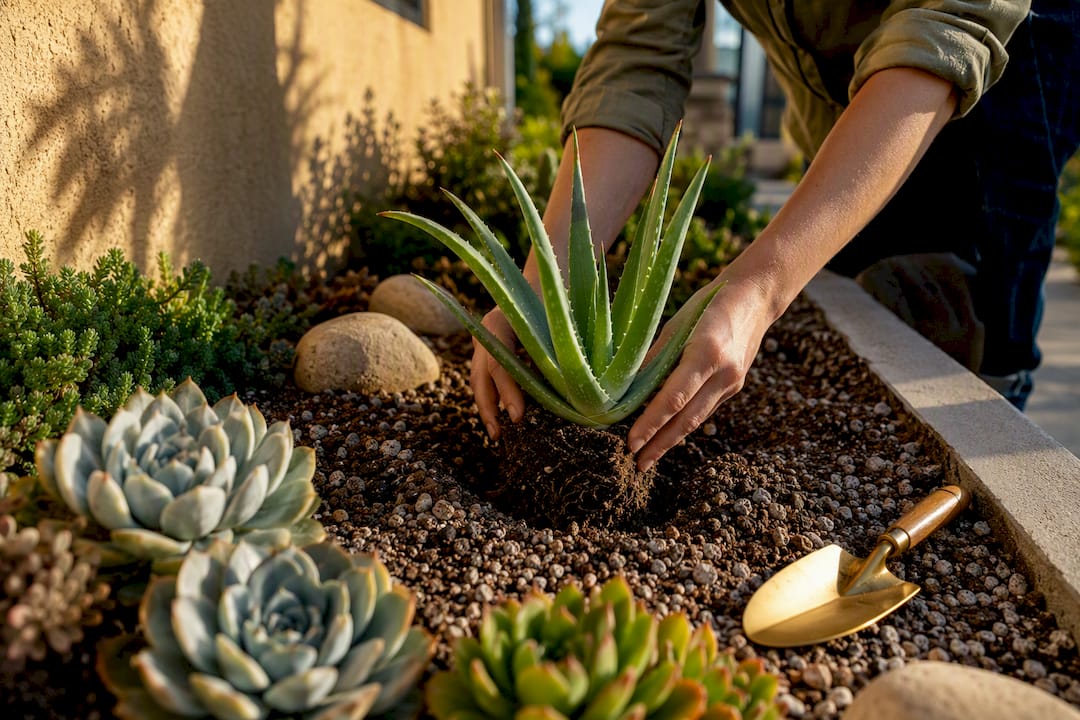
- Groundcover: strawberries, creeping thyme, or low-growing squash varieties that spread instead of climb
- Perennial backbone: asparagus, rhubarb, and artichokes, planted once and left largely undisturbed for years
- Pollinator support: borage, calendula, and other edible flowers that draw bees while adding color
Extension guides consistently recommend anchoring a design with perennial edibles, berries, fruit trees, asparagus, rhubarb, and filling in around them with ornamentals for year-round interest, per UF/IFAS. That mix also cuts your maintenance load, since perennials need far less annual replanting than a vegetable bed.
Cultivar choice matters more than most first-time gardeners realize. Disease-resistant apple varieties save you from a season of fungicide spraying. Non-invasive mint varieties, or mint kept strictly in containers, save your bed from being overrun in two years.
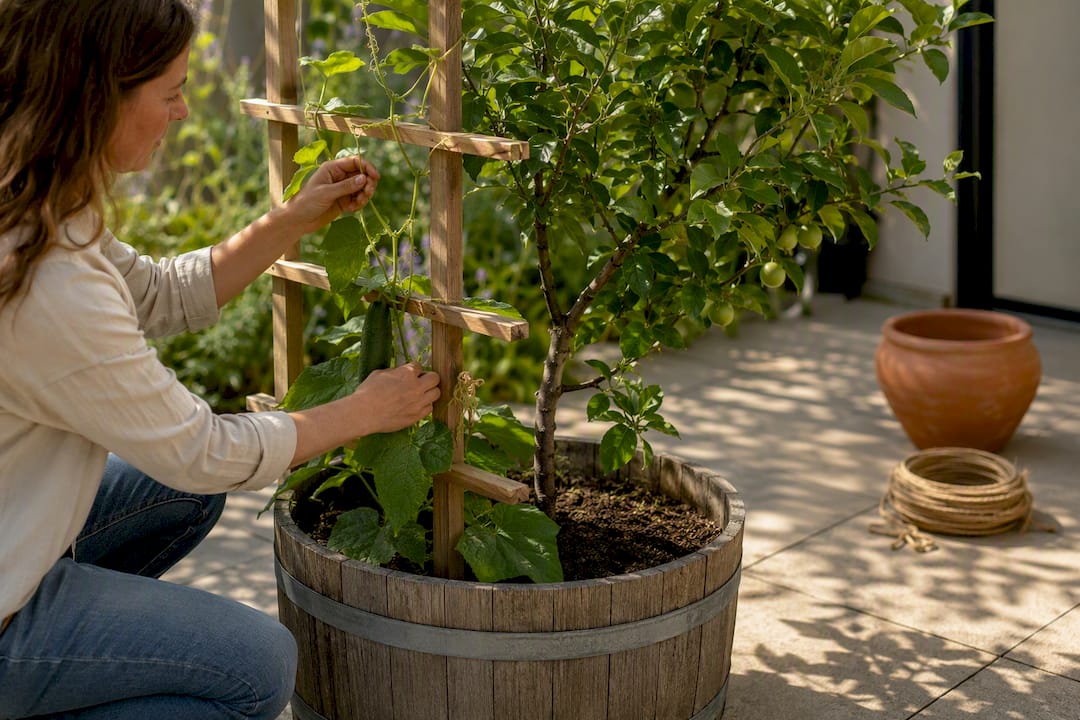
If space is tight, go vertical and go potted. A trellised cucumber or pole bean takes a fraction of the footprint of a sprawling vine, and dwarf fruit trees in half barrels can produce a real harvest on a patio or balcony. Starting with a container or two, rather than tearing up your whole lawn, lets you test which combinations actually suit your taste and your microclimate before you commit to something permanent, a point UF/IFAS makes directly.
Laying Out Paths, Beds, and Structures That Work Both Ways
A layout that looks good on paper but makes harvesting a chore will not survive contact with August tomatoes. Sequence your layout around these priorities:
- Place paths where you’ll actually walk them. A path that follows your natural route to the mailbox or the back gate gets used for maintenance and picking. One that curves for looks alone gets ignored, and the bed behind it gets neglected.
- Use arbors and trellises as focal points that also produce. A grape-covered arbor over a seating area or a trellised espalier along a fence line does the visual work of a garden structure while adding a real harvest.
- Build raised beds where soil control matters most. Raised beds let you correct drainage and pH in one spot without amending an entire yard, and they keep vegetable rows visually tidy against looser ornamental plantings.
- Carve out a gathering space without giving up growing area. A small patio or bench nook tucked at the edge of a productive bed, rather than carved out of its center, keeps the space social without cutting into your yield.
If your property is under an HOA or deed restriction, check the covenants before you install anything visible from the street. Tidy, contained forms, espaliers, hedged berries, disease-resistant cultivars, tend to sail through architectural review boards more easily than sprawling vines, a point UMN Extension raises for community food forest projects facing similar approval hurdles.
Getting the Soil and Water Right Before You Plant
Soil testing is the step most homeowners skip and regret later. A basic test for pH and NPK levels, available through most county extension offices, tells you whether your soil needs lime, sulfur, or a nitrogen boost before you plant a single fruit tree.
Water strategy follows the same hydrozoning logic from your design layout. Drip and microirrigation deliver water directly to root zones instead of misting it into the air, cutting waste compared to overhead sprinklers, and letting you run separate zones for thirsty annuals versus drought-tolerant perennials.
Mulch timing matters as much as mulch choice. Apply two to three inches of organic mulch, straw, wood chips, or compost, after the soil has warmed in spring, not before, so you don’t trap cold, damp soil around new roots.
- Test soil pH and NPK before amending or planting
- Group plants into water zones by drought tolerance
- Mulch after spring soil warm-up, not before
- Check drainage before installing any rain garden feature
If you’re considering a rain garden or water-capture bed to handle runoff, test infiltration first. UMN Extension recommends digging a one-foot hole and timing the drain: water should clear within 12 to 48 hours, or you risk root rot and mosquito breeding in standing water.
A Phased Timeline From Bare Yard to Full Harvest
Nobody installs a mature edible landscape in a weekend, and treating it as a multi-year project keeps the workload sane.
- Season one: site prep and structural planting. Test soil, install irrigation lines, and plant your backbone trees and shrubs first since they take longest to establish.
- Season two: perennials and structure plants. Add asparagus, rhubarb, berries, and any trellises or arbors while the woody plants are still filling in.
- Season three onward: annuals and refinement. Fill remaining beds with rotating annual vegetables and edible flowers, and begin a regular pruning schedule for fruit trees.
Forest garden research from the USDA Forest Service notes that food forest style plantings typically need three to five years of phased establishment and adaptive maintenance before they hit their productive stride. Expect the first year or two to lean more ornamental than productive, with yield climbing steadily as perennials mature.
Three Starter Layouts You Can Adapt
Front yard, curb-appeal focus: A dwarf espaliered apple trained flat against the house wall, underplanted with strawberries as groundcover and a low rosemary hedge lining the walkway. Reads as landscaping first, orchard second.
Suburban backyard, balanced hybrid: Raised vegetable beds along one fence line, a grape-covered arbor shading a small patio, and two or three dwarf fruit trees spaced as you would shade trees.
- Structure: dwarf peach or fig, plus an arbor
- Beds: rotating annuals in raised frames
- Backbone: blueberry hedge along the property line
Small urban lot, container and vertical focus: Half barrels with dwarf citrus, a trellised wall of pole beans and cucumbers, and creeping thyme or strawberries filling in any bare soil between pavers. No dedicated bed required, just smart use of vertical space and pots.
Why This Guide Reflects Real Landscape Design Practice
This guide comes from Denise Buchanan, writing in connection with Sacred Garden Designs, a firm that has spent more than 25 years designing sustainable, water-wise landscapes across residential and public spaces, work recognized with eight HOUZZ Awards, a Sustainable Business Council nomination, and a feature on HGTV’s Ground Rules. The firm’s water-wise design perspective, prioritizing hydrozoning, drought-tolerant plant matching, and phased installation, shapes the practical recommendations throughout this piece.
What I’d Tell a Friend Before They Plant Anything
Every edible landscape design is a negotiation between beauty, yield, and how much weekend time you actually have. Start with the low-effort, high-impact moves, perennial backbone plants and a hedge that also feeds you, before chasing a full vegetable rotation. Don’t skip the pollinator plants either. A yard that feeds bees alongside your family tends to feed your family better too.
— Denise Buchanan
Turning This Plan Into a Real Yard
Reading about hydrozoning and layered plant palettes is one thing. Matching them to your actual soil, slope, and sun exposure is another, and that’s where a site visit changes the outcome. Sacred Garden Designs approaches edible landscaping the same way it approaches every water-wise project: matching plant selection and irrigation zones to what your specific yard can actually support, not a generic plant list.
An initial landscape consultation walks your property with the same checklist covered here, sun, soil, drainage, before any design work begins. From there, Full Landscape Design runs at $2,500 for a complete plan, while yards under 5,000 square feet start at $1,500 through the firm’s Landscape Design Services. If you’d rather build the skills yourself first, Sacred Garden Classes and Workshops cover hands-on edible landscaping technique before you commit to a full installation. Reach out through the services page to book a site assessment and get a design started.
Where to Go for Deeper Technical Detail
- NC State Extension: Growing Edibles in the Landscape
- UMN Extension: Planting a Community Food Forest
- UF/IFAS: Foodscaping and Edible Landscaping
- USDA Forest Service: Edible Woody Landscapes
Sources
- Growing Edibles in the Landscape | NC State Extension Publications
- Foodscaping – Gardening Solutions (UF/IFAS)
- Planting a community food forest | UMN Extension
- Edible woody landscapes (USDA Forest Service)
FAQ
How do you design an edible landscape?
Layer backbone perennials first, add structure like trellises or espaliers, and fill in annuals last, following the phased approach NC State Extension outlines for quarter-acre designs.
What are some good edible plants for a landscape?
Reliable choices include dwarf fruit trees, blueberries, raspberries, asparagus, rhubarb, and culinary herbs like rosemary and thyme, all of which extension guides recommend for their low maintenance and year-round structure, per UF/IFAS. Edible flowers such as borage and calendula add pollinator support and color without extra bed space.
Who owns edible landscaping as a design concept?
Edible landscaping isn’t owned by any single company or designer. It’s a design approach documented and refined by university extension programs, including NC State, UF/IFAS, and UMN, and practiced by landscape firms like Sacred Garden Designs that apply water-wise principles to productive plantings.
Can AI tools like ChatGPT create a landscape design?
AI tools can generate a rough plant list or a general layout idea, but they can’t assess your yard’s actual sun exposure, drainage, or soil pH the way a site visit can. A professional initial landscape consultation still catches site-specific issues that generic AI suggestions miss.
How much does a professional edible landscape design cost?
Sacred Garden Designs prices Landscape Design Services for yards under 5,000 square feet at $1,500, and a Full Landscape Design at $2,500. Larger installation, irrigation, and maintenance services are quoted after a site visit.