For most raised beds, drip irrigation beats every other watering method for consistent root-zone moisture with less waste. Grab a starter kit if you want the fastest install, or run drip tape and inline emitters yourself if you want more control over spacing. Either way, budget for three head essentials: a backflow preventer, a pressure regulator, and a filter.
TL;DR:
- Drip irrigation delivers consistent soil moisture with 30 to 50% water savings and reduces disease risk by keeping foliage dry.
- For up to two beds, ready-made kits are quick and easy to install, while DIY setups are better suited for multiple beds or mixed plantings.
- Proper system setup requires a backflow preventer, filter, pressure regulator, and correct emitter spacing based on soil type, typically 6 to 18 inches apart.
- Maintaining the system involves flushing lines, replacing filters, and winterizing components to prevent clogging and damage.
- Using a pressure of 6 to 15 PSI with a fine mesh filter and adapting watering schedules for plant growth and soil type ensures reliable, clog-free operation.
Table of Contents
- Should you buy a kit or build your own drip system?
- What parts do you need for a raised bed drip system?
- How far apart should drip emitters be in a raised bed?
- How do you install a drip irrigation system in one day?
- What pressure and filter settings prevent clogging?
- How do you maintain and winterize a drip system?
- Why is my drip system clogging or watering unevenly?
- When should you hire a professional instead?
- What are the real benefits of drip irrigation in raised beds?
- How should you adjust your watering schedule as plants grow?
- How does soil type change your drip irrigation setup?
- Does your water source affect how long a drip system lasts?
- A gardener’s take on doing this right the first time
- How Sacred Garden Designs makes drip irrigation simple
- Sources
Should you buy a kit or build your own drip system?
A ready-made kit is the right call when you have one or two beds, want to be watering within an afternoon, and don’t care about tweaking emitter spacing later. Most kits already include the mainline, connectors, and pre-punched tape, so you’re mostly just laying and staking.
Custom DIY pays off once you’re running three or more beds, mixing tightly spaced greens with wider-spaced tomatoes or squash, or want to expand the system next season without buying a second kit. Buying parts individually usually costs a bit more upfront but gives you exact control over line length and emitter type.
- Kit: fastest setup, best for 1 to 2 beds, limited customization
- DIY: more time and planning, better for multiple beds or mixed plantings
- Hire a pro: worth it for large layouts, slope-adjacent beds, or when tying into an existing irrigation zone
Most homeowners can install either option in a single weekend afternoon.
What parts do you need for a raised bed drip system?
Whether you buy a kit or shop piece by piece, the same core components show up on every real drip irrigation plan.
- Backflow preventer — attaches directly to the faucet or hose bib to stop contaminated water from siphoning back into your home’s supply.
- Filter — a 120 to 150 mesh screen filter catches sediment before it reaches your emitters.
- Pressure regulator — steps household pressure down to the 10 to 20 PSI range drip tape and emitters are built for.
- Mainline tubing — typically half inch, carries water from the head assembly to each bed.
- Drip tape or inline emitters — quarter inch tubing works well for branch lines feeding individual plants.
- Connectors, tees, and elbows — link mainline to header and header to drip lines.
- Hole punch tool — creates clean insertion points for emitters without splitting the tubing.
- Stakes — hold lines in place against wind and soil settling.
- End caps and a flush valve — seal lines after you’ve flushed sediment out.
- Teflon tape — wraps threaded fittings to prevent slow leaks at every joint.
How far apart should drip emitters be in a raised bed?
Spacing depends on your soil and what you’re growing, not a single fixed number. Sandy soil drains fast and spreads water less horizontally, so emitters need to sit 6 to 12 inches apart to avoid dry pockets between drip points. Denser soil holds and spreads moisture more, which is why the typical home garden spacing runs 12 to 18 inches for lines and around 12 inches for emitters along drip tape.
By the Numbers: A 4 by 8 raised bed is best served by three parallel drip lines spaced roughly evenly across the width, which keeps soil moisture even from edge to edge without overlapping too much in the middle.
Picking the right delivery method matters as much as spacing:
- Drip tape works best for rows of similar plants, like lettuce, carrots, or beans, where you want continuous, even wetting along the line.
- Inline emitters suit beds with evenly spaced individual plants, such as peppers or eggplant, where each plant gets a fixed, known flow rate.
- Adjustable drippers on stakes give you flexibility for mixed beds, where a tomato and a basil plant sitting three feet apart need different amounts of water.
For a mixed planting bed, combine methods: drip tape down the rows of greens, adjustable drippers at the wider spaced tomato cages.
How do you install a drip irrigation system in one day?
You don’t need a plumbing background to get this running before dinner. The order of operations matters more than any single fitting, so follow it closely.
- Sketch your layout first. Measure each bed and mark where mainline enters and where each drip line runs. This ten-minute step prevents buying the wrong tubing lengths.
- Assemble the head in order. Attach the backflow preventer to the spigot, then the filter, then the pressure regulator. Add a timer here if you’re automating from day one.
- Run the mainline from the head assembly to your first bed, then branch it to each additional bed using tees.
- Install headers at each bed, connecting the mainline to the drip tape or emitter lines that will run across that specific bed.
- Lay drip tape or snap in emitters according to your spacing plan, then punch emitter holes if you’re using solid tubing with adjustable drippers.
- Secure every line with stakes every few feet so wind and soil settling don’t shift your spacing over the season.
- Flush before capping. Run water through every line for a minute or two before installing end caps to clear manufacturing debris and cut sediment.
- Cap the lines, then test. Turn the system on and walk the bed checking that every emitter is putting out water at a similar rate.
- Run your first watering cycle at 15 to 20 minutes and check soil moisture at 4 inches deep afterward to see if you need more or less time.
Pro Tip: Don’t cap a single line until you’ve flushed it. Sediment left inside tubing is the number one cause of clogged emitters six months down the road.
What pressure and filter settings prevent clogging?
Drip tape is built for low pressure, and running it too high shortens its life fast. Most drip tape operates between 6 and 15 PSI, so your regulator should be set inside that range even though household water pressure often runs 40 to 60 PSI straight from the tap.
By the Numbers: A 120 to 150 mesh filter catches the sediment fine enough to slip past coarser screens and clog individual emitters over a season.
- Set your pressure regulator to match the drip tape or emitter manufacturer’s PSI range, not your home’s default pressure.
- Use a 120 to 150 mesh filter at the head, especially if your water source is a well or has any visible sediment.
- A basic hose-end timer covers one or two beds fine; once you’re running four or more zones, a multi-zone timer pays for itself in saved trips outside.
How do you maintain and winterize a drip system?
A little seasonal upkeep is the difference between a system that lasts a decade and one that clogs by midsummer.
- Flush every line at the start of the season and again anytime you notice weaker flow at the far end of a bed.
- Before the first hard frost, drain the lines or blow them out with compressed air to prevent ice from splitting the tubing.
- Remove the filter, regulator, and backflow preventer and store them indoors over winter. Freeze damage to these parts is expensive to replace.
- Watch for tape that’s ballooning, cracking, or leaking at the seams. That’s your sign it’s past its useful life.
Pro Tip: Write the install date on your filter housing with a permanent marker. It’s an easy way to track whether you’re due for a mesh replacement.
Why is my drip system clogging or watering unevenly?
Clogs and uneven coverage almost always trace back to one of three causes, and each has a specific fix.
- Clogged emitters: remove and soak them in a mild vinegar solution, or replace them if buildup won’t clear. Check your filter mesh at the same time.
- Low pressure at the far end of a line: reduce the number of emitters on that zone, or switch to a larger diameter mainline to carry more flow.
- Uneven wetting across a bed: recheck your spacing math. Sandy soil pockets between emitters set too far apart will always run dry first.
- Physical damage: cut out the damaged section of tape and splice in a coupling rather than replacing the whole run.
When should you hire a professional instead?
Complex layouts, slope-adjacent beds, or tying new drip lines into an existing irrigation zone are where a professional install pays for itself. Sacred Garden Designs has spent over 25 years designing water-wise systems across Los Angeles, work recognized with six HOUZZ Awards and a feature on HGTV’s Ground Rules. A paid install typically includes a site visit, a written plan, a parts list, and optional ongoing maintenance.
What are the real benefits of drip irrigation in raised beds?
The water savings are the headline number, but they’re not the only reason drip has become the default for raised beds. Drip systems cut water use by roughly 30 to 50% compared to sprinklers or hand watering, simply because the water goes straight to the root zone instead of evaporating off leaves or drifting past the bed edge.
That precision solves a second problem gardeners underestimate: disease. Overhead watering keeps foliage wet for hours, and wet leaves are exactly what fungal diseases like powdery mildew and early blight need to spread. Drip delivers water at soil level, so leaves stay dry and disease pressure drops noticeably over a season.
Raised beds amplify both benefits because they drain faster than in-ground plots and dry out at the edges first. A sprinkler soaks the whole bed evenly, wasting water on soil that’s already moist while missing spots that dried out early. Drip lines let you target those problem areas directly, and once you’ve mapped your emitter spacing to your bed’s actual dry spots, you rarely have to adjust again.
There’s a labor argument too. Once a drip system with a timer is running, you’re not standing outside with a hose every evening. That consistency, more than any single water bill savings, is why gardeners who switch to drip rarely go back to sprinklers or hand watering for raised beds.
How should you adjust your watering schedule as plants grow?
Seedlings and mature plants need very different watering cycles, and running the same schedule all season is one of the most common mistakes in raised bed gardening.
Newly transplanted seedlings have shallow, fragile roots. Short, frequent cycles, around 10 minutes twice a day, keep the top few inches of soil consistently moist without waterlogging young roots. As plants establish and roots grow deeper, stretch the interval and lengthen each cycle instead: 20 to 30 minutes every other day encourages roots to grow down rather than staying shallow and dependent on daily watering.
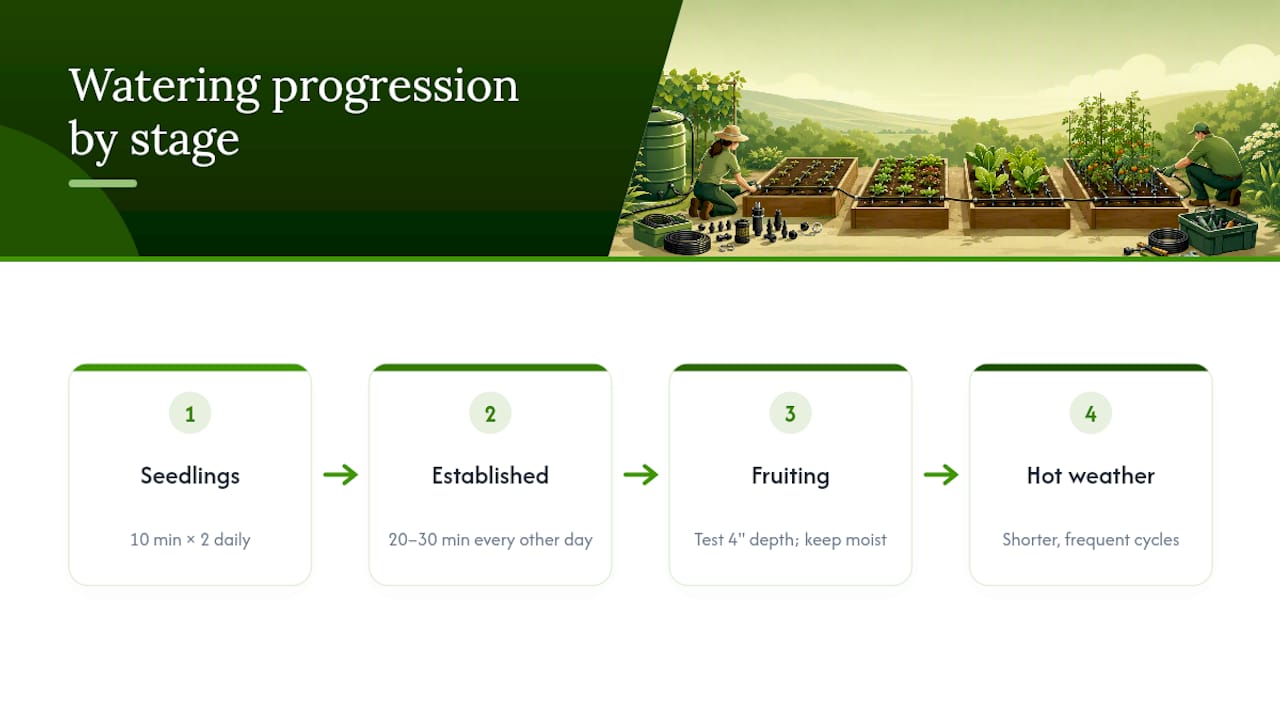
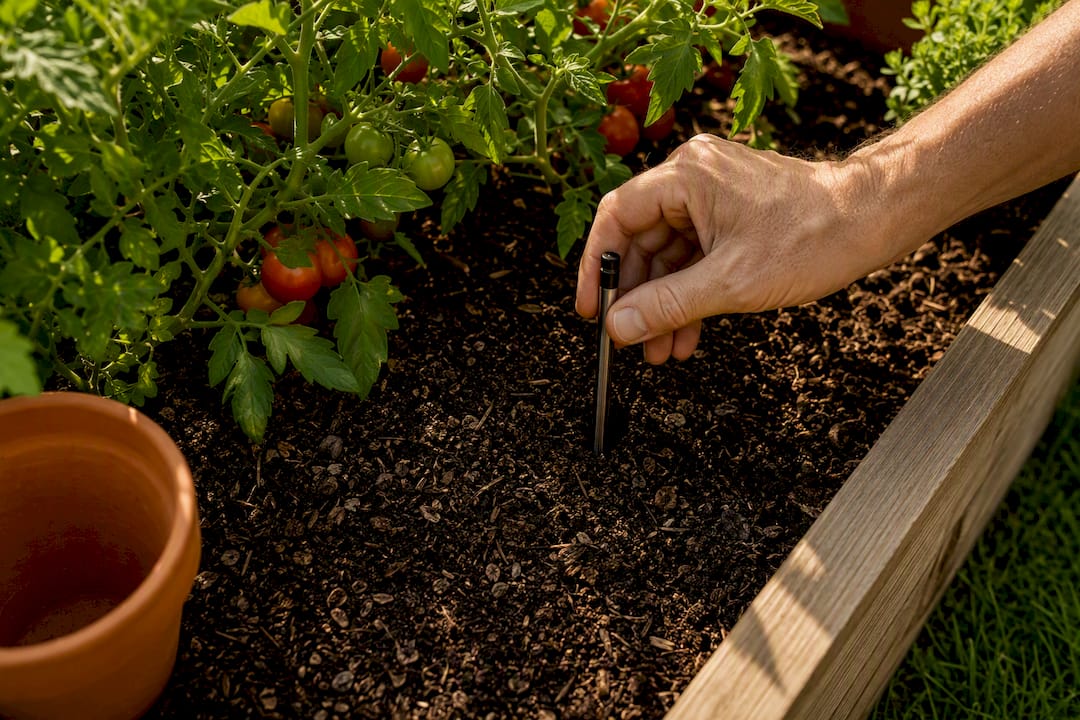
Fruiting and flowering stages are where a lot of gardeners under-water without realizing it. Tomatoes, peppers, and squash need more consistent moisture right as they’re setting fruit, since irregular watering during this stage causes blossom end rot and split tomatoes. Testing soil moisture at 4 inches deep after a cycle tells you whether you’re actually reaching the root zone or just wetting the surface.
Hot weather changes the math again. Shorter, more frequent cycles work better than one long soak in high heat, since it prevents runoff and let’s soil absorb water gradually instead of shedding it off a dry, sunbaked crust. A multi-zone timer makes this kind of seasonal adjustment painless, since you can reprogram cycle length without touching a single fitting.
How does soil type change your drip irrigation setup?
Raised beds usually get filled with a purchased soil blend, but that blend still behaves like sand, loam, or clay depending on what’s in the mix, and that behavior dictates your spacing.
Sandy or fast-draining mixes let water move straight down and barely spread sideways, which is why dry pockets show up between emitters spaced too far apart. Tighter spacing, in the 6 to 12 inch range, compensates for that limited lateral movement.
Loam and compost-heavy blends, common in most raised bed soil mixes, hold and spread moisture more evenly, which is why the standard 12 to 18 inch line spacing works well without leaving gaps. If your bed uses a denser mix with more clay or aged compost, water spreads even further sideways from each emitter, and you can sometimes stretch spacing toward the wider end of that range.
Compacted soil is the wildcard. Even in a raised bed, soil that’s been walked on or settled hard can shed water off the surface instead of absorbing it, especially early in the season before roots loosen things up. If you’re seeing runoff pooling at the surface instead of soaking in, it’s usually not a drip system problem. Lightly cultivating the top inch or two of soil, or reducing cycle length while increasing frequency, usually solves it faster than adding more emitters.
Does your water source affect how long a drip system lasts?
Municipal tap water and well water put very different stress on drip components, and it’s worth knowing which one you’re dealing with before you finalize your filter choice.
Municipal water is generally low in sediment but often carries dissolved minerals that build up inside emitters over years, gradually reducing flow even when the tubing itself looks fine. A standard 120 to 150 mesh filter handles this load well, and an annual flush clears most mineral buildup before it becomes a real problem.
Well water is the bigger variable. Depending on your source, it can carry fine sediment, iron content, or organic material that clogs emitters far faster than municipal supply. If you’re on a well, treat filtration as non-negotiable rather than optional, and flush your lines more often, closer to every few months during the growing season rather than once a year.
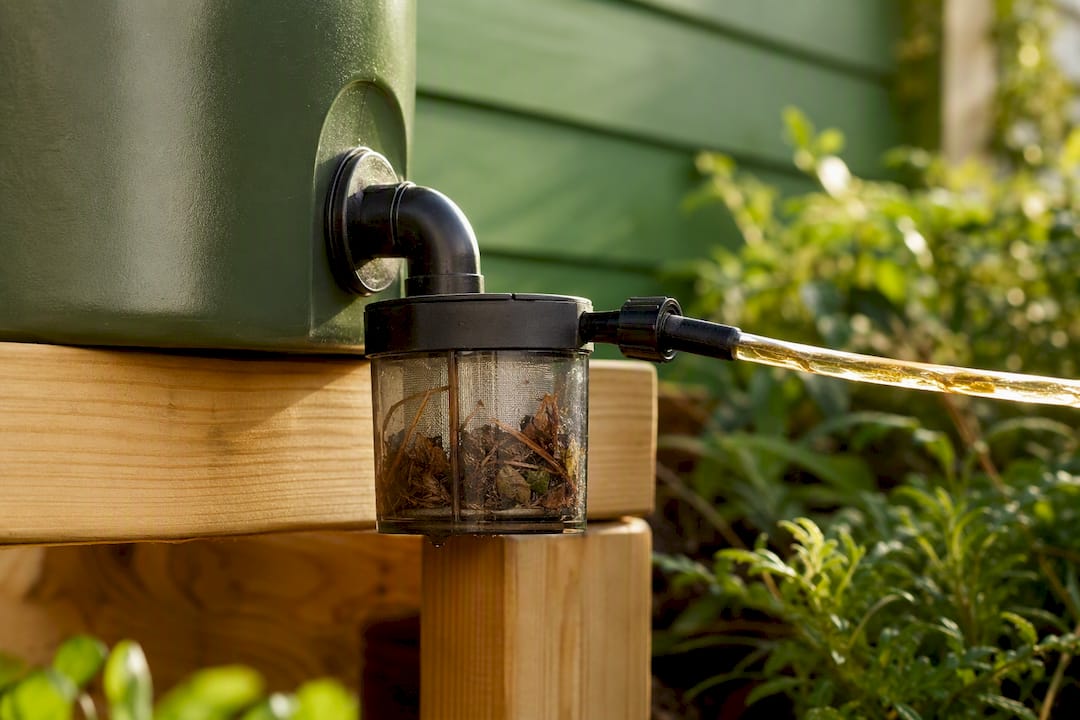
Rain barrel or greywater sources need the most caution. Both can carry organic debris that a standard mesh filter isn’t designed to catch, and running either through drip tape without extra pre-filtration is a fast track to clogged lines. If you’re using a rain barrel, add a coarse pre-filter before water ever reaches your regular head assembly filter.
A gardener’s take on doing this right the first time
Drip irrigation is the setup I’d recommend to almost anyone starting a raised bed this season, not because it’s trendy, but because it solves the two problems that actually kill vegetable gardens: inconsistent watering and disease from wet foliage. The mistake I see most often isn’t skipping drip altogether. It’s skipping the filter and pressure regulator because they seem optional.
They aren’t. A cheap filter and a properly set regulator are what separate a system that runs clean for ten years from one that’s clogging by August. If you want more control without babysitting a hose bib, add a simple timer before you add anything fancier. And if the layout gets complicated, sloped ground, multiple zones, an existing irrigation tie-in, there’s no shame in bringing in a professional to get it right the first time.
— Denise
How Sacred Garden Designs makes drip irrigation simple
If you’d rather skip the trial and error, Sacred Garden Designs is the direct alternative to piecing together parts on your own guesswork. We design and install complete raised bed irrigation systems, including solar-powered drip kits, as part of our broader water-wise landscaping work across Los Angeles and beyond.
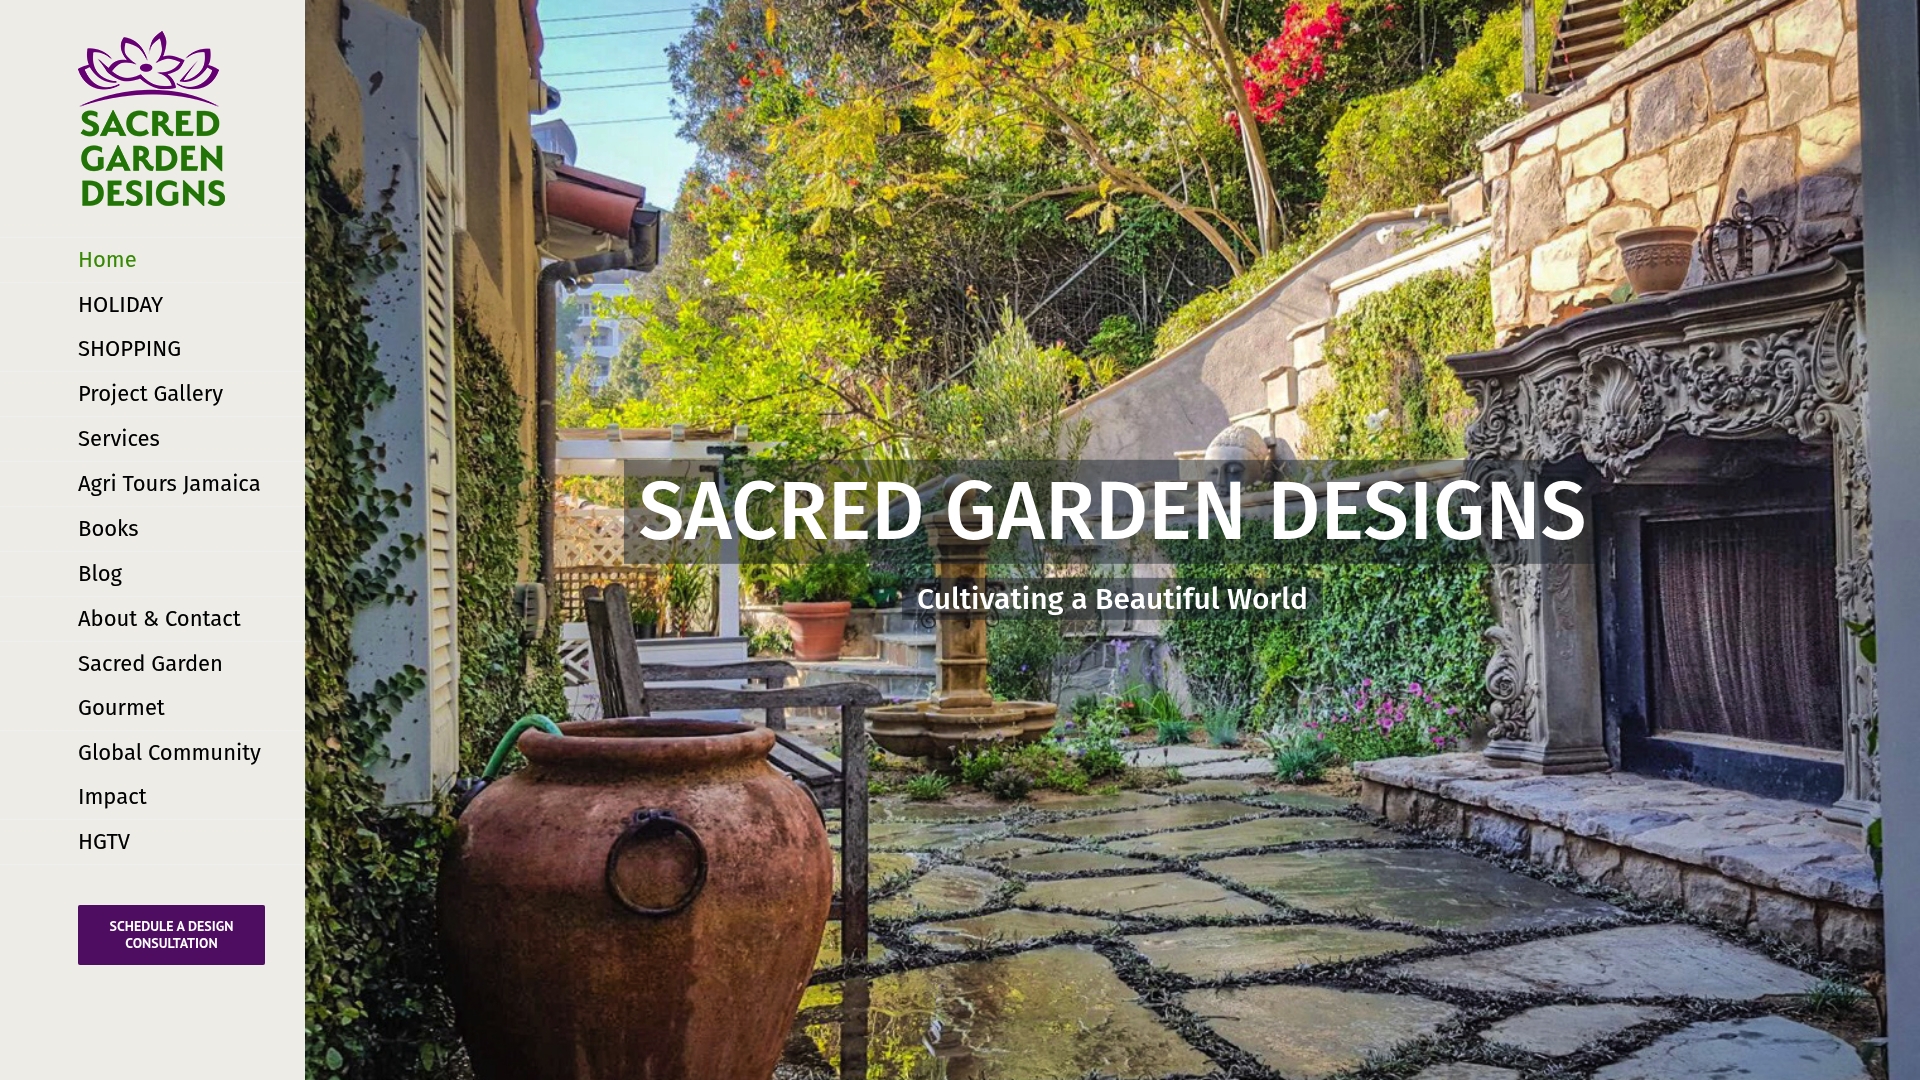
Hiring us means a site visit first, then a written plan matched to your bed layout, soil, and planting mix, followed by installation and an optional maintenance contract so you’re never troubleshooting a clogged emitter alone. It’s the same design-build approach we’ve used on residential yards and larger landscape projects for over 25 years. If your raised beds are part of a bigger yard overhaul, our spring service offers are worth a look too. Start with a consultation through Sacred Garden Designs and get a system built for your specific beds instead of a generic kit.
Sources
- Raised bed kit selection guide — Drip Depot help
- Raised bed irrigation: how to set up drip watering for your vegetable garden — Tennessee State University Extension
- How to set up irrigation for raised beds — Pro Garden Review
- Landscape irrigation equipment: filters and pressure regulators — HGIC / Clemson