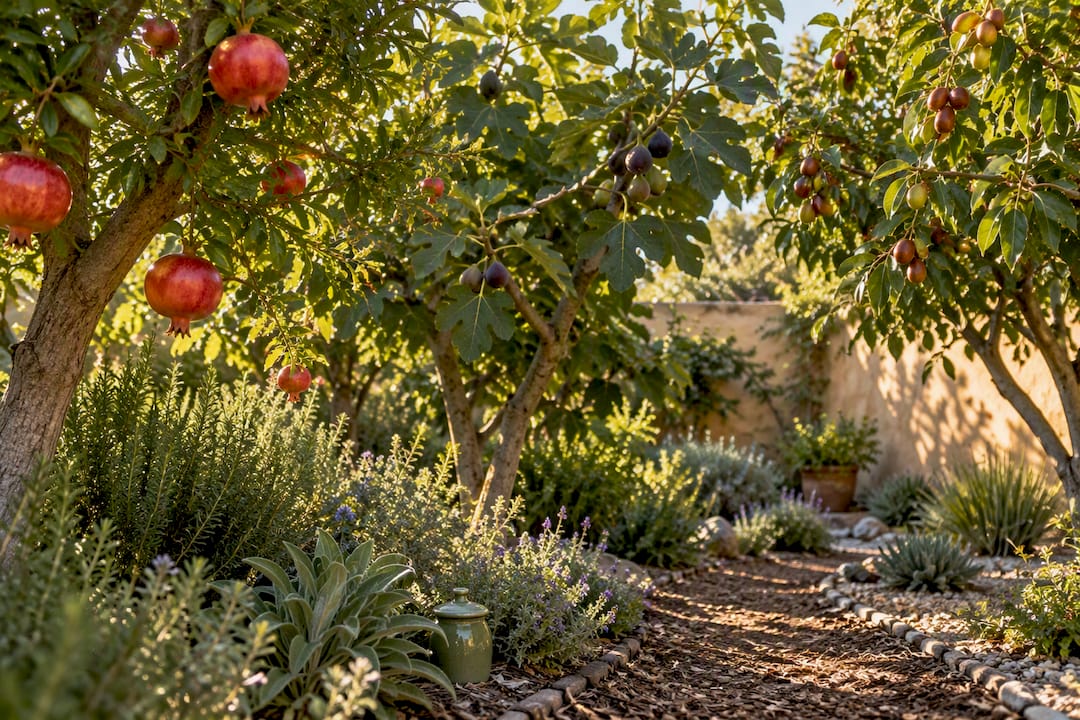
Converting lawn to a native garden works best in three moves: suppress or remove the turf with a method that fits your site, plant natives matched to your sun, soil, and moisture conditions, then commit to a 1 to 3 year establishment plan before expecting the low-maintenance payoff. Most homeowners choose sheet mulching, solarization, sod cutting, or targeted herbicide to clear the grass. The reward is real: more pollinators, more birds, and less time spent watering and mowing once roots take hold.
TL;DR:
- Using sheet mulching or solarization is best for patient DIYers and small to mid-size beds, whereas sod cutting provides a faster solution for immediate planting.
- Conduct a thorough site assessment including soil drainage, sun mapping, utility locating, and HOA rules before starting to prevent failures during establishment.
- Focus on planting at least 70% native species by area, blending grasses, forbs, shrubs, and trees, with staggered bloom times from April to October for pollinator support.
- During the first year, prioritize regular watering, light mulching, and weed management, gradually reducing irrigation and maintenance in years two and three.
- Consider professional help for steep slopes, irrigation redesign, or strict HOA restrictions, while starting small and expanding over time for better success.
Table of Contents
- Which Turf Removal Method Fits Your Lawn?
- What Should You Check Before You Start Digging?
- How Do You Remove Turf Step by Step?
- Which Native Plants Should You Choose, and Where Do You Buy Them?
- What Does the First Three Years of Maintenance Look Like?
- How Do You Design a Native Garden That Still Feels Livable?
- When Does It Make Sense to Bring in a Professional?
- A Final Word on Patience and Payoff
- Ready to Convert Your Lawn? Here’s Where to Start
- Where to Learn More Before You Plant
- Sources
- FAQ
Which Turf Removal Method Fits Your Lawn?
Every removal method trades speed for effort, and effort for chemical use. Picking the right one depends on how much lawn you’re converting, how patient you are, and whether your neighborhood association has opinions about cardboard piles in the front yard.
- Sheet mulching smothers grass with cardboard and mulch, no digging required. It’s slow (3 to 6 months before planting) but chemical-free and ideal for small to mid-size beds.
- Solarization uses clear plastic and summer heat to cook the turf and its seed bank. It needs a solid run of hot, sunny weeks and works best in full-sun yards in warmer climates.
- Sod cutting or digging clears the area fastest, often in a single weekend, but requires renting a sod cutter or serious hand labor, plus a plan for disposing of or composting the stripped turf.
- Herbicide knocks out stubborn grasses like Bermuda in one or two applications but comes with ecological trade-offs and label-mandated waiting periods before seeding.
Sheet mulching and solarization suit patient DIYers with time to spare. Sod cutting suits people who want to plant this season. Slopes and HOA-restricted front yards often do better with sheet mulching, since it looks tidier mid-process than a bare, cut lawn.
What Should You Check Before You Start Digging?
A few minutes of site assessment save months of replanting. Skipping this step is the single most common reason new native gardens fail in their first year.
- Test your soil texture and drainage. Squeeze a handful of moist soil; if it holds a ribbon shape, you’ve got clay, if it crumbles immediately, it’s sandy. Dig a 12-inch hole, fill it with water, and time how fast it drains.
- Map sun and shade over a full day. Note where shadows fall at 9 a.m., noon, and 4 p.m., since a spot that looks sunny at breakfast can be shaded by afternoon.
- Locate utilities and septic fields before any digging or sod cutting, especially on properties with buried irrigation lines.
- Check HOA or municipal rules on plant height, sightline setbacks near driveways, and any turf-percentage requirements.
- Decide on scope. A pocket meadow along one fence line is a lower-risk starting point than converting the entire backyard at once.
As you plan, aim for the 70/30 native planting guideline: at least 70% native species by area, with the remaining 30% left for ornamentals, edibles, or transitional lawn. This ratio isn’t arbitrary. It’s the threshold research links to noticeably higher pollinator activity.
How Do You Remove Turf Step by Step?
Start at the edges. Mow the lawn low, cut a clean edge with a spade or edging tool, and work inward from fence lines and around tree trunks where roots are shallow and easy to damage.
Sheet mulching: Lay overlapping cardboard directly on the mowed grass, wet it down, then cover with 3 to 4 inches of wood mulch. Wait 3 to 6 months, checking occasionally for grass resprouting through gaps.
Solarization: Mow short, water the area, then stretch clear plastic tight across the soil and anchor the edges with soil or stakes. Leave it 4 to 8 weeks during the hottest stretch of summer; this only works reliably in full sun.
Sod cutting or digging: Rent a sod cutter for anything larger than a small bed. Strip the turf in rolls, compost it grass-side-in if it’s herbicide-free, and amend the exposed soil if it’s compacted or heavy in clay.
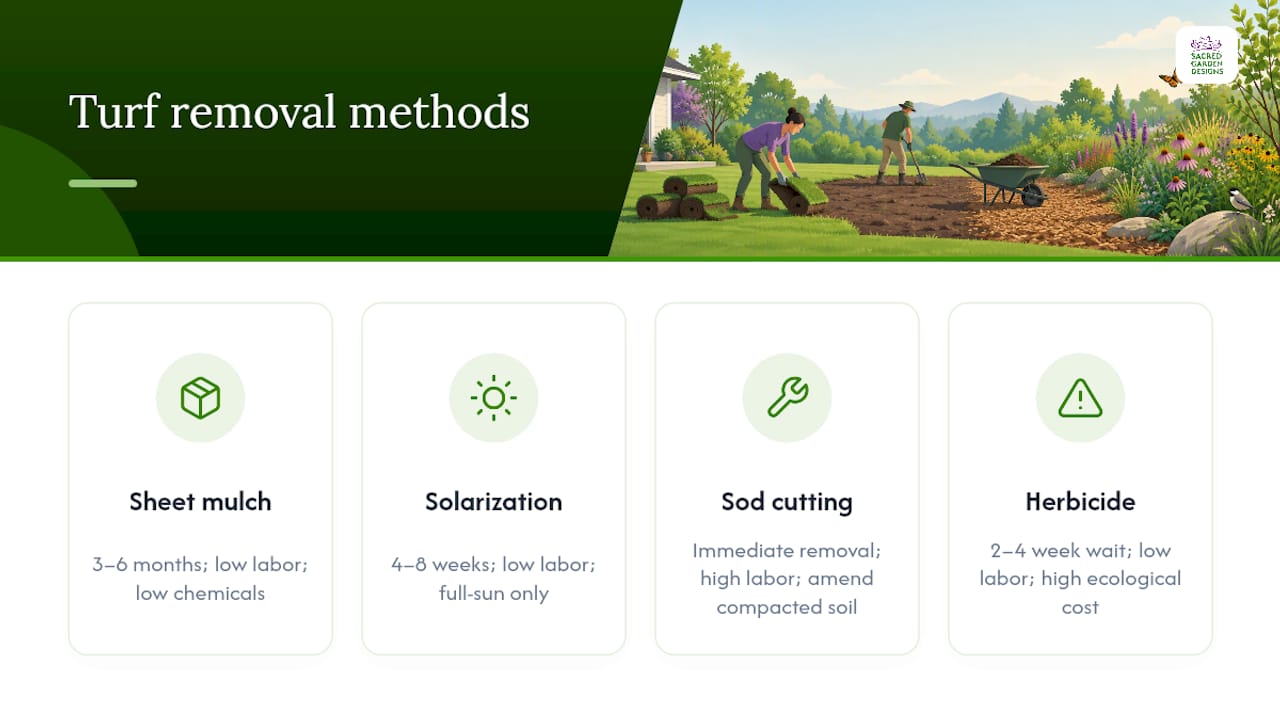
Herbicide: Follow label directions exactly, and respect the waiting period before seeding, often two to four weeks depending on the product. It’s the fastest option for aggressive rhizomatous grasses, but it carries the most ecological trade-offs of the four methods.
On any slope, add erosion control such as jute matting or clean straw before seeding, since bare soil on an incline washes out fast in the first hard rain, a detail the Alliance for the Chesapeake Bay’s conversion guide flags as a common failure point.
Pro Tip: Whichever method you choose, avoid tilling the exposed soil afterward. Tilling brings dormant weed seeds to the surface and can undo weeks of suppression work in a single afternoon.
Which Native Plants Should You Choose, and Where Do You Buy Them?
Straight-species natives, not cultivars bred for flower color or compact form, are the backbone of a wildlife-first garden. Research on nativars shows that breeding for looks often quietly strips away nectar and pollen rewards, which matters if your goal is feeding pollinators rather than just filling space.
Build your palette around the 70/30 rule, then layer plant forms to match your site’s actual conditions:
- Grasses and sedges anchor sunny, well-drained areas and provide winter structure.
- Forbs (flowering perennials) carry the bloom sequence from early spring through fall.
- Shrubs fill mid-height layers and give birds cover and nesting sites.
- Trees, where space allows, anchor shaded understory beds and support the widest range of insect life over time.
Stagger bloom times deliberately so something is flowering from April through October. A meadow with everything blooming in June and nothing after looks great for one month and does little for pollinators the rest of the season.
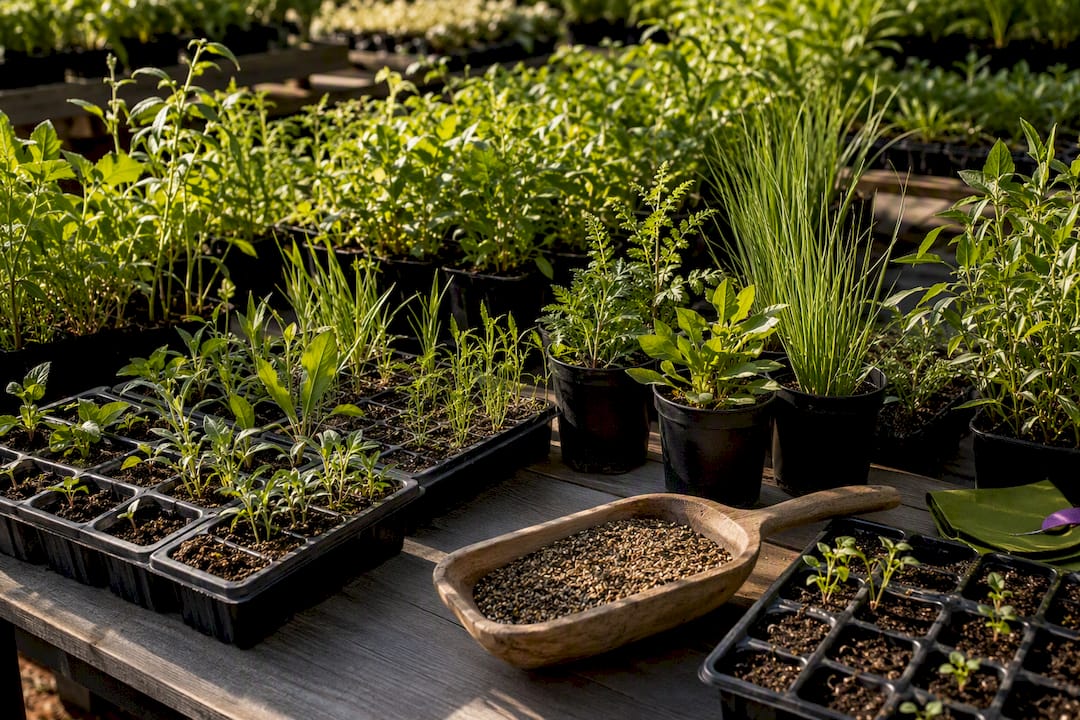
Seed mixes cost less and offer more genetic diversity per square foot, but take longer to fill in and need patience through a scraggly first year. Container plants and plugs cost more per square foot but establish faster and give you immediate structure around focal points, an approach the Georgia pollinator meadow guide recommends pairing together. Buy from local independent native plant nurseries or your state native plant society’s plant sales, and specifically ask for local ecotype seed rather than generic regional mixes. Skip aggressive spreaders like some goldenrod varieties near small beds unless you’re prepared to manage their spread.
What Does the First Three Years of Maintenance Look Like?
Establishment is not instant, and treating it like a normal lawn install sets you up for disappointment. Plan on active involvement for the first year, tapering effort by year three.
- Year 0 to 1: Water new plantings about 1 inch per week during the first growing season, mulch beds (but go lighter in meadow-style seedings, where thick mulch can smother small native seedlings), and check weekly for weeds while seedlings are still small and easy to mistake for grass.
- Year 2: Cut back irrigation as root systems deepen, mow or brush-cut once or twice to knock down annual weeds before they set seed, and fill any bare patches with additional plugs.
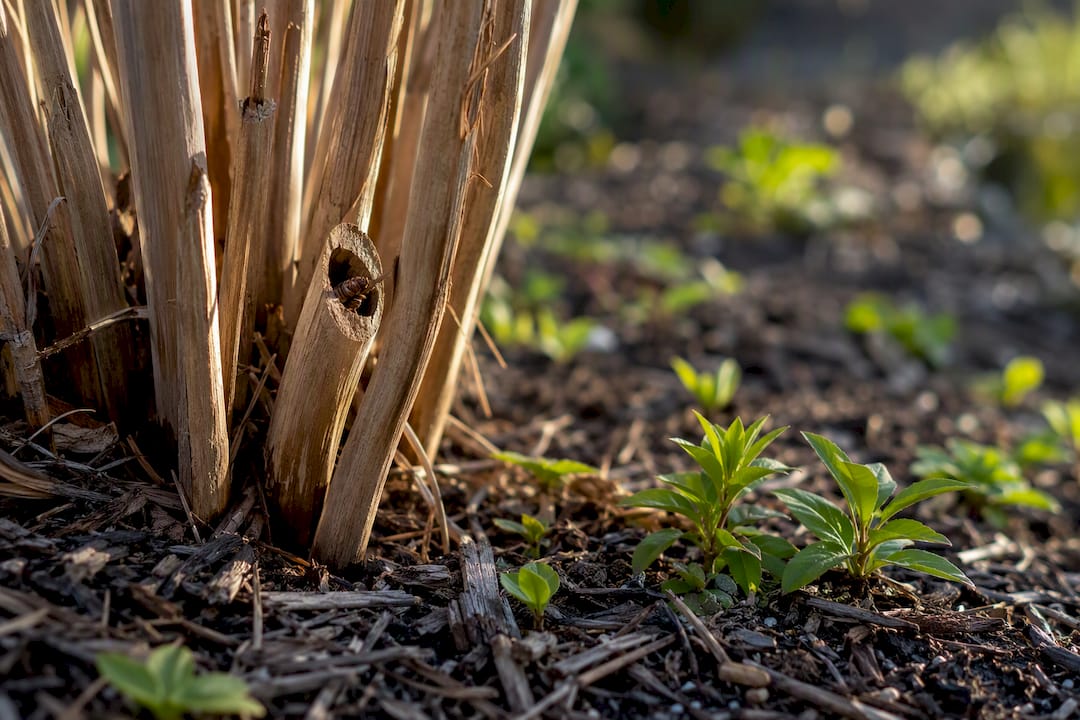
- Year 3 and beyond: Shift to mosaic mowing (cutting sections in rotation rather than the whole area at once), leave standing stems and leaf litter over winter, and consider a controlled burn if your local fire code and lot size allow it.
Landscapes that reach 50 to 70% native cover typically need 55 to 70% less supplemental irrigation than turf-dominated yards once established, and that same threshold supports 4 to 8 times more caterpillar species, a proxy for the whole food web above them, from songbirds to native bees.
Two mistakes trip up most first-timers. Over-mulching a meadow planting suffocates the very seedlings you’re trying to grow. And cleaning up too early in spring, before nighttime temperatures reliably clear 55°F for a week, kills overwintering insects still tucked into last year’s stems.
How Do You Design a Native Garden That Still Feels Livable?
You don’t have to give up your whole yard to gain habitat. Most successful conversions keep some lawn and layer native plantings around it with intention.
- A pocket meadow in one corner is the lowest-risk starting point, especially along a fence line or side yard nobody uses for play.
- Perimeter strips along property edges create a habitat border while keeping the center lawn intact for kids or pets.
- Understory beds beneath trees put shade-tolerant natives where grass struggles to grow anyway.
- A full-lawn conversion delivers the biggest ecological payoff but takes the most upfront labor and patience.
Keep a mowed path or small recreation patch if your household needs it. Phase big projects: clear one edge first, use plugs for anchor plants you want blooming right away, and fill the rest with seed mix over time. Add a couple of small trees or shrubs early since they take the longest to mature into real structure.
When Does It Make Sense to Bring in a Professional?
Complex sites push past what most weekend DIYers want to tackle alone. Steep slopes with erosion risk, an outdated irrigation system that needs a full redesign, or an HOA that requires formal plans are all good reasons to call in help.
A design-build engagement typically starts with a site assessment covering sun, soil, and drainage, moves into a planting palette matched to those conditions, and finishes with installation plus a follow-up plan for the establishment period. That structure is exactly what separates a garden that survives its first dry summer from one that doesn’t.
The firm has extensive experience building sustainable, drought-wise landscapes, offering services from full design and installation to irrigation overhauls and small-yard packages. For homeowners who want guided DIY support instead of a full installation, the firm’s classes and workshops cover the same principles at a smaller scale.
A Final Word on Patience and Payoff
Nobody converts a lawn overnight, and the gardens that struggle are usually the ones rushed past year one. Start small: one bed, one pocket meadow, one fence line. Watch what shows up, adjust, and expand from there.
Your local extension office or native plant society will know region-specific species and timing better than any general guide, including this one. And if a slope, an irrigation redesign, or an HOA form feels like more than you want to handle solo, hiring help isn’t a failure. It’s a shortcut to the wildlife and water savings you were after in the first place.
— Denise Buchanan
Ready to Convert Your Lawn? Here’s Where to Start
Most guides hand you a checklist and leave you to sort out sun angles, drainage, and plant sourcing on your own. Sacredgardendesigns skips that gap: over 25 years, the firm has built its practice specifically around drought and climate challenges in Southern California yards, which means the plant palette and irrigation plan you get are matched to conditions you actually have, not generic advice.
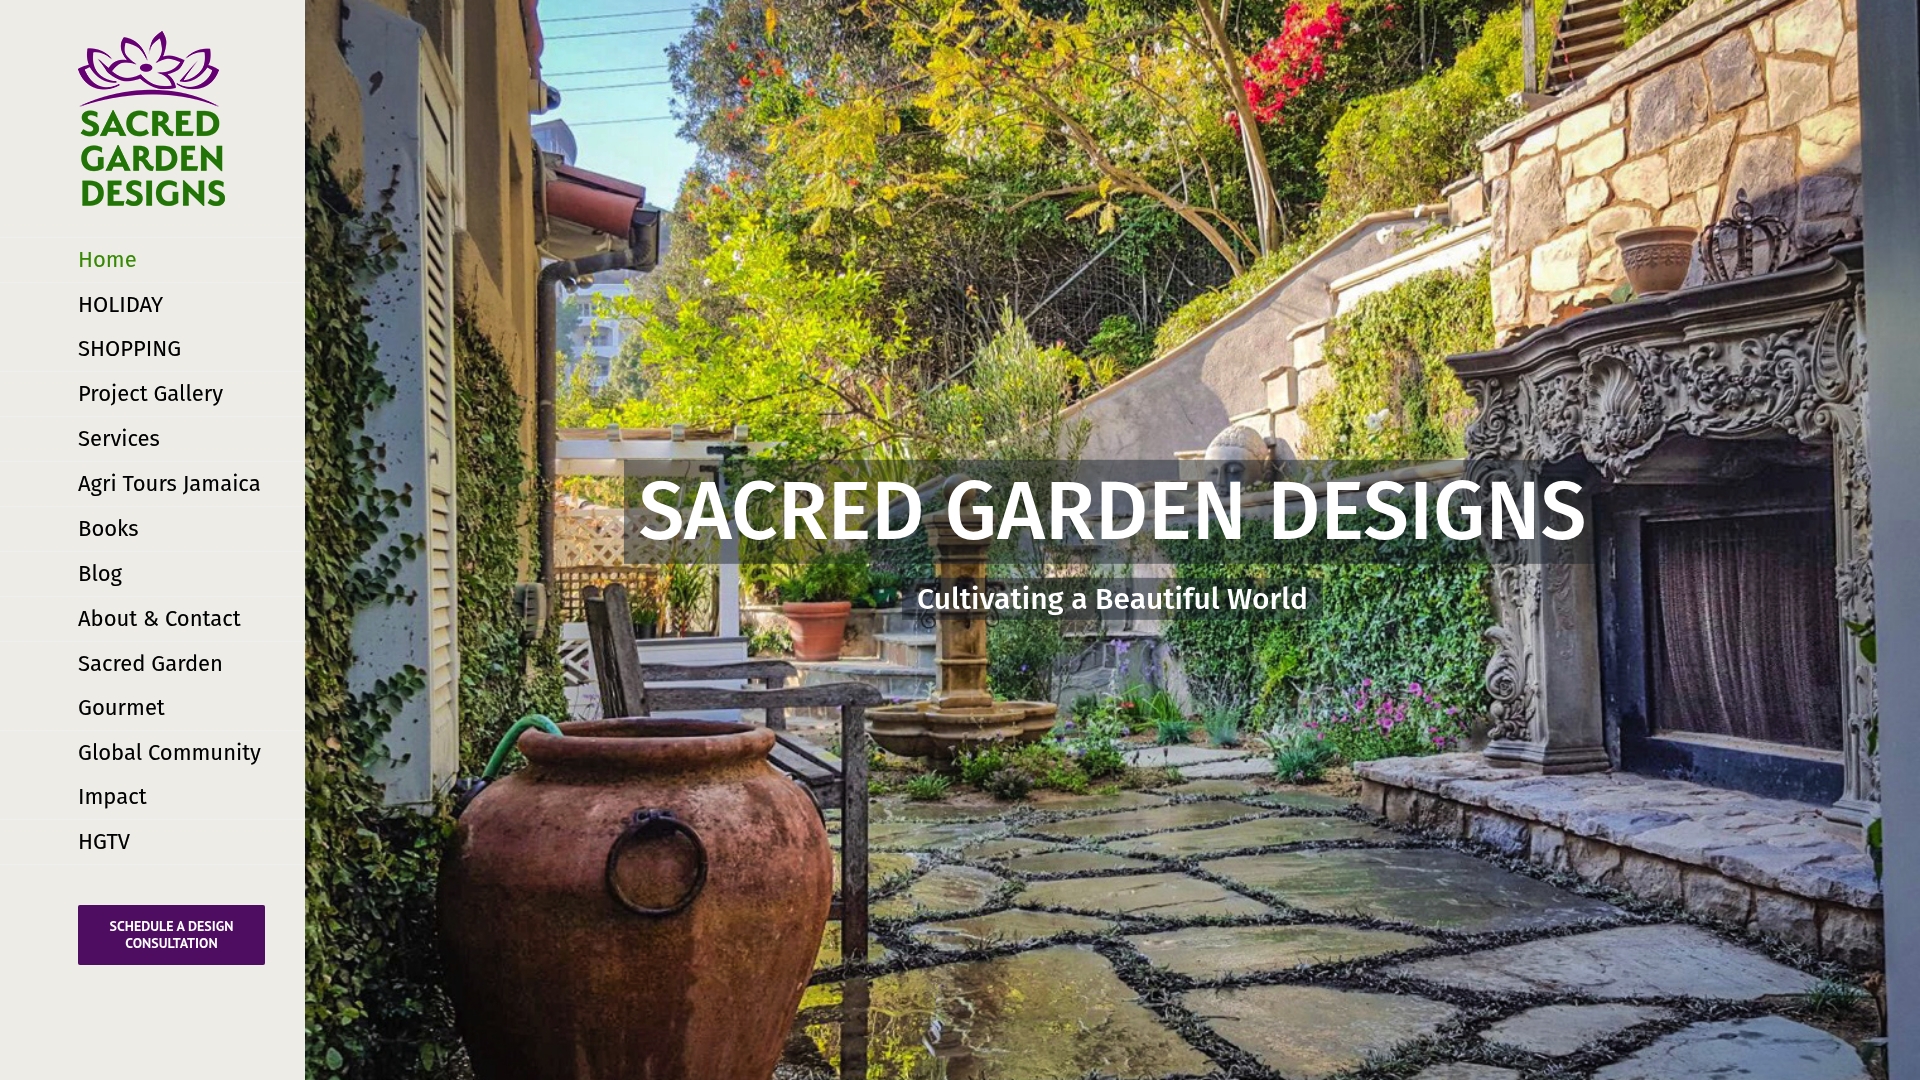
If your project is a smaller front yard or side strip, the landscape design services for yards under 5,000 square feet start at a fixed $1,500, and full landscape design runs from $2,500. For bigger or more complex properties involving slopes, irrigation overhauls, or full installation, the sustainable landscape design and installation services cover site assessment through planting and cleanup. Prefer to learn the techniques yourself first? The Sacred Garden classes and workshops walk you through the same native-first approach in a hands-on setting. Book an initial consultation to get a site-specific plan before your next planting season arrives.
Where to Learn More Before You Plant
A few extension and conservation resources go deeper than any single article can on region-specific species and timelines. The North Carolina Cooperative Extension’s meadow conversion guide covers establishment-year watering and mulch guidance in detail. The Georgia Botanical Garden’s pollinator meadow guide walks through multi-year management, including mowing and burn schedules. Check with your own state’s extension office or native plant society for planting lists suited to your exact region.
Sources
- Plant 50 to 70% native and your yard will benefit more wildlife
- Turning your lawn into a meadow
- Georgia Landowners’ Guide to Establishing and Managing Pollinator Meadows
FAQ
What Is the 70/30 Rule in Gardening?
The 70/30 rule means planting at least 70% native species by area, leaving 30% for ornamentals or transitional plantings. Yards that hit this 70% native threshold support several times more caterpillar species and need far less supplemental irrigation than lawns dominated by non-native turf.
How Do You Turn a Lawn Into a Wildflower Garden?
Suppress the existing grass with sheet mulching, solarization, or sod cutting, then seed or plant a native wildflower and grass mix matched to your site’s sun and soil. Expect the meadow to look sparse in year one, fill in during year two, and reach a settled, lower-maintenance state by year three.
Can You Just Throw Grass Seed on the Ground and Expect It to Grow?
Scattering seed on unprepared soil rarely works well because existing grass, weeds, and poor seed-to-soil contact choke out new growth. Native seed germinates far more reliably when it’s sown on bare, prepared ground, and many species do best with late-fall or early-winter seeding so winter freeze-thaw cycles help work seed into the soil.
How Can You Convert Your Lawn Into a Garden?
Remove or suppress the turf with a method suited to your site, choose natives matched to your sun, soil, and moisture, and plant in the appropriate season for your region. Budget 1 to 3 years for full establishment, and consider a professional design and installation service if your site involves slopes, irrigation changes, or other complexity.