Yes, sheet mulching can convert most lawns into garden beds when you layer the materials correctly and give the process time. Expect several months of decomposition before planting readiness, with OSU Extension noting six months or longer in many cases. It works best on low-traffic, flat to gently sloped ground, and tougher grasses like Bermuda often need extra prep first.
TL;DR:
- Sheet mulching typically takes four to six months to decompose enough for planting, with longer times possible in cooler or drier climates.
- It is most effective on low-traffic, flat to gently sloped areas and may require extra prep for aggressive grasses like Bermuda.
- Use 8 to 10 sheets of newspaper or plain cardboard layered over cleared grass, topped with 3 to 6 inches of mulch, often including a compost layer for faster soil building.
- Thick cardboard and deeper mulch layers offer stronger weed suppression but extend the decomposition period, especially with stubborn rhizomatous weeds.
- Starting small is recommended to avoid common mistakes such as gaps in cardboard, mulch spread too thin, or piling mulch against tree trunks.
Table of Contents
- What sheet mulching is and when it makes sense
- Materials and quantities to gather first
- Step-by-step installation from start to finish
- How long it takes and handling stubborn weeds
- Planting into the bed and keeping it healthy
- Site checks a landscape professional runs before recommending sheet mulch
- Start small and expect a few missteps
- Getting help from Sacred Garden Designs for your lawn conversion
- Where to read more on sheet mulching
- Sources
- FAQ
What sheet mulching is and when it makes sense
Sheet mulching is a no-dig method that smothers grass and weeds by layering cardboard or newspaper under bulk mulch, letting the barrier block light while it breaks down and feeds the soil beneath. You skip tilling entirely, which protects soil structure and the organisms living in it.
The main draws are weed suppression, better water retention, and less ongoing maintenance once the bed is established. Because you are building organic matter into the ground instead of stripping it away, soil health tends to improve over time rather than degrade.
It is not the right fit everywhere. Areas with heavy foot traffic, steep slopes, or aggressive rhizomatous grasses need adjustments or a different approach before you commit a whole yard to the method.
Materials and quantities to gather first
Before you break ground, round up your barrier material and mulch. Plain brown corrugated cardboard works well, or you can use 8 to 10 sheets of newspaper layered together, based on the OSU Extension guidance on material thickness. Strip off all tape, staples, and glossy labels before laying anything down.
For the top layer, wood chips, straw, or shredded bark all work, and extension guidance commonly points to a depth of 3 to 6 inches for good weed suppression.
- Cardboard (plain, uncoated) or 8 to 10 sheets of newspaper
- Bulk mulch, 3 to 6 inches deep once settled
- Optional 1 to 2 inches of compost as a nitrogen boost between layers
- A mower or string trimmer, an edger, a utility knife, and a hose or sprinkler for wetting materials as you build
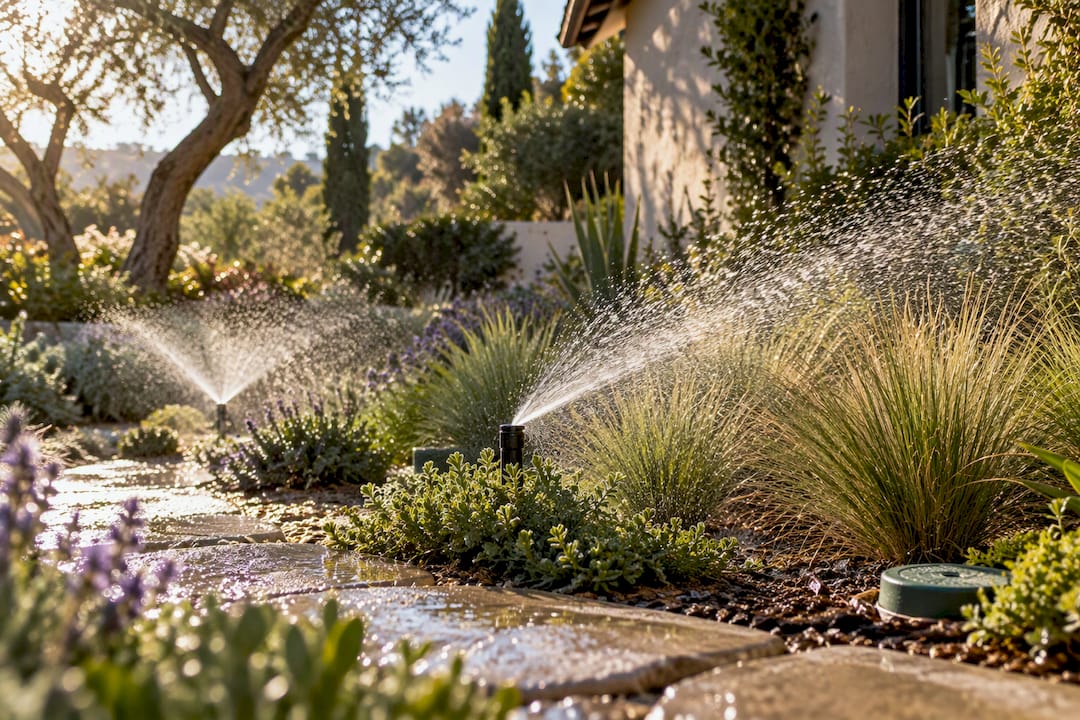
A drip irrigation line is worth considering if you plan to plant into the bed within the same season, since cardboard can slow water movement to the soil below.
Step-by-step installation from start to finish
Once your materials are staged, the actual build moves fast. Most homeowners can sheet mulch a modest yard in a weekend.
- Mow the grass as short as your mower allows, then remove any large woody weeds or brush by hand so the barrier lies flat.
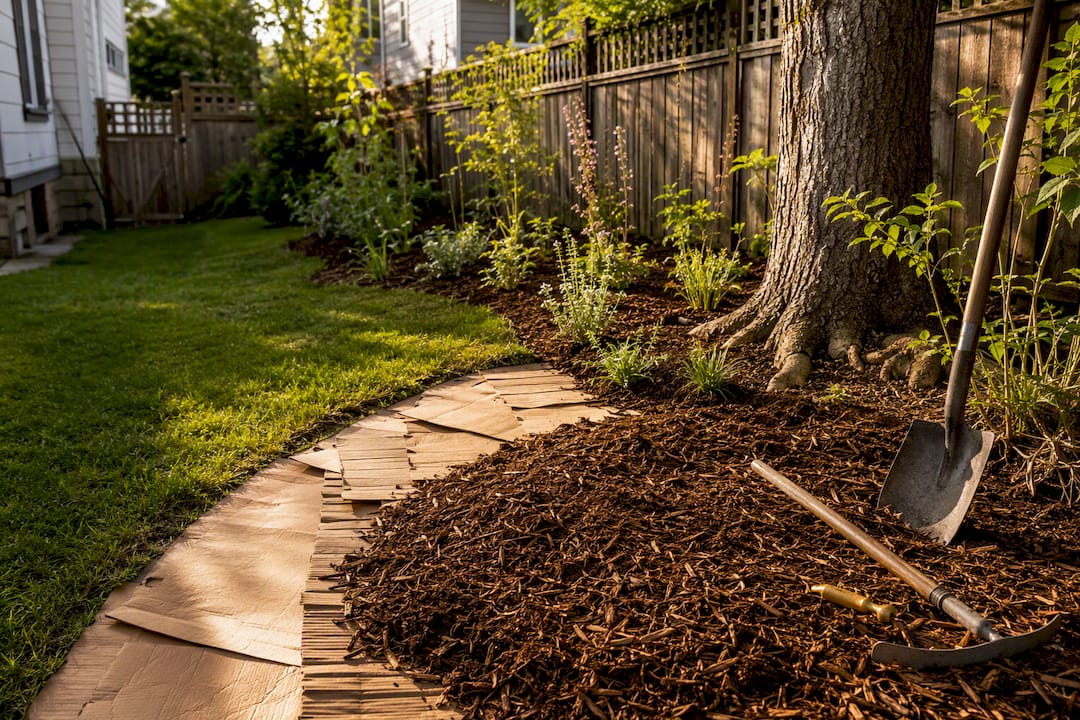
- Dig a shallow trench along the bed’s edge, a few inches deep, and tuck the cardboard into it to discourage grass from creeping back over the top.
- Lay your cardboard or newspaper barrier over the area, overlapping each piece by 6 to 10 inches, a margin UC ANR points to as critical for blocking regrowth. Cut holes for any trees or shrubs you are keeping, and pull off any leftover tape or staples as you go.
- Wet the barrier thoroughly before mulching, add an optional 1 to 2 inch compost layer, then top with 3 to 6 inches of bulk mulch, watering in stages so everything settles rather than blowing away.
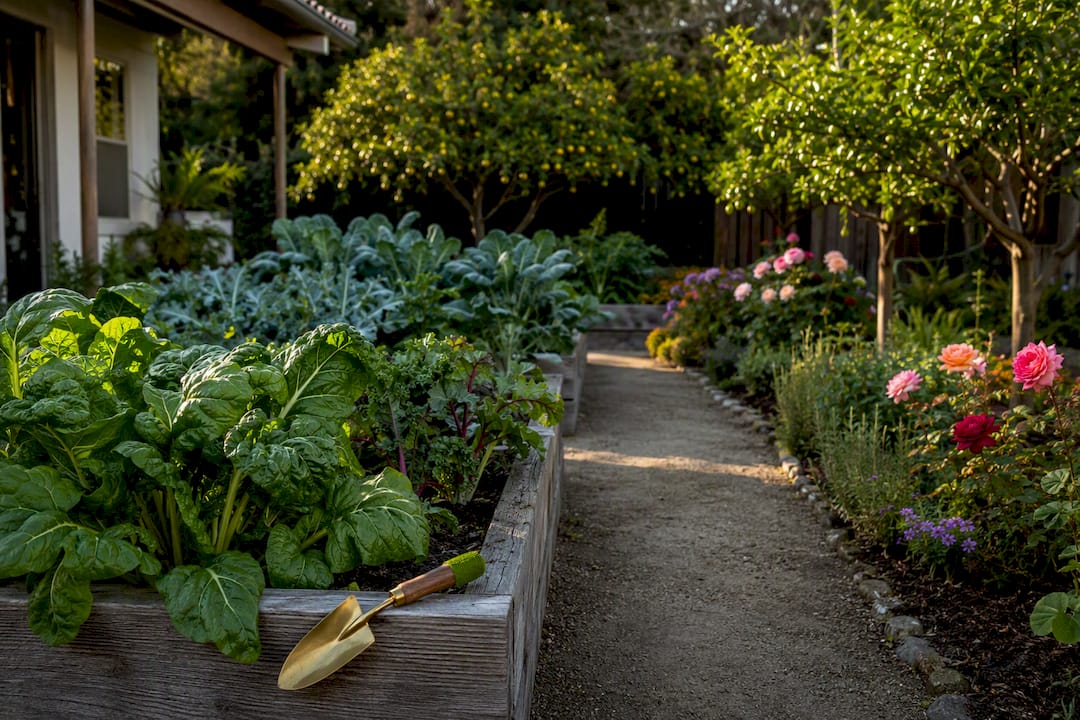
- For deeper “lasagna” beds meant for vegetables, alternate carbon materials like dried leaves with nitrogen sources like grass clippings before the final mulch layer, a technique NC State Extension recommends for building soil faster.
Secure loose edges with landscape staples or extra soil on windy sites, and keep mulch pulled back a few inches from any young stems so trunks do not stay damp against the bark.
Pro Tip: Soak the cardboard with a hose right before you mulch over it. Dry cardboard resists water later and can shed rain instead of absorbing it.
Check under the mulch every few weeks. Once the cardboard has softened and started breaking apart, usually a few months in, you are close to planting territory.
How long it takes and handling stubborn weeds
Plan on 4 to 6 months for a standard sheet mulch to break down, though OSU Extension notes it can take six months or longer depending on climate and material thickness. Cooler, drier regions slow things down, while consistent moisture and warmth speed decomposition.
Thicker cardboard and deeper mulch layers take longer to break down but offer stronger initial weed control, so the tradeoff is patience versus suppression strength.
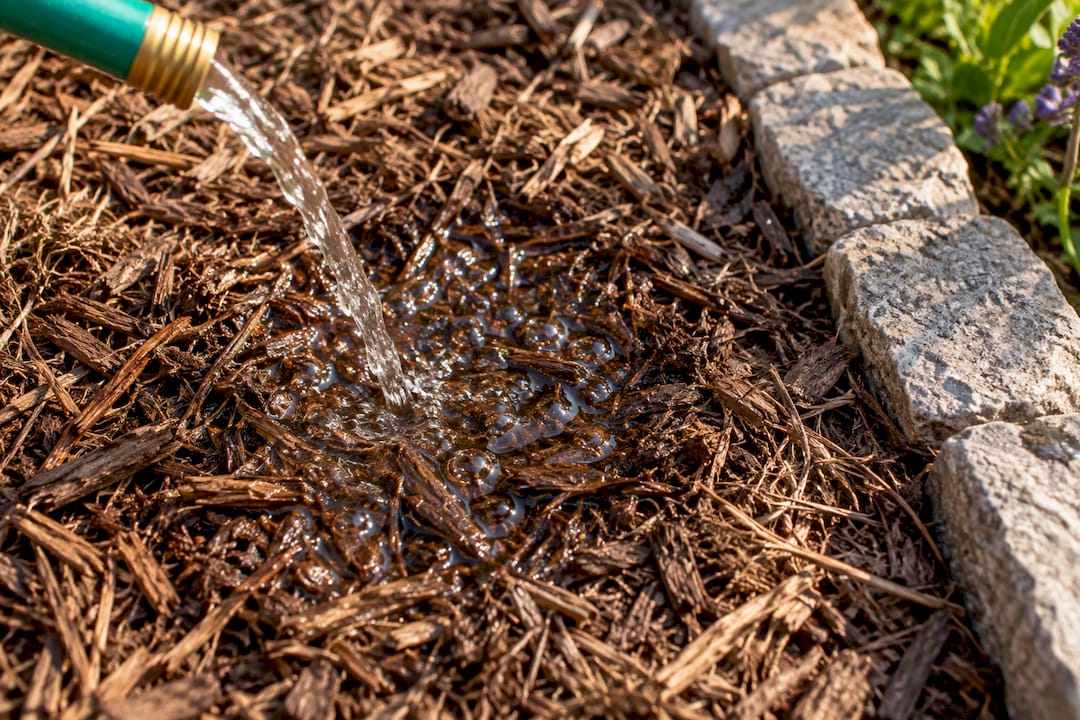
Persistent rhizomatous grasses like Bermuda or quackgrass are the exception that needs extra work. A single sheet mulch pass often is not enough, so combining spot-stripping runners, repeated layering, or a short period of solarization tends to give more reliable results than one attempt alone. Watch for hydrophobic mulch, where the top layer dries out and repels water instead of absorbing it, and keep new beds off-limits to regular foot traffic until they settle.
Planting into the bed and keeping it healthy
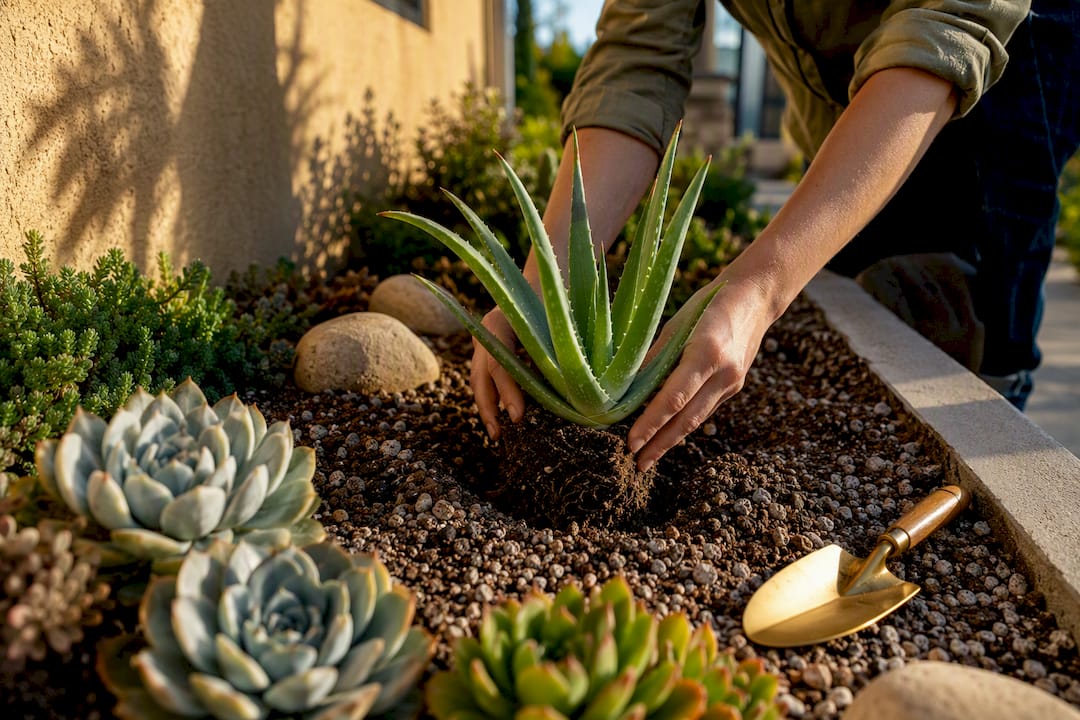
You can plant immediately by cutting an X-shaped hole through the mulch and cardboard, making sure the root ball reaches native soil underneath. Waiting until the cardboard has mostly decomposed gives roots an easier path and reduces transplant stress, so it is often the better call for permanent shrubs or trees.
Once established, a few habits keep the bed working:
- Top off mulch annually as it settles and breaks down further.
- Spot-weed by hand rather than disturbing the barrier underneath.
- Keep mulch pulled back from stems and trunks to prevent rot.
- Consider running drip irrigation under the barrier for beds meant to last several years, since cardboard can limit water and air movement once it is soaked.
Keep mulch clear of the base of fences, decks, or your home, and follow your local fire-safe landscaping guidance if you live in a defensible-space zone.
Site checks a landscape professional runs before recommending sheet mulch
A landscape professional walks a site for drainage patterns, slope, and whether the turf includes rhizomatous grasses that resist a single mulch pass before recommending the method. Proximity to structures, existing trees, and irrigation lines all factor into how a bed is laid out.
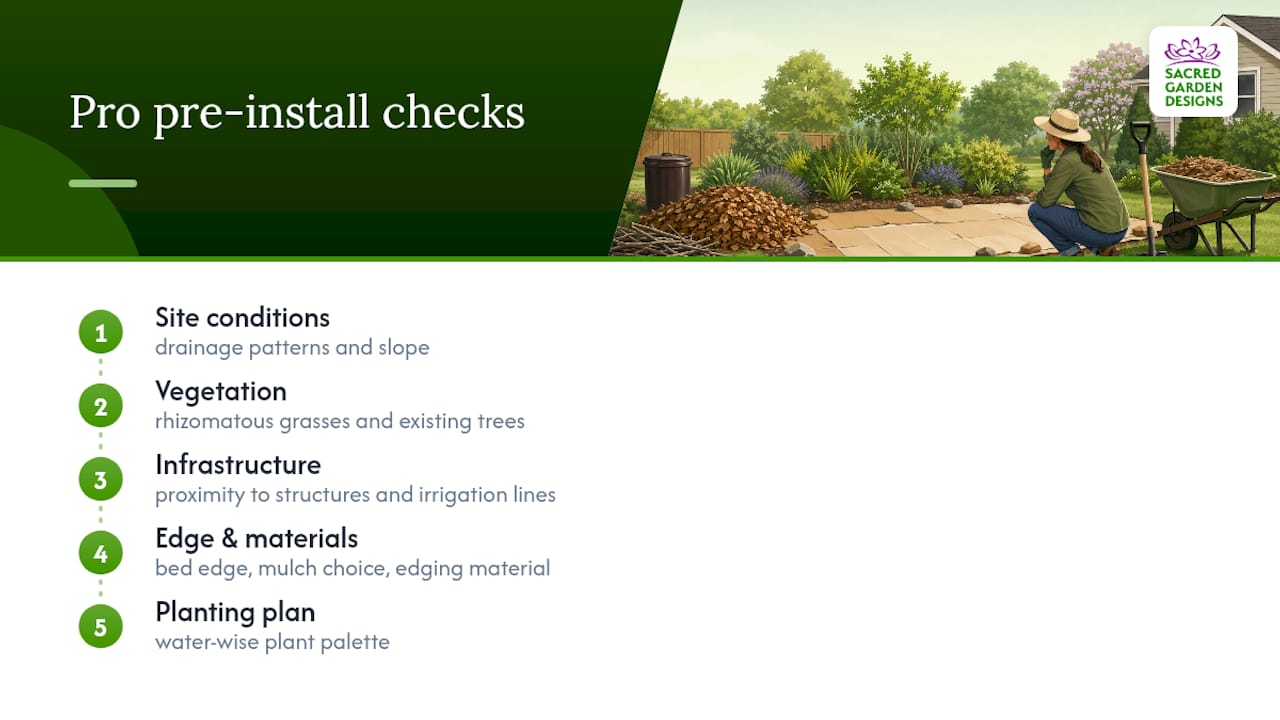
On the design side, the edge where turf meets bed matters as much as the mulch itself. Mulch choice, edging material, and a water-wise plant palette all shape how the transition reads once the lawn is gone. For yards with tricky slopes, aggressive grasses, or a design vision beyond a basic bed, a professional site visit or a hands-on workshop often saves more time than trial and error.
Start small and expect a few missteps
Sheet mulching rewards patience more than perfection, and the biggest lesson I have seen homeowners learn the hard way is to start with a small patch before committing an entire yard. Gaps in the cardboard, mulch spread too thin, and mulch piled against tree trunks are the three mistakes that undo most first attempts.
If your yard is large or the grass is stubborn, a workshop or a short consultation can save you a season of guesswork.
— Denise Buchanan
Getting help from Sacred Garden Designs for your lawn conversion
If sheet mulching a full yard feels like more than you want to tackle alone, Professional services offer a faster route to the same result without the months of watching cardboard break down.

- A site visit assesses drainage, slope, and grass type before any design work starts.
- Sustainable landscape design and installation turns the plan into a finished bed, handled start to finish.
- Classes and workshops teach the hands-on technique if you would rather learn and do it yourself.
Booking starts with an initial landscape consultation, and from there you get a custom plan and an installation timeline suited to your yard. Explore landscape design and installation services to see what fits your space, or check the classes and workshops page if hands-on learning is more your speed.
Where to read more on sheet mulching
For deeper detail, the OSU Extension publication covers materials and timing, UC ANR breaks down common mistakes, and NC State Extension covers seasonal timing and layering. AgriLife Today adds practical notes on cardboard and irrigation.
Sources
- Sheet mulching and lasagna composting with cardboard | OSU Extension Service
- Sheet mulching cardboard dos and don’ts | UC ANR
- Sheet mulching | NC State Extension
- Use cardboard to stop weeds in your garden – AgriLife Today
FAQ
What are the downsides of sheet mulching?
The main downsides are the wait time, which often runs 4 to 6 months or longer according to OSU Extension, and its limited effectiveness against aggressive rhizomatous grasses without extra prep. It also is not ideal for heavily trafficked areas or steep slopes, and cardboard can slow water movement to the soil below once it is soaked.
Is sheet mulching worth it?
For most homeowners converting a low-traffic lawn area into a garden bed, yes, since it builds soil health while suppressing weeds without tilling. It takes patience rather than heavy labor, which makes it a practical option if you are not in a rush to plant.
How long does it take for sheet mulching to work?
Standard sheet mulch beds typically need 4 to 6 months to break down enough for planting, though OSU Extension notes it can take six months or longer depending on climate and material thickness. You can plant sooner by cutting through the layers, but waiting gives roots an easier path into the soil.
What time of year to sheet mulch?
Fall is often the favored season because winter moisture speeds decomposition, leaving beds ready for spring planting, a pattern NC State Extension points to for many climates. If you start in spring instead, plan for a longer wait or a shallower build if you want to plant sooner.