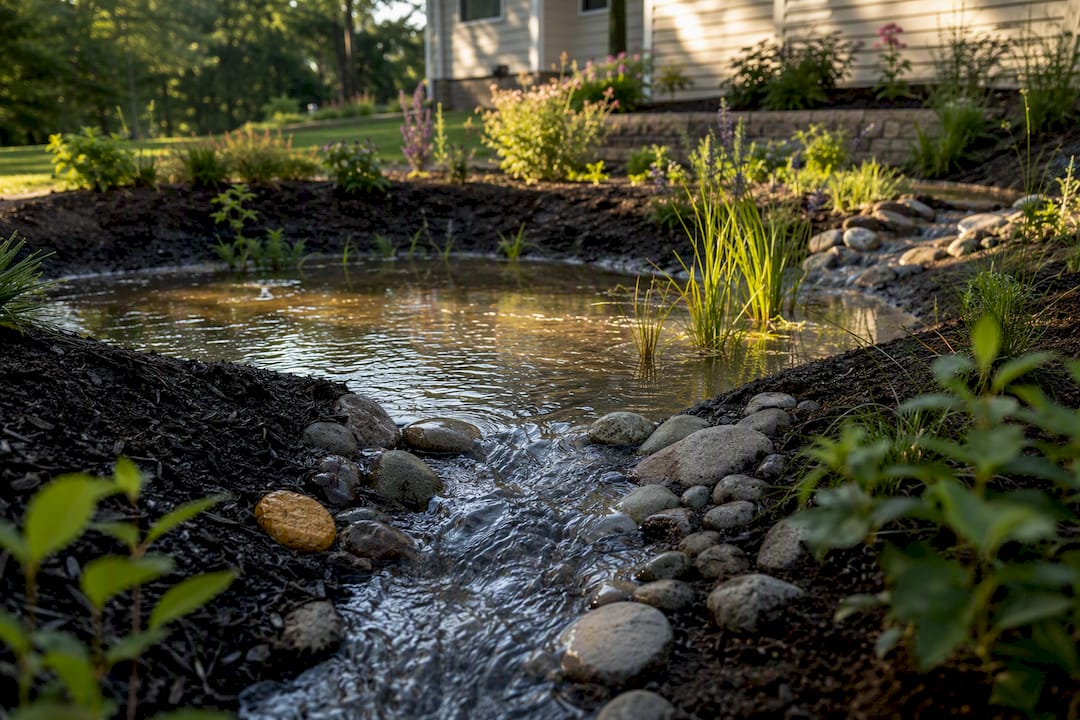
A bioswale is a vegetated channel engineered to treat the water-quality volume of runoff while conveying storm flow safely downstream. Before drawing anything, check three things: infiltration rate (aim for at least 0.5 inches per hour, or plan an underdrain), longitudinal slope (0.5 percent to 4 percent, with check dams above 2 percent), and available area sized to the site’s water-quality volume. Fail any of those checks and you’re better off with a different best management practice or an engineered variant with more hardware.
TL;DR:
- Bioswale design must meet infiltration rates of at least 0.5 inches per hour, with proper slope and sizing based on water-quality volume and site conditions.
- Achieving a hydraulic residence time around 10 minutes at flow velocities below 1.0 foot per second is critical for effective pollutant removal.
- Components like engineered media, underdrains, check dams, and proper site sequencing are vital to prevent early failure and long-term performance issues.
- Proper plant selection involves native, moisture-tolerant species that require no supplemental irrigation and tolerate both wet and dry periods.
- Regular inspection, sediment removal, and correct construction sequencing, especially avoiding early installation, are essential for a functioning bioswale system.
Table of Contents
- Bioswale Design Principles: Sizing, Residence Time, and Velocity
- Bioswale Components and Materials That Hold Up Over Time
- How Do You Choose Plants for a Bioswale?
- Construction Best Practices That Prevent Early Failure
- How Do You Calculate the Size of a Bioswale?
- Bioswale Maintenance Guide: What to Inspect and When
- Site Constraints and Regulatory Considerations for Bioswale Projects
- An Editorial Note on Author Credentials and Firm Approach
- Where to Verify Bioswale Design Criteria
- What Actually Determines Whether a Bioswale Works
- Get a Bioswale That Actually Performs, Not Just Looks Good on Paper
- Sources
Bioswale Design Principles: Sizing, Residence Time, and Velocity
Every credible bioswale design starts with the water-quality volume, or WQv, the first flush of runoff that carries the bulk of a storm’s pollutant load. Size the swale to capture and treat that volume rather than the full storm hydrograph, and you’ll match the approach NACTO recommends for urban street applications.
Two numbers decide whether the design actually cleans the water: hydraulic residence time and flow velocity. The EPA’s swale guidance sets an optimum residence time around 10 minutes, with 5 minutes as a floor for partial pollutant-removal credit. Velocity matters just as much. Water moving faster than roughly 1.0 foot per second scours sediment loose instead of settling it, undoing whatever the vegetation and media were supposed to do.
A few rules of thumb make preliminary sizing fast:
- Surface area (roughly) equals WQv divided by your chosen ponding depth.
- Ponding depth typically runs 6 to 12 inches above the media surface.
- Engineered media depth runs 24 to 48 inches, depending on underdrain need and available fill.
- Longitudinal slope should sit between 0.5 and 2 percent for gravity flow without erosion; up to 4 percent is workable if check dams break the energy.
Underdrains become mandatory, not optional, when native soils infiltrate slower than about 0.5 inches per hour or when a high water table sits close to the swale invert. Above that infiltration threshold, an open-bottom design can rely on native soil to do the work, cutting cost and piping. Below it, you’re building a lined system whether you planned to or not.
Bioswale Components and Materials That Hold Up Over Time
The engineered media is the workhorse, and its recipe is not negotiable if you want the swale to keep infiltrating five years from now. A loamy sand or sandy loam blended with compost, holding around 10 percent organic content, clay under 5 percent, and a pH between 5.5 and 7.0, matches what NACTO and county manuals specify for infiltration rates between 5 and 10 inches per hour. Media depth generally runs 2 to 4 feet.
Component specifications worth confirming on any plan set:
- Underdrain pipe: minimum 4 inches, commonly 6 to 8 inches, perforated, wrapped in No. 57 aggregate.
- Pipe slope: enough to drain by gravity, typically 0.5 percent minimum, without ponding water inside the pipe itself.
- Geotextile fabric: separates media from the gravel reservoir below, preventing fines from migrating and clogging the stone.
- Gravel bridging layer: a transition course between engineered media and the drainage aggregate, sized to keep media particles from washing down into the pipe bed.
- Forebay or inlet pretreatment: a small sediment-trapping basin at the inlet that catches grit before it reaches the planted channel.
Check dams deserve their own line item. Spaced to break the swale into a stepped profile, they slow velocity and force settling exactly where you want it, and county design manuals like Anne Arundel County’s treat dam spacing as a function of slope, not an afterthought. Skip the forebay and you’re asking the vegetation to filter grit it was never meant to handle.
How Do You Choose Plants for a Bioswale?
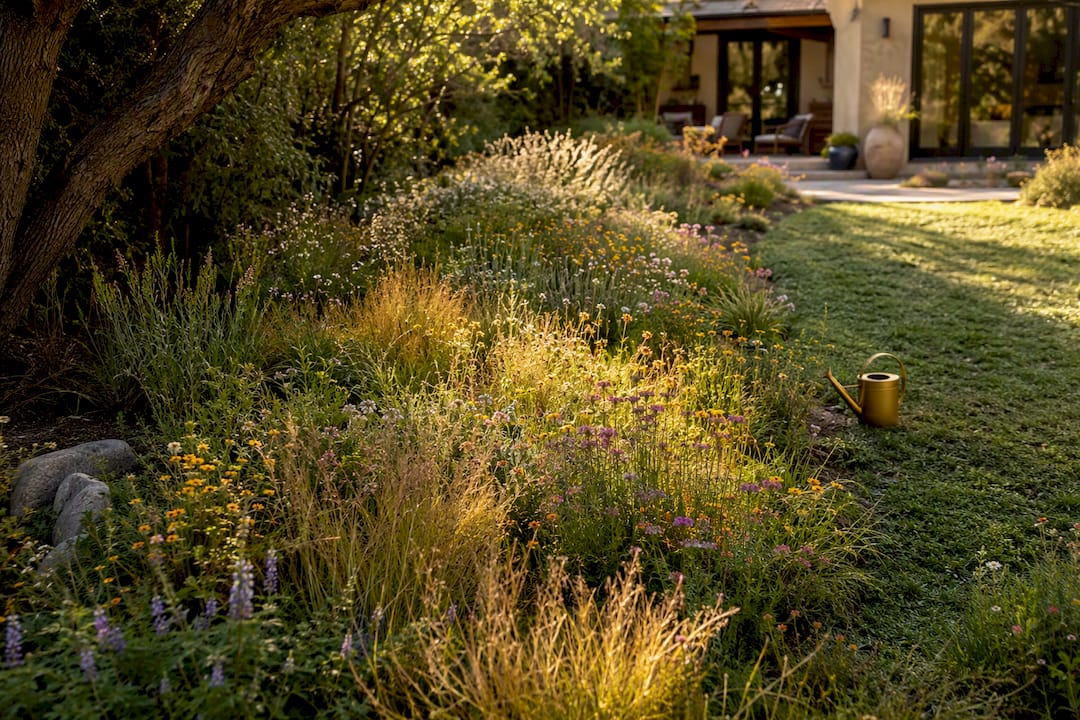
Plant selection is really about picking species that tolerate contradiction: soaking wet after a storm, bone dry two weeks later. Sedges, rushes, native grasses, and moisture-tolerant perennials handle that swing better than turf or ornamentals ever will, and their root systems hold the channel banks together while pulling nutrients out of the water column.
A well-established bioswale should need no supplemental irrigation beyond drought periods, according to Clemson’s extension guidance, which is a strong argument for choosing tough natives over anything that expects a sprinkler line.
Key planting decisions:
- Favor deep-rooted species with low nutrient demands over shallow, fertilizer-hungry ornamentals.
- Plant dense, often single-species stands during establishment. It simplifies weed identification and control in the first one to two years.
- Mulch and add erosion-control matting on slopes until roots knit the soil together.
- Water on a defined establishment schedule, typically the first one to two growing seasons, then taper off.
Dense planting also does double duty as pollinator habitat and a small pocket of urban cooling, but leave the swale’s low-flow channel clear. Plant it too thick down the center and you choke the very conveyance path the design depends on.
Pro Tip: Walk the swale during the first real storm after planting. If water sheets around clumps of vegetation instead of through them, thin that spot before it erodes a bypass channel.
Construction Best Practices That Prevent Early Failure
- Stabilize the entire drainage area first. Installing a bioswale before upstream soil is locked down invites a flood of construction sediment that clogs media almost immediately.
- Build the forebay and inlet energy dissipators before the main channel goes in, so the first flows into the system already have some sediment control.
- Install the underdrain and surrounding aggregate, checking pipe slope and wrap integrity before covering anything.
- Place engineered media in lifts, saturating each lift to encourage natural settling rather than compacting it mechanically.
- Keep heavy or narrow-tire equipment off the swale bottom entirely. Work from the shoulder or use wide-track machines that spread load over a larger footprint.
- If compaction happens anyway, a chisel plow or subsoiler run 12 inches deep before final media placement restores infiltration capacity.
- Test percolation or infiltration on the placed media before planting, confirming the as-built rate matches your design assumptions.
Sequencing matters more than most contractors expect. A design that gets built early as a temporary sediment basin needs full excavation and rework after the site stabilizes, because there’s no shortcut around fines that have already worked their way into the media.
How Do You Calculate the Size of a Bioswale?
- Calculate WQv. Multiply the contributing drainage area by the design storm’s rainfall depth (often the local 1 inch or 90th-percentile storm) and a runoff coefficient for the site’s imperviousness.
- Choose a ponding depth. Most designs land between 6 and 12 inches.
- Compute surface area. Divide WQv by the chosen ponding depth to get the required plan-view swale area.
- Check length against residence time and velocity. Confirm the design achieves close to 10 minutes of hydraulic residence time at a velocity at or below 1.0 foot per second, per EPA guidance.
- Set check dam spacing and confirm underdrain need based on slope and measured infiltration.
Worked example: a 0.5 acre drainage area draining to a swale, with a 1 inch design storm and a runoff coefficient of 0.6, generates roughly 1,089 cubic feet of WQv. Choosing a 9 inch (0.75 foot) ponding depth gives a required surface area near 1,450 square feet. On a 6 foot bottom width, that works out to about 240 feet of swale length, comfortably long enough to hit a 10 minute residence time at low velocity on a 1.5 percent slope.
Steep grades, poor infiltration, or drainage areas beyond a few acres push this past rule-of-thumb territory. That’s when you bring in a civil engineer to model the storm hydrograph and size an overflow structure, since the outlet elevation needs to sit above the design ponding depth without creating a bypass that skips treatment entirely. The Environmental Finance Center Network recommends a 24 to 30 hour drawdown target for the ponded volume, a useful check on whether your area and depth assumptions actually hold water long enough to treat it, but not so long that it breeds mosquitoes.
Bioswale Maintenance Guide: What to Inspect and When
Inspect after major storms, then again on a semi-annual and annual cycle, recording standing water depth, sediment accumulation, and vegetation condition each time.
- Remove debris and scrape accumulated sediment once it exceeds about 3 inches in the forebay or channel.
- Spot-reseed bare patches before weeds colonize them.
- Clean inlet and forebay structures every visit. That’s where sediment settles first.
- Skip fertilizer entirely. Feeding the plants defeats the nutrient-removal purpose of the system.
Standing water that lingers past the drawdown target usually points to a clogged underdrain or compacted media underneath. Erosion channels forming through the vegetation call for added check dams or rock armoring at the inlet. Widespread plant die-off is often a species mismatch or an irrigation history that never let roots adapt to wet-dry cycles. When infiltration testing shows the media has lost most of its capacity, full replacement, not patching, is the honest fix.
Site Constraints and Regulatory Considerations for Bioswale Projects
Keep at least 2 feet of separation between the swale bottom and seasonal high groundwater, and hold structures back at least 6 feet to avoid undermining foundations with saturated soil.
- Skip bioswales on sites with extreme slopes, a high water table, or drainage areas still shedding raw sediment from active construction.
- Confirm design criteria against your local public works department or county stormwater manual. Requirements shift by jurisdiction.
- Expect a maintenance agreement and a construction inspection requirement tied to permit approval on most municipal projects.
- Right-of-way installations need curb cut spacing and sightline review so the swale doesn’t create a traffic hazard at intersections.
An Editorial Note on Author Credentials and Firm Approach
Sacred Garden Designs approaches every bioswale project with a site assessment first, a planting and establishment plan second, and a documented maintenance handoff last, so the system still works long after the crew leaves.
— Denise Buchanan
Where to Verify Bioswale Design Criteria
Consult NACTO for geometry, EPA for performance, and county manuals for permit specifics.
What Actually Determines Whether a Bioswale Works
The conventional advice on bioswale design spends too much time on plant lists and not enough on hydraulics. Plants matter, but a swale with the wrong slope or no energy dissipation at the inlet will scour a channel through the prettiest native planting within two storm seasons. Get the residence time and velocity numbers right first, then worry about species selection.
The bigger gap I see in amateur designs is sequencing. Homeowners and even some contractors treat the bioswale as a landscaping feature to install alongside everything else, rather than the last thing that goes in after the site stops shedding sediment. That single mistake, installing early, causes more premature clogging than any media specification error.
If you’re evaluating a design or a contractor’s proposal, prioritize three questions: What’s the measured infiltration rate, not the assumed one? What’s protecting the inlet from concentrated flow? And who’s responsible for maintenance once the punch list closes? Everything else is detail work around those three answers.
— Denise Buchanan
Get a Bioswale That Actually Performs, Not Just Looks Good on Paper
A lot of bioswale installs fail within a few years because the contractor treated it as a planting bed with a fancy name instead of an engineered stormwater system. The company builds bioswales starting with site assessment and infiltration testing, followed by a media and planting plan suited to the soil, and provides a documented maintenance handoff.

That approach comes from extensive experience designing water-wise landscapes, recognized with industry awards and nominations. For a lawn or bed area adjacent to your swale that also needs seasonal upkeep, resources like YardWoo Lawncare cover complementary maintenance techniques worth knowing. If you’re weighing whether your property can support a bioswale or need one designed and built correctly the first time, start with a site consultation from Sacred Garden Designs and get a real answer before you dig anything.