A good school garden design starts with agreed goals, then a careful read of the site, then a layout that fits both. Plants and beds come last. Schools that reverse the order often end up with a pretty plot in the wrong place, with no water nearby and no one assigned to look after it in July. This guide walks through the sequence: goals, siting, layout, plants, water, safety, accessibility and upkeep.
TL;DR
- Write down two or three goals first (curriculum, food, nutrition, waste reduction), because they decide the rest of the design.
- Choose a level, visible site with enough sun and good drainage, and check it across seasons and times of day before you commit.
- Pick the bed type (in-ground, raised, vertical, container or a mix) to fit your goals, budget and students, and put paths, tool storage, compost and water on the plan.
- Plan summer care, safe water for edible crops and wheelchair-friendly paths from day one.
- Start small, ideally with a phased plan, and share the work among teams, classes and families.
Table of Contents
- Start with goals, not plants
- Build the right team early
- Read the site before you draw
- Choose a layout that fits your goals
- Choose plants for your climate and your calendar
- Plan water, safely
- Safety and food-safety basics
- Make it accessible
- Our perspective
- When to bring in a design professional
- Keep it going: maintenance and phasing
- FAQ
- Sources
Start with goals, not plants
Before anyone sketches a bed, the garden team should agree on what the garden is for. The Iowa 4-H guide on school learning landscapes says the team should first set goals and objectives. Typical priorities include science instruction, food production, nutrition, waste reduction and understanding where food comes from. Whichever you choose should drive design decisions.
Here is how that plays out in practice:
- Science curriculum: you want beds close to the classroom door, space for a class to gather around a bed, and a few plots reserved for experiments.
- Food production: you need more growing area, a reliable water supply, and a plan for harvesting, washing and using the produce.
- Nutrition and cooking: herbs, salad crops and fast-growing vegetables matter more than fruit trees that will not bear for years.
- Waste reduction: a compost area and a tidy way to move scraps from the cafeteria become design elements, not afterthoughts.
The Gardens for Learning guide adds that goals should connect to curriculum, start with manageable short- and long-term objectives, and be written down and shared with teachers, administrators and community members. It treats the garden as a teaching tool rather than extra work for teachers, which is why written goals and phased design matter so much for staying power.
Build the right team early
A school garden designed by one enthusiastic teacher tends to last as long as that teacher’s free time. The Iowa guide recommends involving students and the wider school community from the start: teachers, students, administrators, parents, custodians and community members all belong on the garden team. Custodians deserve a special mention. They know where the water shuts off, where the mowers run and who will end up moving the compost.
Students can contribute through drawings and visioning exercises. Ask each class to draw its ideal garden, then look for patterns: shaded reading nooks, a pizza-herb bed, a pollinator patch, a place to sit. You will not build everything, but the drawings tell you what will keep children coming back.
Chicago Public Schools frames upkeep the same way, as a shared responsibility assigned to teams, classrooms, clubs, families and community members, not a chore left to one person. Decide who does what while you are still drawing the plan.
Read the site before you draw
Siting is where most school garden design succeeds or fails. Treat it as a short research project and look at two or three candidate locations rather than falling for the first open patch of grass.
Sun and visibility
NC State Extension suggests eight to ten hours of sun for most fruiting crops and four to six hours for crops that tolerate partial sun. It also advises studying candidate sites across seasons and times of day, since a spot that is sunny in October may sit in a building’s shadow in December. The same guide recommends a level site that is visible and close to student and teacher routes, because a garden people can see from classroom windows or a courtyard gets noticed, watered and weeded.
Note the cardinal directions on your base map, mark tall buildings, trees and fences, and photograph the site at morning, noon and afternoon.
Drainage, slope and stormwater
Fairfax County Public Schools recommends mapping sun exposure, stormwater flow, downspouts, pooling, slope and soil drainage by watching the site during rain and testing holes with water. A simple version:
- Visit the site during or just after a rainstorm and note where water collects or rushes.
- Mark every downspout and where it discharges.
- Dig a one-foot-square hole, fill it with water, and time how long it takes to drain.
The Massachusetts siting guide describes how to read that test: a hole that drains in under 30 minutes indicates very rapid drainage, while water still standing after an hour points to poor drainage.
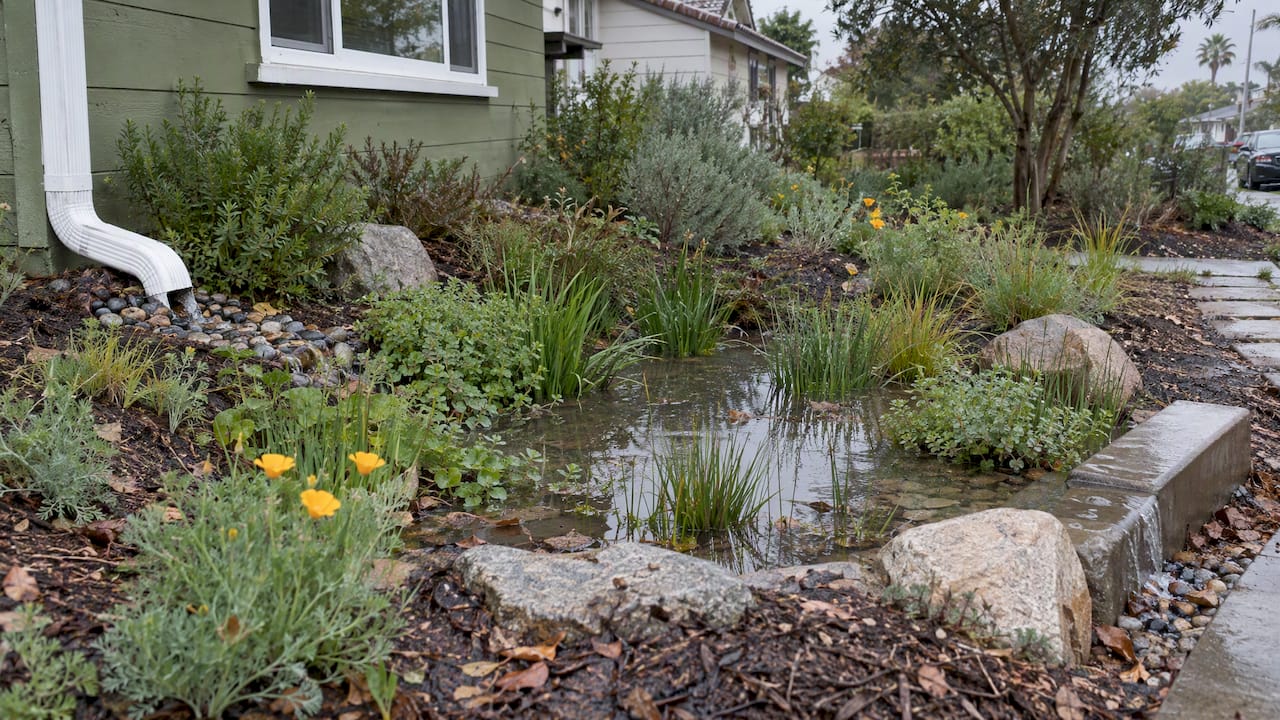
Roof runoff is a common culprit. If a downspout empties onto your preferred spot, learn the basics of downspout placement guidelines with the facilities team before you lay out beds. Sometimes the answer is to move the garden. Sometimes the runoff becomes an asset: a rain garden can capture it and keep it out of the beds. We cover that approach in our guide to rain garden design.
On sloped ground, think about erosion and terracing early. A slope that looks gentle can still send soil downhill during a heavy rain.
Water access and logistics
Fairfax County also advises measuring the distance to the nearest hose bib, planning for delivery access, noting electrical outlets, and considering native plants or other low-water options when irrigation is difficult. Measure honestly: a hose that must cross a bus lane or a play area is a hose that will not get used. If the nearest spigot is old, stiff or leaking, check what hose bib replacement costs and who on the district’s maintenance staff can handle it before you promise students a thriving garden.
Choose a layout that fits your goals
The University of Arizona Extension guide notes that schools can choose an in-ground, raised-bed, vertical, container or combined garden, and that the best option depends on the school’s needs. Here is how the choices compare in practice.
| Bed type | Works well when | Watch out for |
|---|---|---|
| In-ground | Soil is healthy and drains well, and you want the largest growing area | Soil contamination, compaction, poor drainage |
| Raised beds | Soil is poor or untested, you want clear edges and easy access for children | Cost of materials and fill, and what the bed material is made of |
| Vertical | Space is tight, such as a paved courtyard | Weight, watering, and plants that suit climbing |
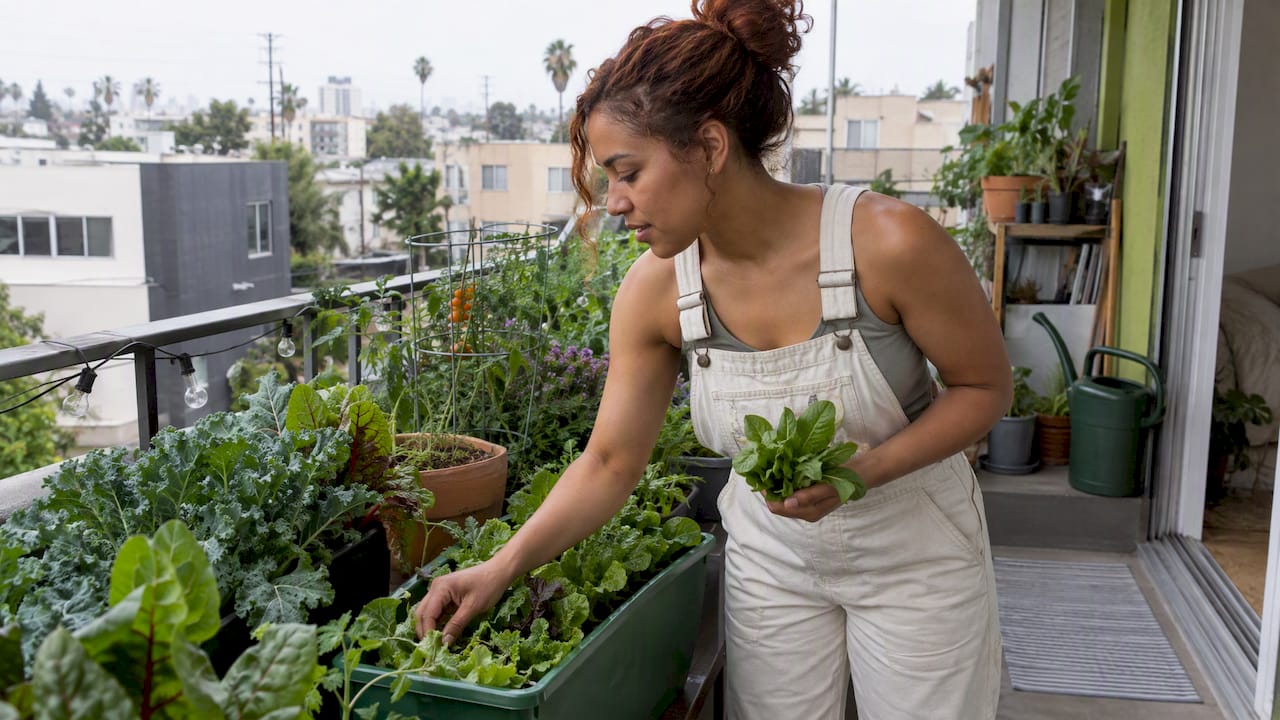
| Containers | You need a portable or starter garden, or have only paving | Frequent watering, summer care |
| Combination | You have varied spaces and goals | More to plan and maintain |
What belongs on the plan
The University of Illinois and Center for Ecoliteracy guide, Getting Started, has a planning checklist that asks you to place on the drawing the garden beds, tool storage, compost, outdoor instruction space, season-extension structures and the water system. It also recommends a realistic, manageable plan, possibly spread over three years, with class-assigned beds combined with communal areas, tables and benches.
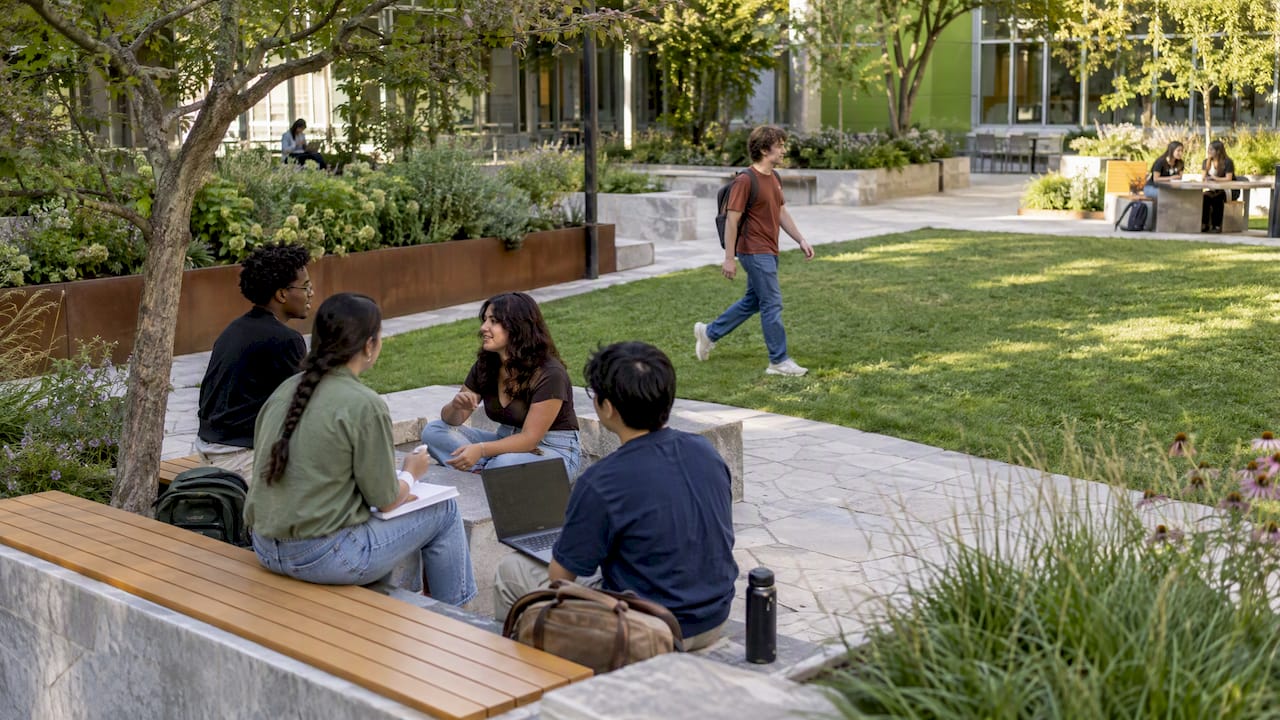
That last point is easy to overlook. A garden with only planting beds gives a class of 28 children nowhere to stand. Leave room for a teaching circle or a few benches, and keep the tool shed close enough that a class can fetch trowels without losing five minutes of lesson time.
A practical layout sequence:
- Fix the fixed things first: water source, shade, entrances and any utility lines.
- Place the teaching area and paths.
- Add beds in modules students can reach from both sides.
- Locate compost and tool storage near the edge, close to access routes but away from the main gathering space.
- Reserve a corner for phase two.
For more ideas on how outdoor spaces work around buildings, see our piece on campus landscaping ideas.
Choose plants for your climate and your calendar
NC State Extension’s advice is simple: choose plants suited to your site conditions and growing season. In a school, the growing season has another constraint, which is the academic calendar. Many crops peak when school is out.
The Chicago Public Schools toolkit offers several design-level tips:
- Plant by height, so tall crops do not shade smaller ones.
- Use trellises for climbers.
- Mix vegetables, flowers and herbs, which supports pollination and helps discourage pests.
- Label plants with nontoxic permanent markers.
When the school year and the harvest do not match, the toolkit’s answer is to assign summer care to clubs during sessions or to parent and community volunteers during breaks. If summer care is truly impossible, it suggests choosing quick-growing crops and harvesting before the school closes.
In dry regions, such as much of the Southwest and California, plant choice is also a water decision. Drought-tolerant and native plants can fill ornamental borders and pollinator strips, leaving the thirstier edible beds smaller and easier to manage. Our guide to drought tolerant landscaping explains how a plant-forward approach reduces irrigation demand.
Plan water, safely
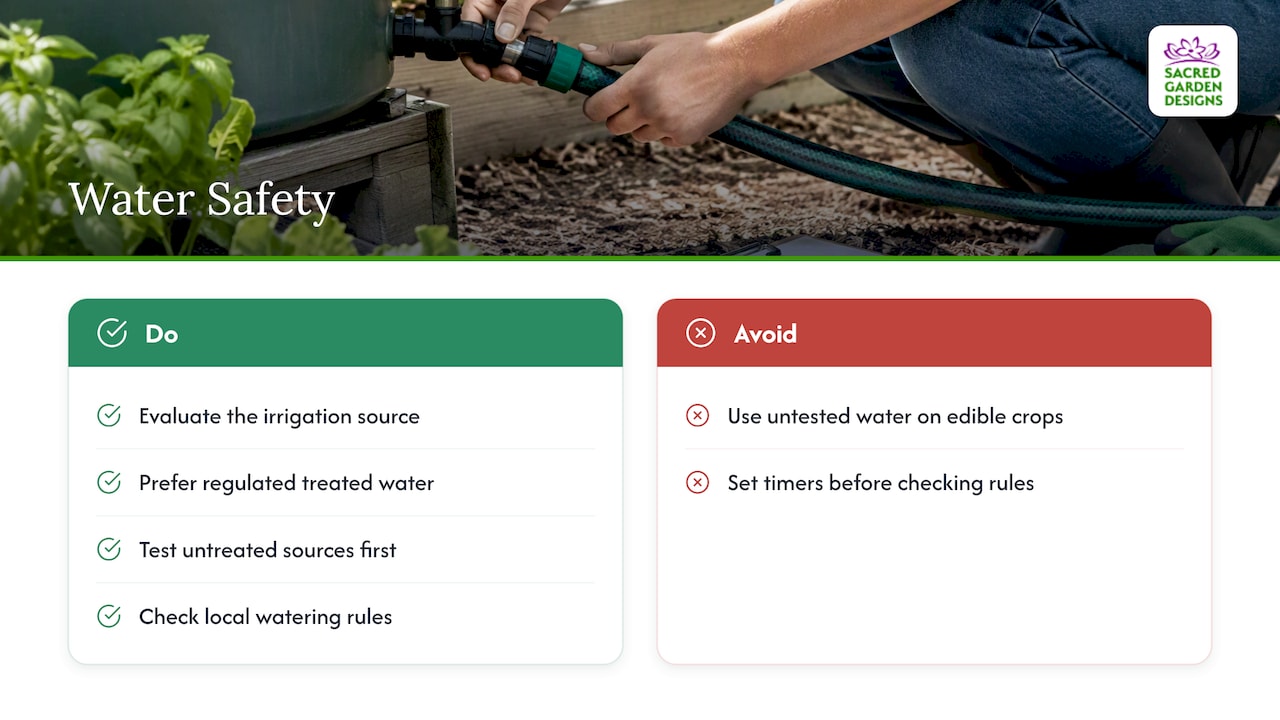
Water is both a design constraint and a food-safety issue. For edible crops, UC Davis food-safety guidance says schools should know and evaluate their irrigation source, prefer regulated treated water, and test untreated sources such as wells, ponds, rivers or rain barrels before using them on edible crops. That matters if you were planning to collect roof water for the beds.
Drip irrigation is the usual answer for raised beds, since it puts water at the roots and can run on a timer when no one is on campus. Our walkthrough of drip irrigation for raised beds compares a kit, a do-it-yourself build and hiring a pro, and our page on vegetable garden irrigation covers how much water crops need. Where there is no convenient hose bib, a solar-powered irrigation setup can serve a remote garden corner.
If your school is in Los Angeles, check local watering-day and time rules before setting any timers; see our summary of Los Angeles irrigation rules.
Finally, mulch. The Chicago toolkit recommends it to retain moisture and suppress weeds, alongside consistent watering, regular weeding, periodic compost or organic fertilizer, pruning, trellising and removal of fallen or rotting produce.
Safety and food-safety basics
If the garden will serve produce to students, design for safety from the start. The Arizona Department of Health Services guidelines for school gardens recommend a designated person in charge and a written food-safety plan, potable water for washing and harvesting, handwashing facilities and a first-aid kit.
The same guidance has siting rules worth building into your plan. It advises against putting edible gardens in low, poorly drained areas or near dumpsters, septic systems, animal areas or chemical applications. It recommends fencing, non-toxic raised-bed materials that do not leach, and soil testing for lead. Talk to your district’s facilities and food-service staff and your state or local health department before the first harvest ends up in the cafeteria, since requirements differ from place to place.
Make it accessible
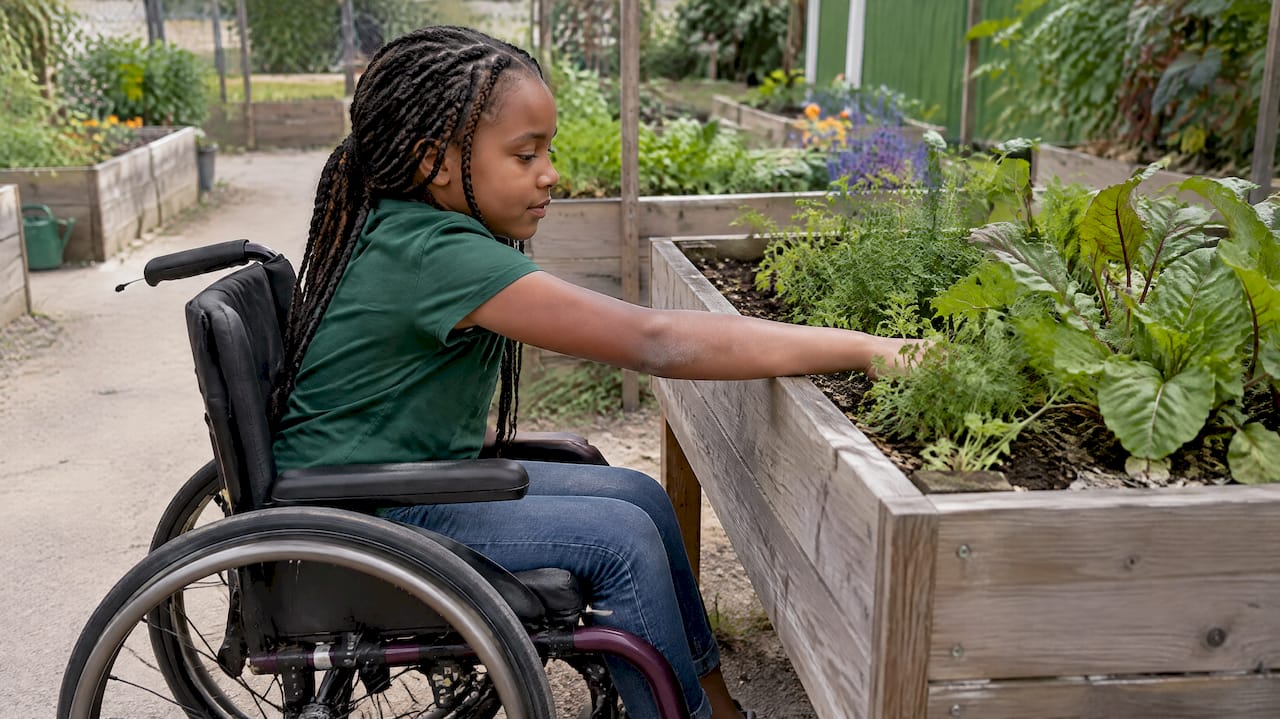
A garden that only some students can use is not finished. NC State Extension recommends pathways about three feet wide, flat terrain and compact surfaces, and says tabletop planters around three feet high can better serve wheelchair users and people with limited mobility. Build these in during design, because retrofitting a gravel path or a steep approach is far more expensive than getting it right on paper.
A few additional design habits help every child: beds narrow enough to reach into from either side, shade where children will sit, and clear sightlines so an adult can supervise from the edge.
Our perspective
We have spent more than 25 years designing water-wise, sustainable landscapes in Los Angeles and beyond, from residential yards to urban parks, and the lesson that carries over to schools is that a landscape has to work in its real conditions. Beauty matters, because children care for places that feel good to be in. But the design has to be honest about water, slopes, sun and who will be there on a Tuesday in August.
We would push school teams toward three habits. First, treat water as the first design question, not the last. A garden that needs constant hand-watering will eventually fail, while one planned around drip lines, mulch and well-chosen plants will keep going through a busy semester. Second, design in phases. A small garden that is loved is better than a grand one that is abandoned. Third, think of the garden as a calm place as well as a classroom. Shade, seating and a few sensory plants make it somewhere students want to go, and that is where learning sticks.
— Denise Buchanan
When to bring in a design professional
Many school gardens begin as volunteer projects and that is fine. A professional becomes worth considering when the site has a slope, a drainage problem, hardscape such as retaining walls, patios or an outdoor classroom, or an irrigation system that has to be engineered. We design and install sustainable landscapes, irrigation systems, slope stabilization and hardscape, and we run classes and workshops for people who want to learn to garden themselves.
Our published design prices are $1,500 for yards under 5,000 sq. ft. and $2,500 for a full landscape design, both listed on our landscape design services page. Larger campus or community projects are scoped individually, and a consultation is the place to start.
If you are planning a school or community garden and want help with the water, the slope or the layout, see our services or contact us through our site to book an initial consultation.
Keep it going: maintenance and phasing
The best design includes its own maintenance plan. List recurring jobs (watering, weeding, mulching, pruning, composting, clearing fallen produce), assign each to a named group, and put the schedule where everyone can see it. Build a summer rota before June, not in it.
Phasing helps. Following the Illinois guide’s suggestion of a realistic plan that may stretch over three years, year one might be four beds, a path and a water line. Year two adds the teaching circle and compost. Year three adds vertical structures or a pollinator border. Each phase gives students a visible win and gives the team a chance to learn what works on your particular site.
FAQ
How big should a school garden be?
Start smaller than you think you need. The Illinois guide recommends a realistic, manageable plan that can grow over several years. A few beds that a class can plant, tend and harvest are more useful than an acre nobody can keep up with.
What is the best type of bed for a school garden?
There is no single best type. In-ground, raised, vertical, container and combined gardens all work, and the right one depends on your goals, soil, space and budget. Raised beds are popular where soil is untested or drains poorly, but check that the materials are non-toxic.
How much sun does a school garden need?
NC State Extension recommends eight to ten hours for most fruiting crops and four to six hours for partial-sun crops. Observe candidate sites at different times of day and across seasons before you decide.
Who takes care of the garden in summer?
Plan this before you plant. Chicago Public Schools suggests clubs during sessions and parent or community volunteers during breaks. If no one can commit, grow quick crops and harvest before school closes.
Is it safe to serve school garden produce to students?
It can be, with a plan. Arizona’s health department guidance calls for a designated person in charge, a written food-safety plan, safe water for washing and harvesting, and handwashing facilities. Check your state and district rules too.
Sources
- Creating Transformative Learning Landscapes at Schools (Iowa 4-H)
- Gardens for Learning
- Guidance for Sustainable Gardening with Students in FCPS
- Designing Your School Garden: Kindergarten through Fifth Grade (NC State Extension)
- Siting the School Garden
- School Garden Planning and Design (University of Arizona Extension)
- Getting Started: A Guide for Creating School Gardens as Outdoor Classrooms
- CPS School Garden Toolkit
- Guidelines for School Gardens (Arizona Department of Health Services)
- Food safety for school and community gardens (UC Davis)