A decomposed granite patio can be an affordable, attractive, and permeable surface for casual outdoor living, but it’s not a one-size-fits-all fix. For anywhere, you’ll put furniture, a dining table, or a fire pit, choose stabilized or resin-coated DG over loose material. Get the base, edging, and drainage right, and it holds up for years.
TL;DR:
- Stabilized or resin-coated decomposed granite resists erosion and shifting better than loose DG, especially in high-traffic or wet areas.
- Proper edging installation before base layer addition is critical to prevent material migration and ensure long-term stability.
- A minimum 1% to 2% slope away from structures is essential for adequate drainage and to avoid pool formation or erosion.
- For heavy loads or steep slopes, consider resin-coated DG with enhanced drainage instead of loose material to prevent softening or washout.
- A professional installation offers better drainage, base stability, and border containment, significantly extending the patio’s lifespan.
Table of Contents
- When Is a Decomposed Granite Patio the Right Choice?
- Loose, Stabilized, or Resin: Which Decomposed Granite Fits Your Project?
- Tools, Materials, and How Much Decomposed Granite to Order
- How to Install a Decomposed Granite Patio Step by Step
- What Does a Decomposed Granite Patio Cost?
- How Climate and Drainage Affect a Decomposed Granite Patio
- Maintaining and Repairing a Decomposed Granite Patio
- What a Landscape Designer Wants You to Know About DG Patios
- The One Detail That Determines How Long Your Patio Lasts
- Ready to Build a DG Patio That Lasts? Here’s How We Can Help
- Sources
When Is a Decomposed Granite Patio the Right Choice?
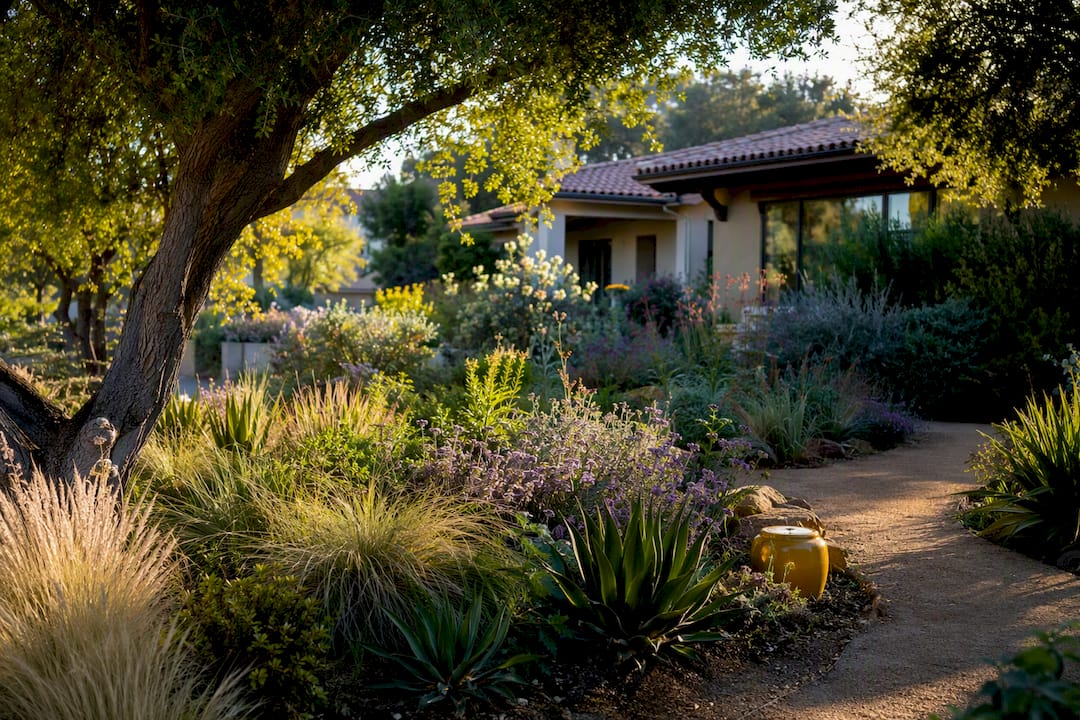
Decomposed granite works best where the ground plane needs to feel natural, not paved. Xeriscapes, meditation corners, dining nooks under a pergola, and paths that connect garden beds are where DG earns its reputation. It’s permeable, blends into a drought-tolerant landscape, and costs a fraction of stone or concrete.
It’s a poor fit in a few specific situations. Heavy wheeled loads, like a wheelbarrow-heavy vegetable garden route or a spot where you’ll park a grill cart daily, chew through loose DG fast. Very wet regions and steep grades cause erosion issues that no amount of raking fixes. Match the product to the job before you buy anything:
- Dining or lounge furniture: Stabilized or resin-coated DG resists chair-leg divots and won’t shift underfoot.
- Fire pit surrounds: Stabilized DG handles radiant heat and foot traffic better than loose material.
- Wheelchair or walker access: Resin-coated DG gives a firm, ADA-friendlier surface.
- Casual garden paths: Loose DG is cheaper and perfectly adequate here.
- Steep slopes or heavy rainfall zones: Reconsider DG entirely, or commit to resin-coated with serious drainage work.
Think about how you’ll actually use the space before you think about how it will look.
Loose, Stabilized, or Resin: Which Decomposed Granite Fits Your Project?
Not all decomposed granite behaves the same once it’s down. The three main categories, loose, stabilized, and resin-coated, trade cost against durability in a fairly predictable way.
Loose DG is raw crushed granite fines with no binder. It compacts reasonably well thanks to its angular particle shape, which is why it feels firmer underfoot than pea gravel even though the two cost about the same per ton. It’s the cheapest option and the easiest to repair, but it migrates, tracks into the house, and needs the most frequent maintenance.
Stabilized DG mixes in a polymer or resin binder, either pre-blended from the supplier or added on-site. Stabilized and resin-coated DG reduce erosion and cutting down on maintenance compared to loose material, though stabilized DG still costs more than the raw product and less than pavers or poured concrete.
Resin-coated DG goes a step further with a topical or fully-integrated resin layer, producing something closer to a firm, slightly flexible pavement. It’s the most durable and the most expensive of the three, and it’s the right call anywhere accessibility or near-zero maintenance matters more than upfront cost.
For color and grade, request samples in full sun and shade before committing. Grades run from fine (better for seating areas) to coarse (better drainage, rougher underfoot), and regional granite color varies from gold to gray to rust.
Tools, Materials, and How Much Decomposed Granite to Order
A DG patio doesn’t require a contractor’s trailer full of equipment, but a few rentals make the difference between a professional-looking result and a lumpy one.
- Plate compactor. Rent one, don’t skip this. Hand-tamping never achieves the density DG needs to lock together.
- Flat shovel and iron rake for spreading and leveling each lift.
- Hand tamper for tight corners the plate compactor can’t reach.
- Circular saw or angle grinder if you’re cutting metal or composite edging.
- Geotextile fabric, crushed road base, your chosen DG product, and edging material (steel, brick, or heavy stone).
- Garden hose with a fine spray nozzle for misting each lift before compaction.
For quantities, multiply the patio’s square footage by the compacted depth in feet, then convert to tons using your supplier’s density conversion (roughly 1.4 to 1.5 tons per cubic yard for DG). A 10 by 12 foot patio at 3.5 inches compacted depth needs a little over 1.3 cubic yards, or roughly 2 tons of material once you add 10% for compaction loss and waste. Order pre-blended stabilized DG rather than mixing your own binder on-site. It’s more consistent, and most suppliers sell it by the ton just like loose material.
How to Install a Decomposed Granite Patio Step by Step
This is where most DIY patios succeed or fail. The material itself is forgiving. The prep underneath it is not.
1. Excavate to the right depth.
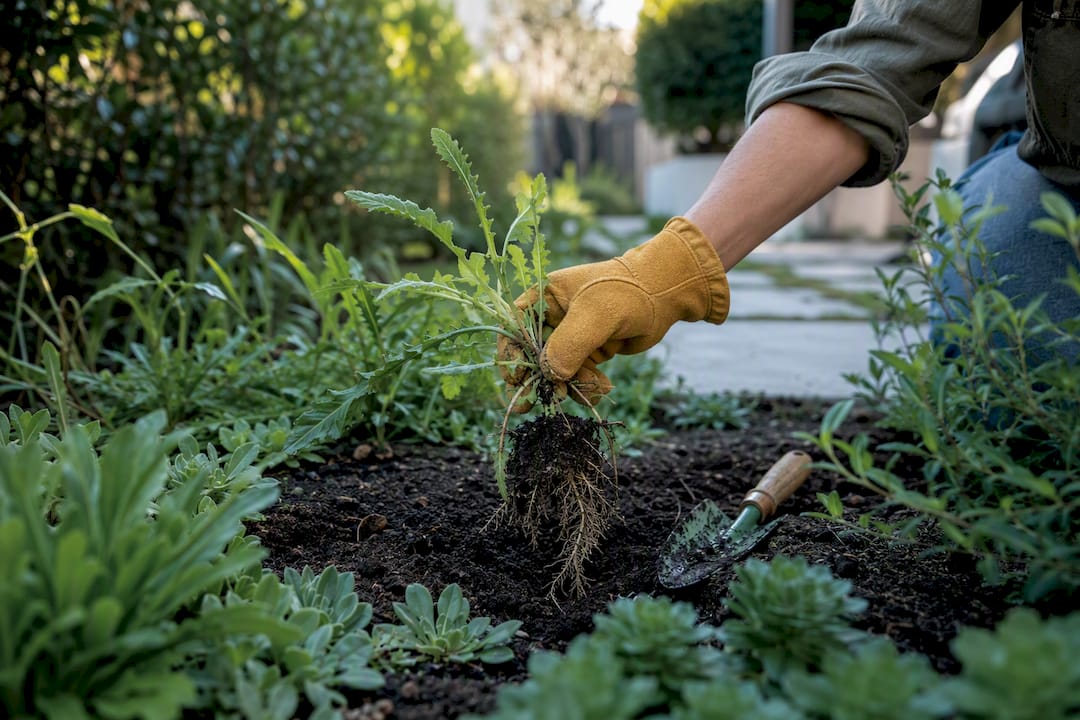
Dig out several inches of soil across the patio footprint to accommodate road base and finished DG layers. Remove all organic matter, roots, and topsoil. Anything organic left behind will decompose, settle, and create a soft spot months later.
2. Grade for drainage.
Slope the excavated area 1% to 2% away from your house or any structure, roughly a quarter to a half inch of drop per foot. This single detail prevents the pooling and mushiness that ruins more DG patios than any material choice does.
3. Compact the subgrade.
Run the plate compactor over the bare soil before adding anything. A soft subgrade undermines every layer above it, no matter how well you build the rest.
4. Lay geotextile fabric if needed.
On clay-heavy or weed-prone sites, roll out landscape fabric before the base layer. It stops base material from migrating into the soil and keeps weeds from pushing through.
5. Install your edging.
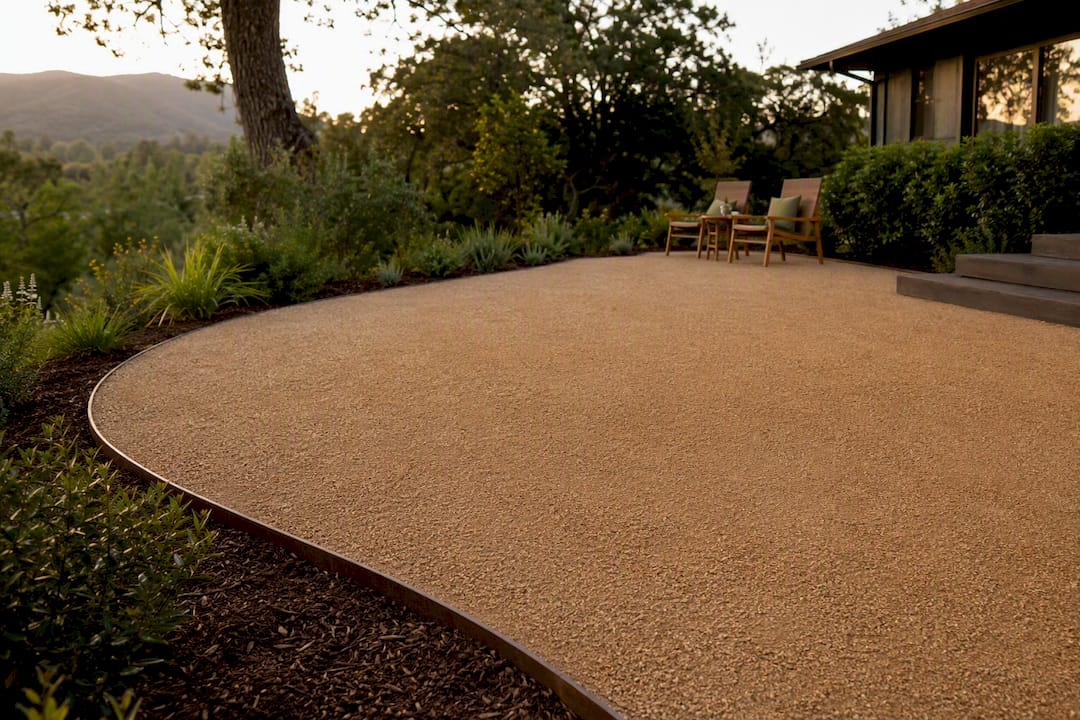
Set steel, brick, or heavy stone edging to your finished grade now, before you add base material. Neglecting edging is one of the most common reasons DG migrates into lawns and flower beds within the first year. Metal edging installed slightly below the finished surface creates a clean, nearly invisible containment line.
6. Add and compact road base.
Spread crushed road base 2 to 3 inches deep, then compact it thoroughly. This layer is what actually bears the load; the DG on top is closer to a wear surface.
7. Spread DG in lifts.
Installers spread decomposed granite in lifts no thicker than 1.5 inches loose, misting each lift with water before running the plate compactor over it until the surface locks up and stops shifting underfoot.
8. Repeat to final compacted depth.
Keep layering, misting, and compacting until you hit a final compacted depth of roughly 3 to 4 inches. Two to three lifts usually gets you there, depending on your starting material depth.
9. Apply stabilizer or resin, if using it.
Apply topical stabilizers after the final lift is compacted but still slightly damp, following the product’s working window, usually a few hours before it starts to set.
10. Check your finish work.
Walk the entire surface. Edges should sit flush and firm, water should visibly run toward your drainage path rather than collect, and the surface shouldn’t shift or crumble underfoot.
Pro Tip: Test compaction by pressing your heel firmly into the surface after the final pass. If you leave a deep print, run the compactor over that section again before calling it done. Curing stabilized DG needs 24 to 48 hours of dry weather, so check the forecast before you start the final lift.
What Does a Decomposed Granite Patio Cost?
Material and labor costs scale with which type of DG you choose, and the gap between loose and resin-coated is bigger than most first-time buyers expect.
Loose DG material alone typically runs $40 to $60 per ton delivered, with stabilized blends running higher per ton and resin-coated systems higher still. At a compacted depth of 3 inches, expect roughly 80 to 100 square feet of coverage per ton; at 4 inches, closer to 65 to 80 square feet per ton.
| Coverage & cost factor | Loose DG | Stabilized DG | Resin-coated DG |
|---|---|---|---|
| Coverage per ton (3 in. compacted) | 80 to 100 square feet | 65 to 80 square feet | ~80 sq ft |
| Relative material cost | Lowest | Moderate | Highest |
| Installed cost vs pavers/concrete | Well below | Below | Approaching, still typically lower |
For a 10 by 12 foot patio (120 square feet) at 3.5 inches compacted depth, plan on roughly 1.5 to 2 tons of material. At loose DG pricing, that’s somewhere in the $60 to $120 range for material alone before base, edging, and any stabilizer.
A few ways to trim the budget without cutting corners on the parts that matter:
- Combine DG with concrete steppers or reclaimed pavers to cut total DG square footage.
- Do your own excavation and grading; labor is where installed pricing climbs fastest.
- Limit the DG footprint to seating zones and use mulch or groundcover elsewhere.
How Climate and Drainage Affect a Decomposed Granite Patio
Slope is not optional. A 1% to 2% grade away from your house, deck, or any structure is what keeps water moving instead of pooling, and it matters more for DG than for solid paving because DG is far less forgiving of standing water.
Heavy or sustained rain hits loose and stabilized DG differently. Loose material erodes, channels, and turns soft in saturated soil. Stabilized DG holds together better but still loses some surface integrity under repeated soaking. In climates with frequent heavy rain, loose DG can erode or turn mushy, and stabilizers or resin coatings improve performance at the cost of reduced permeability.
If your site drains poorly by nature, a few mitigation steps go a long way:
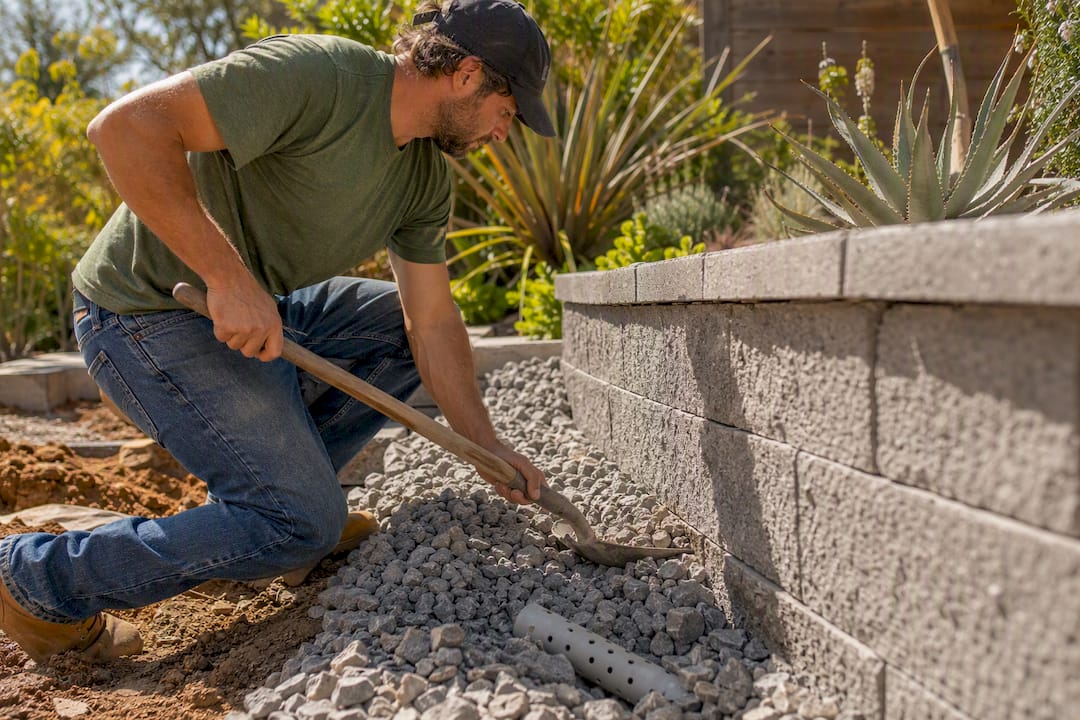
- Add a French drain or gravel trench along the low edge of the patio.
- Oversize the road base layer to 3 inches instead of 2 in consistently wet soils.
- Choose resin-coated DG over loose or lightly stabilized in regions with regular downpours.
- Skip DG entirely on sites with standing water after storms; no binder fully compensates for bad drainage.
Maintaining and Repairing a Decomposed Granite Patio
A well-built DG patio is low-maintenance, not maintenance-free. Weekly sweeping and occasional spot raking keep the surface even, and checking your edging twice a year catches small gaps before they become erosion channels.
Top-ups typically happen every 2 to 4 years, less often with stabilized or resin-coated DG, more often with loose material in high-traffic zones. When you top up, blend new material into the existing surface rather than dumping it in a pile; mist and re-compact so the patch matches the surrounding density.
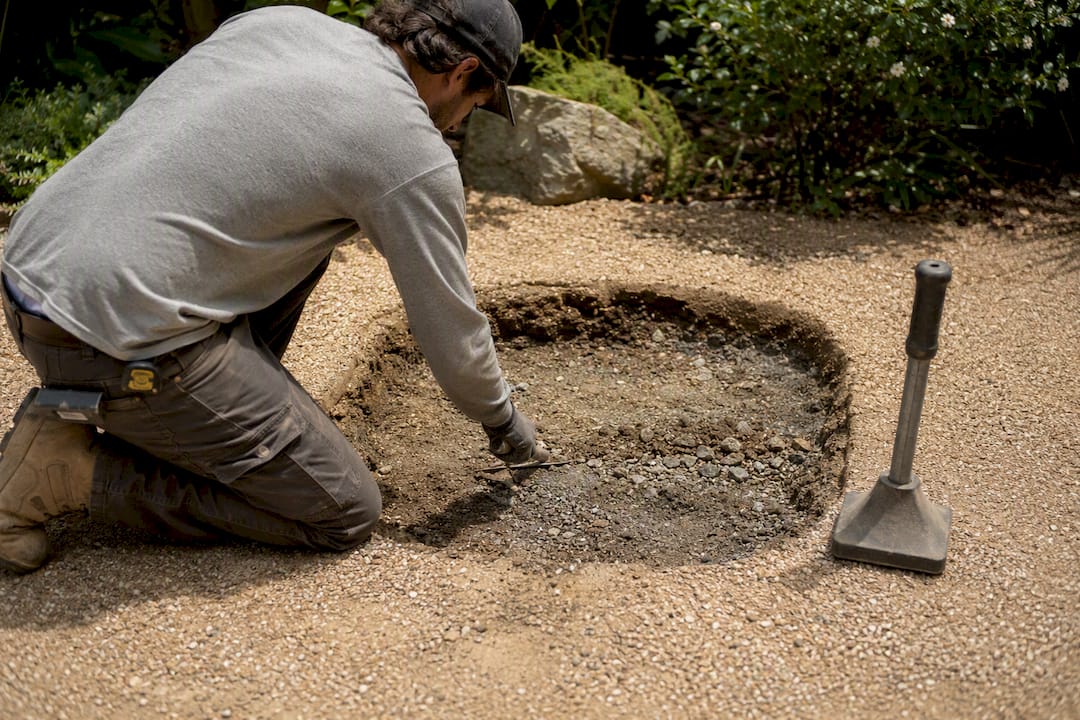
For washouts or soft spots, dig out the affected area down to the road base, re-compact, and rebuild in the same lift-and-mist sequence you used originally. Re-seat any edging that’s shifted before adding new material, or it’ll just migrate again.
Pro Tip: Test surface firmness once a year by pressing your heel into a few spots. If it gives more than it used to, that’s your signal to reapply a topical stabilizer before the next rainy season, not after.
What a Landscape Designer Wants You to Know About DG Patios
Sacred Garden Designs has spent more than 25 years building water-wise hardscapes across drought-prone landscapes, and decomposed granite shows up constantly in that work because it’s permeable and sourced regionally in most of the American West. Pairing DG fields with flagstone or paver steppers along high-traffic paths cuts down on tracking and wear while keeping the natural texture that makes DG worth using in the first place. It also improves footing for anyone using a cane or walker.
The One Detail That Determines How Long Your Patio Lasts
If I had to name the single mistake that shortens a DG patio’s life, it’s weak edging. Homeowners spend all their attention on the surface material and treat the containment border as an afterthought. On our projects, edging goes in before a grain of base material does, set to grade and checked twice. Everything else about a durable DG patio follows from that one decision. For more on how we handle ongoing care once a patio’s in the ground, our blog has project notes worth a look.
— Denise
Ready to Build a DG Patio That Lasts? Here’s How We Can Help
If you’ve read this far and you’re weighing whether to rent a plate compactor or just call someone, here’s the honest answer: DIY works fine for a small path or informal seating nook, but a furnished patio with proper drainage, edging, and stabilized DG is where hiring a professional pays for itself. Sacred Garden Designs and installs water-wise hardscapes, including decomposed granite patios, with the base work, drainage detailing, and edge containment built in from day one, not added as an afterthought.

We handle the site grading, material selection, and installation oversight so the patio actually performs the way it looks on day one, five years from now. If your yard has drainage challenges, a steep grade, or you just want it done right the first time, schedule a consultation with our design team and we’ll walk your site with you before any material gets ordered.
Sources
For deeper technical detail on installation and material choices, these sources back the figures and methods covered above:
- Decomposed Granite: Hardscaping 101 — Gardenista
- Landscaping with decomposed granite — LandscapingNetwork
- Decomposed Granite Patio Guide: Cost, Uses & Install — Gravel Monkey
- Decomposed Granite Patio: A Complete Guide for Homeowners – D and G Flooring
Always check your stabilizer or resin manufacturer’s specific application and curing instructions before starting work, since working times vary by product and climate.