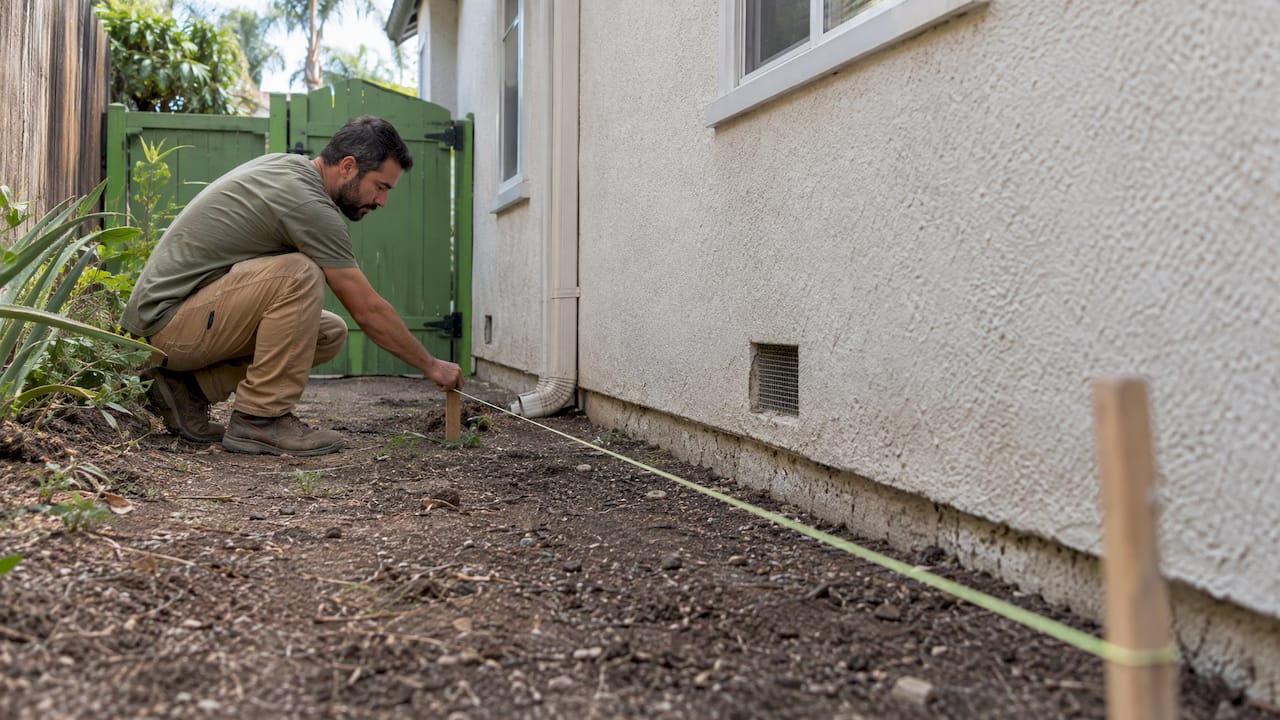
A well-designed dry creek bed is a shallow, meandering, stone-lined channel that is roughly twice as wide as it is deep, follows the natural fall of your yard, mixes stone sizes without a pattern, and ends at an outlet that can take the water. Get those four things right and it works as drainage and as a landscape feature. Get the outlet wrong and you have moved a puddle to someone else’s wall. If your site has a slope, a downspout problem or a lawn you want to retire, our design team at Sacred Garden Designs starts from the water, then draws the channel.
TL;DR
- Size the channel at about a 2:1 width-to-depth ratio, for example 4 feet wide and 2 feet deep, and let it curve irregularly along the slope.
- Use a mix of stone sizes, with the largest rocks at bends and edges and some partly buried.
- Plan the inflow and the overflow route before you dig, and check permits before sending water toward a public storm drain.
- Plant for two conditions: occasional wet roots near the channel, dry conditions higher up. Drought tolerant still means regular watering while plants establish.
- A narrow parking strip (hellstrip) can use the same idea, but local right-of-way rules decide what you may plant.
Table of Contents
- What a dry creek bed does in a landscape
- Step 1: Read the water before you draw the channel
- Step 2: Size the channel: depth, width and length
- Step 3: Shape the path so it looks natural
- Step 4: Choose and place the stone
- Step 5: Plan the inflow, the overflow and the outlet
- Step 6: Plant the edges and the slopes
- Hellstrip and parking strip: a dry creek bed idea at street scale
- What a dry creek bed costs
- Upkeep after the first year
- Our perspective on dry creek bed design
- Work with us on your design
- FAQ
- Sources
What a dry creek bed does in a landscape
A dry creek bed is a stone-lined channel that imitates a natural watercourse. According to Washington State University Clark County Extension, it can reduce erosion, replace thirsty lawn, correct drainage problems, carry seasonal runoff and add a natural-looking feature to a garden.
The water-management side is real. The Resource Conservation District of Santa Cruz County describes rock-lined swales as a way to slow, spread and soak in runoff from roofs, driveways, walkways and parking areas, which also keeps polluted runoff from reaching waterways. That is why the design question comes first: where does the water come from, how much, and where does it go?
Three common jobs for a dry creek bed:
- Carrying roof or downspout water across a yard instead of letting it pool against a foundation.
- Stopping a gully where runoff has been cutting a path down a slope.
- Replacing a strip of lawn that is hard to irrigate with a feature that needs no mowing and little water.
If the real problem is a hillside, read our guide to slope erosion control methods first. A channel alone rarely holds a steep slope. If water is the whole story, our page on stormwater management landscaping covers the wider set of features.
Step 1: Read the water before you draw the channel
Walk the yard during or just after a rain. Note where water naturally flows downhill and where it collects. The Extension Foundation’s drainage-area guidance advises working with those natural flow paths, keeping existing vegetation, and revegetating slopes where needed.
Write down four things:
- Sources: downspouts, a driveway edge, a neighbor’s slope, a patio that sheds water.
- Path: the line water already takes. A dry creek bed that follows an existing path needs less digging and works with gravity.
- Fall: the channel needs a downhill gradient from inlet to outlet. A flat yard needs more grading, or a different feature.
- Destination: where the water goes at the end. This decides whether the design is safe.
The common mistake is to start with the look: pick a curve, buy stone, then discover the low end of the channel has nowhere to drain. Start at the outlet and work uphill.
Step 2: Size the channel: depth, width and length
Natural creek beds are wider than they are deep. The WSU Clark County Extension guide suggests about a 2:1 width-to-depth ratio, and illustrates a channel 4 feet wide and about 2 feet deep. Use that as a starting proportion, then adjust to the volume of water you expect. A channel fed by a single downspout can be much smaller than one that collects a whole driveway.
A few sizing rules of thumb:
- Make it deeper and wider where water enters, and let it widen again where you want water to slow and spread.
- Keep the sides gently sloped, not vertical, so stone stays in place and the edge looks natural.
- Scale to the yard. A 2-foot-deep channel suits a large lot with real runoff. A small yard may only need a shallow swale a foot wide. Our small backyard drought design plan shows how to scale features to a compact space.
The guidance here is educational. The Santa Cruz brochure itself notes its guidelines are not engineering specifications, so for large flows, steep grades or anything near a structure, bring in a professional designer before digging.
Step 3: Shape the path so it looks natural
The fastest way to make a dry creek bed look fake is to give it regular curves. Real streams bend irregularly. Fine Gardening’s guide to dry streambeds recommends an irregular rhythm, with a steeper outer bank at each bend and a gentler inner floor where gravel can collect like a small beach, and warns against evenly spaced, rhythmic curves.
A natural-looking path usually has these features:
- A meander that follows the slope. WSU’s guidance is to follow a slope or change in elevation rather than cutting a straight line across level ground.
- Varied width. Pinch it at one point, widen it at another.
- A start and finish that make sense. A creek bed that begins at a downspout, a planting bed or a rise, and ends in a low spot or a planted basin, reads as intentional. One that starts and stops in the middle of a lawn does not.
- Straight sections kept short. Long straight runs look like a drainage ditch.
Mark the path with a garden hose or marking paint and look at it from the house, the patio and the street before you dig.
Step 4: Choose and place the stone
Stone does two jobs: it armors the channel against erosion and it creates the look. Fine Gardening recommends natural river-run gravel if you can get it, or a wide range of stone sizes. Its rule of thumb for the fill is about 50% cobbles of 2 to 5 inches, 20% stones of 6 to 8 inches, and the rest pebbles 1.5 inches or smaller.
Placement matters as much as the mix:
| Where | What to use | Why |
|---|---|---|
| Channel floor | Mixed cobbles and pebbles | Varied sizes lock together and slow flow |
| Bends and outer edges | Larger rocks, some partly buried | Holds the bank where water pushes hardest |
| Inner bends | Fine gravel | Mimics natural gravel bars |
| Inlet (where water enters) | Larger, heavier stone | Resists scour from concentrated flow |
WSU’s guide also advises placing varied stones without a pattern, with some set partly into the soil so they look as though they have been there for years. Avoid a single stone size and color across the whole channel; contrasting sizes are what create the natural look.
Stone choice is also a design decision for your region. Local stone tones tie the feature to the surrounding soil and rock, and heavier stone stays put better in strong flows.
Step 5: Plan the inflow, the overflow and the outlet
This is the step that separates a pretty feature from a working one. Oklahoma State University Extension’s rain garden guide tells homeowners to plan both the inflow and an overflow route before they dig or plant. The same logic applies to a dry creek bed: in a big storm, where does the excess go?
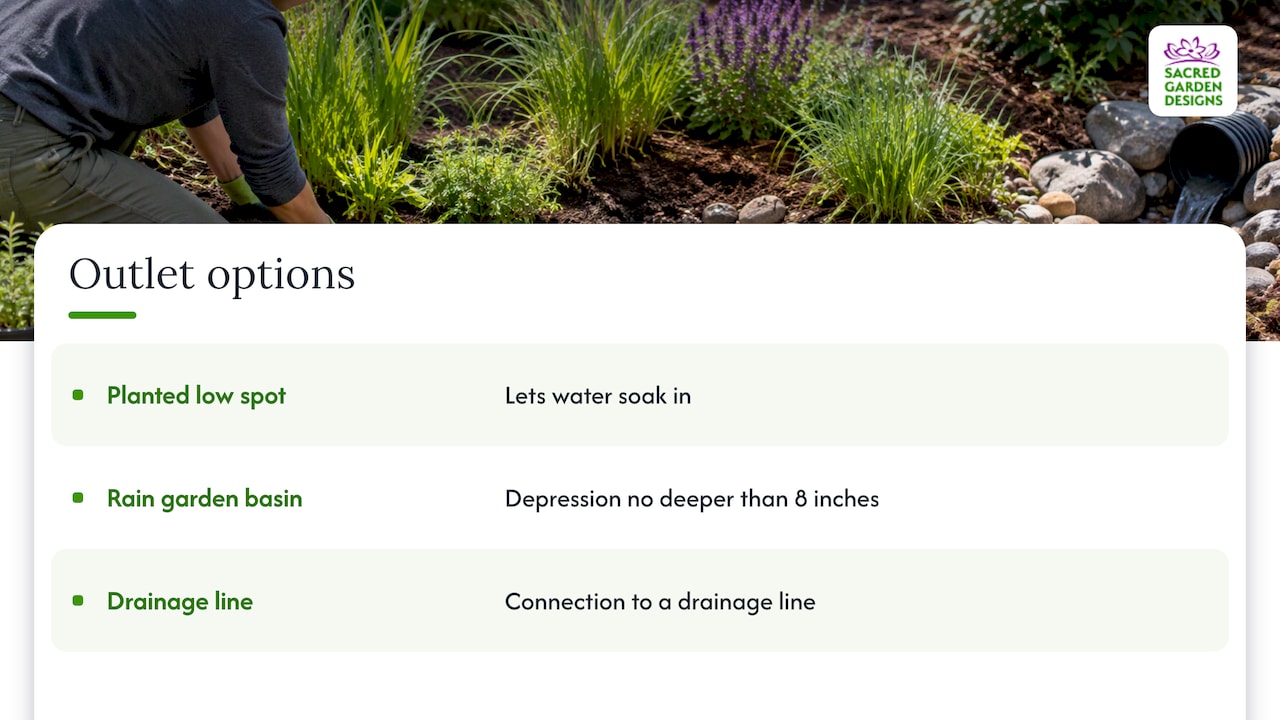
Options for the end of the channel include a planted low spot that lets water soak in, a rain garden basin, or a connection to a drainage line. Oklahoma State recommends that a basin depression be no deeper than 8 inches, which is a useful ceiling for a shallow planted basin at the end of a creek bed.
Keep water away from foundations, retaining walls and neighboring property. If your channel runs alongside a wall, the wall needs its own drainage; see our guide to retaining wall drainage.
Permits and public storm drains
If any part of your design sends water toward a street, curb or public storm system, check with your local authority first. WSU Clark County Extension advises checking local rules and getting required permits before redirecting water to a public stormwater system. Requirements differ by city, and a practical primer on site-specific stormwater design questions shows the kind of local conditions worth asking about before you connect anything.
Step 6: Plant the edges and the slopes
Planting turns a rock trench into a landscape. The key is to plant for moisture zones. Oklahoma State’s guidance matches plants to the gradient: those at the bottom of a basin must tolerate temporary flooding as well as dry spells, while higher areas suit plants adapted to drought.
For low-water ground cover, WSU Extension’s xeriscape guidance suggests creeping junipers, sedums and hen-and-chicks. Drought tolerant does not mean no water: the same guidance says to water perennials regularly through at least their first growing season and trees and shrubs for up to three years, with needs varying by climate, soil, sun and planting date.
Practical planting rules:
- Put flood-tolerant plants along the channel floor and lower banks, and drought-adapted plants on the upper edges.
- Do not plant in the channel’s flow path. Roots and foliage there catch debris and redirect water.
- Keep existing vegetation where you can. The Extension Foundation notes that preserved cover and stabilized slopes reduce concentrated flow and erosion.
- Group plants by water need so one irrigation zone serves them all.
On a slope, plant choice is part of the structural design. Our guides to plants that stabilize slopes and to replacing lawn with drought-adapted alternatives cover which plants suit which conditions, and our overview of drought tolerant landscaping shows how the plant palette and irrigation fit together.
Hellstrip and parking strip: a dry creek bed idea at street scale
The narrow strip between sidewalk and street, called a hellstrip or parking strip, is hot, compacted and hard to water, which is why lawn there so often fails. WSU Extension’s xeriscape guidance suggests removing turf from narrow, hard-to-water strips and replacing it with drought-tolerant plants, noting that plantings along pavement edges can catch water that would otherwise run into the street.
A shallow, meandering gravel channel with planting pockets works well here, but the strip is usually public right-of-way, so rules vary by city. Two examples show how different they can be:
- Spokane, Washington: the city’s 2026 SpokaneScape guidebook says approved parking-strip projects may earn $0.50 per square foot with no minimum size, and assigns street tree classes by strip width (Class II for 5 to 8 feet, Class III for wider than 8 feet). That incentive applies to Spokane’s program only.
- Seattle, Washington: according to The Seattle Times, curbside planting requires a free street-use permit, with additional permits for raised beds, trees or altered pavement, and plants must stay below 30 inches near intersections and driveways and below 36 inches elsewhere.
Your city will have its own height limits, permit rules and approved plant lists. Call the public works or transportation department before you remove turf or add stone. Also plan for foot traffic: people step out of parked cars onto the strip, so keep a stable stepping surface or a narrow path rather than loose, deep cobble.
What a dry creek bed costs
Cost depends on a handful of things rather than a single number: the length and width of the channel, the stone you choose (basic gravel versus larger river rock and boulders), how many curves and elevation changes the design has, and how much excavation, grading and clearing the site needs. Machine access, hauling and the number of plants add to the total.
The cheapest part of the project is usually the planning. Getting the grade and outlet right on paper avoids rework, which is the expensive part. Our published landscape design fees are $1,500 for yards under 5,000 square feet and $2,500 for a full landscape design, and they cover the design stage before any construction begins.
Upkeep after the first year
A dry creek bed is low maintenance, not no maintenance. Expect to:
- Remove leaves and debris from the channel, especially before the rainy season.
- Pull weeds that seed into the gravel.
- Top up stone where storms have moved it.
- Water new plants regularly through establishment, as noted above.
If you want this handled for you, we offer garden maintenance as well as clean-up and haul-away.
Our perspective on dry creek bed design
We have spent over 25 years designing landscapes for drought, heavy rain and hillsides in Los Angeles and beyond, and the pattern is consistent: the dry creek bed that succeeds is designed from the water outward, not from the stone inward.
That is why we treat a creek bed as part of a whole system. The channel, the slope above it, the planting around it, the irrigation that establishes the plants and the walls or paving nearby all affect each other. Our work spans sustainable design and installation, irrigation design, slope stabilization and hardscape, so the drainage line is drawn together with everything it touches.
We also believe that function and beauty are not competing goals. A channel that carries runoff safely can be a feature people enjoy every day, and one that supports resilience in a dry climate and a pleasant place to sit in the garden.
Denise Buchanan
Work with us on your design
If you would like a creek bed that handles your water and looks like it belongs, our landscape design service starts with your site. Our design is priced at $1,500 for yards under 5,000 square feet and $2,500 for a full landscape design, and we also offer an initial landscape consultation, irrigation design and installation, and slope stabilization.

See the details on our landscape design services page, or browse everything we do on our services page.
FAQ
How deep does a dry creek bed need to be?
A common starting point is a width-to-depth ratio of about 2:1, such as 4 feet wide and 2 feet deep, as WSU Clark County Extension suggests. Smaller yards and downspout-fed channels can be shallower. Size to the volume of water and always plan an overflow route.
What is the purpose of a dry creek bed?
It carries runoff across a yard, slows and spreads water so it can soak in, reduces erosion, and replaces lawn with a natural-looking feature. It does all this while looking like a stream bed when dry.
How much does a dry creek bed cost?
The main drivers are channel length and width, stone type, how many curves and grade changes the design has, and how much excavation the site needs. A design plan before construction helps you scope the work accurately. Our design fees are listed above.
Can I build a dry creek bed in a parking strip?
Often yes, in a shallow form, but the strip is typically public right-of-way. Check your city’s permit rules, plant height limits and approved plant lists first, since they differ widely between cities.
Sources
- Washington State University Clark County Extension: dry stream beds guide
- Resource Conservation District of Santa Cruz County: dry creek bed brochure
- Fine Gardening: How to Build a Dry Streambed
- Extension Foundation: Designing Around Drainage Areas
- Oklahoma State University Extension: Designing a Rain Garden for Residential Property
- Washington State University Extension: Step by Step Xeriscape
- City of Spokane: 2026 SpokaneScape Guidebook
- The Seattle Times: Link your house and garden with curbside plantings