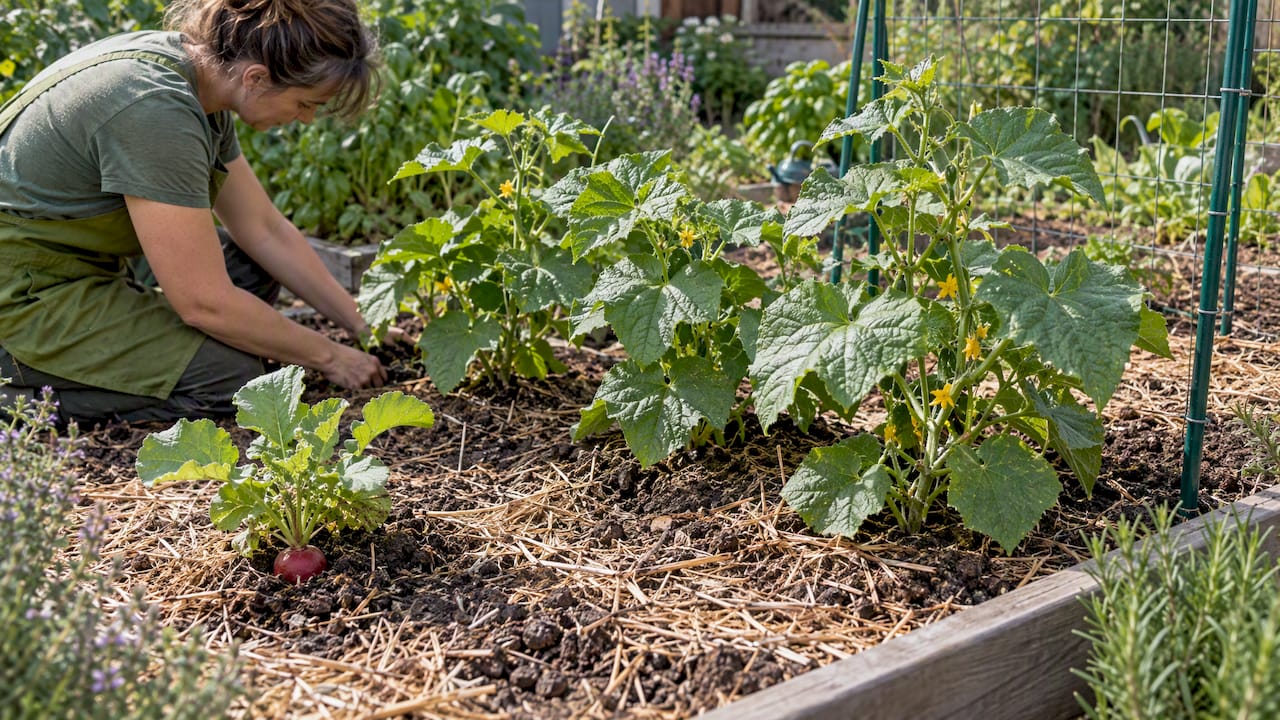
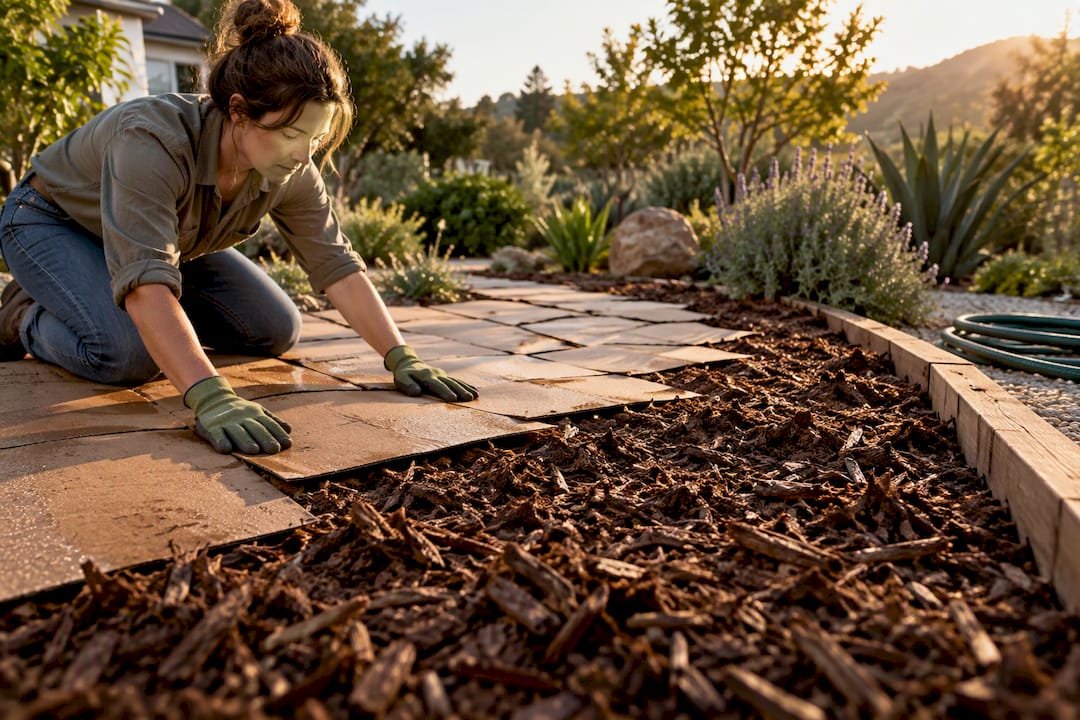
Composting turns kitchen and yard waste into a soil-building amendment. Start with a 3x3x3 pile or a worm bin, keep the mix like a damp sponge, and skew it toward browns over greens. Your first usable batch can be ready within a few months, depending on the method and maintenance
TL;DR:
- Using a 3x3x3-foot pile or worm bin is ideal for small-scale composting, with finished compost ready in a few months if maintained properly.
- Maintaining a proper browns-to-greens ratio of approximately 2-3 parts browns to 1 part greens ensures effective breakdown and minimizes odors.
- Turning the compost every one to two weeks and monitoring temperature between 130 to 160 degrees Fahrenheit speeds decomposition and reduces pathogens.
- Compost retains several times its weight in water, lowering irrigation needs and improving soil resilience during droughts and heavy rain.
- Avoid composting meat, dairy, pet waste, and diseased plants to prevent pests, odors, and the spread of plant pathogens.
Table of Contents
- Why compost helps your garden
- What to compost and what to avoid
- Home composting methods: pile, bin, tumbler, worm bin, and in-ground
- Step-by-step: set up and maintain a reliable compost pile or bin
- Troubleshooting common problems
- When compost is ready and how to use it in the garden
- Practitioner tips from Sacred Garden Designs
- A climate- and water-wise way to think about compost
- How Sacred Garden Designs can help
- FAQ
- Sources
Why compost helps your garden
Finished compost changes how soil behaves. It loosens dense clay, helps sandy soil hold water, and feeds the microbes and fungi that make nutrients available to roots. The structural improvement alone is why so many gardeners treat compost as a baseline soil fix rather than a specialty product.
The environmental case is just as strong. An EPA research report found that finished compost can hold several times its own weight in water, which improves infiltration, reduces erosion, and builds resilience against both drought and heavy rain. That matters more every year as weather swings get sharper.
Composting also keeps organic waste out of landfills, where it breaks down without oxygen and produces methane. According to EPA guidance, diverting food scraps and yard trimmings to a home pile avoids that emission path while putting the nutrients back into your own soil instead of shipping them away in a truck.
Compost’s water-holding capacity can reach several times its own weight, according to the EPA’s compost research, which is part of why compost-amended beds often need less supplemental watering during dry spells.
- Compost improves soil structure and drainage in both clay and sandy ground.
- It increases water retention, which can reduce irrigation needs during dry stretches.
- It cuts household waste sent to landfills and avoids the methane produced there.
- It saves money over bagged fertilizers and soil conditioners.
What to compost and what to avoid
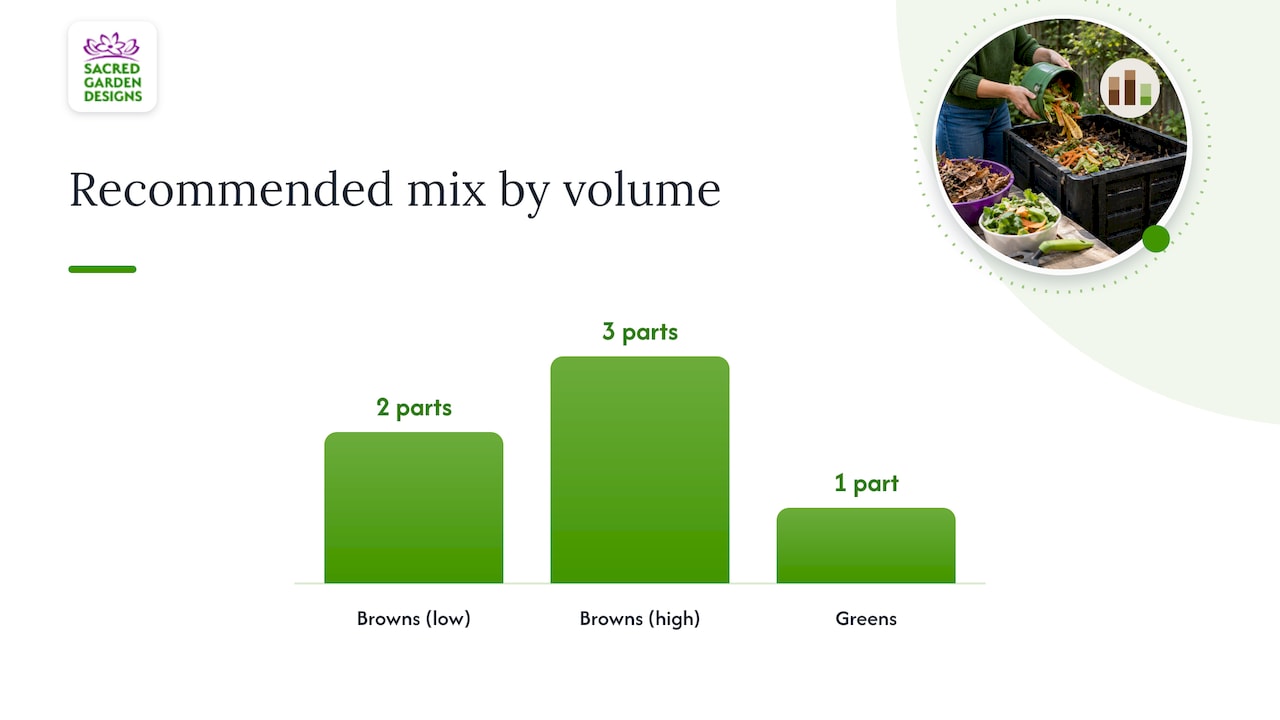
A working pile needs a rough balance of carbon-rich “browns” and nitrogen-rich “greens.” Most home composting guidance points to roughly 2 to 3 parts browns for every 1 part greens by volume. Browns supply the bulk and airflow; greens supply the nitrogen that feeds the microbes doing the actual breakdown.
Chop or shred larger material before adding it. Whole branches, intact corn cobs, and thick rinds take far longer to break down than the same material cut into smaller pieces, and smaller pieces also pack and mix more evenly.
Browns (carbon):
- Dry leaves, straw, and shredded cardboard
- Wood chips, sawdust (untreated), and small twigs
- Paper towels, newspaper, and brown paper bags
Greens (nitrogen):
- Vegetable and fruit scraps
- Coffee grounds and tea bags (paper, not plastic-lined)
- Fresh grass clippings and plant trimmings
- Eggshells (crushed)
Keep out of the pile:
- Meat, bones, fish, and dairy, which attract pests and smell as they rot
- Fats, oils, and grease
- Pet waste from cats or dogs, which can carry pathogens
- Treated or painted wood, and glossy or coated paper
- Diseased plant material, which can spread the problem back into your garden
Aged manure from herbivores like horses, chickens, or rabbits is a strong nitrogen source and widely used, but add it in moderate amounts and avoid fresh manure, which can burn plants and carry pathogens before it has broken down.
Home composting methods: pile, bin, tumbler, worm bin, and in-ground
The right method depends on how much space you have, how much labor you want to put in, and how fast you need finished compost. The EPA’s overview of composting approaches breaks the main options into backyard piles and bins, tumblers, vermicomposting, and in-ground composting, and each one trades speed for convenience differently.
An open backyard pile or a simple wire or pallet bin is the lowest-cost entry point. It handles yard waste and kitchen scraps well, but it is the slowest method unless you turn it regularly, and it is more exposed to pests if not layered properly.
A tumbler speeds things up because turning is as easy as spinning the drum, and the enclosed design keeps rodents out. The tradeoff is capacity: most tumblers hold far less material than an open pile, so they suit smaller households better than anyone managing a full yard’s worth of trimmings.
Vermicomposting uses worms (usually red wigglers) to process food scraps in a contained bin, often indoors or in a garage. It is the best fit for apartment dwellers or anyone without outdoor space, and it can produce usable worm castings in about three to four months, according to EPA guidance. It needs cool, moist, dark conditions and consistent feeding, but almost no heavy lifting.
In-ground or trench composting means burying scraps directly in a garden bed, which skips the bin entirely and feeds the soil right where you’ll plant. It is nearly maintenance-free but slower to produce a usable, screenable product, and it works best for gardeners who already know where they’re planting next.
- Backyard pile or bin: cheap and flexible, slower without regular turning.
- Tumbler: fast and pest-resistant, limited by smaller capacity.
- Worm bin: ideal for small spaces, needs steady temperature and moisture.
- In-ground composting: low effort, but not suited for fast or large-volume needs.
In dense neighborhoods, enclosed tumblers or worm bins tend to cause fewer complaints about smell or rodents than open piles.
Step-by-step: set up and maintain a reliable compost pile or bin
Building a pile that actually works comes down to a handful of decisions made correctly at the start, then a short routine to keep it going.
- Pick a site with partial shade, decent drainage, and easy access to a hose. Avoid low spots that pool water after rain.
- Set your size. A pile or bin roughly 3 feet by 3 feet by 3 feet, about one cubic yard, retains heat well without being unmanageable, a sizing extension horticulturists commonly recommend for effective home composting.
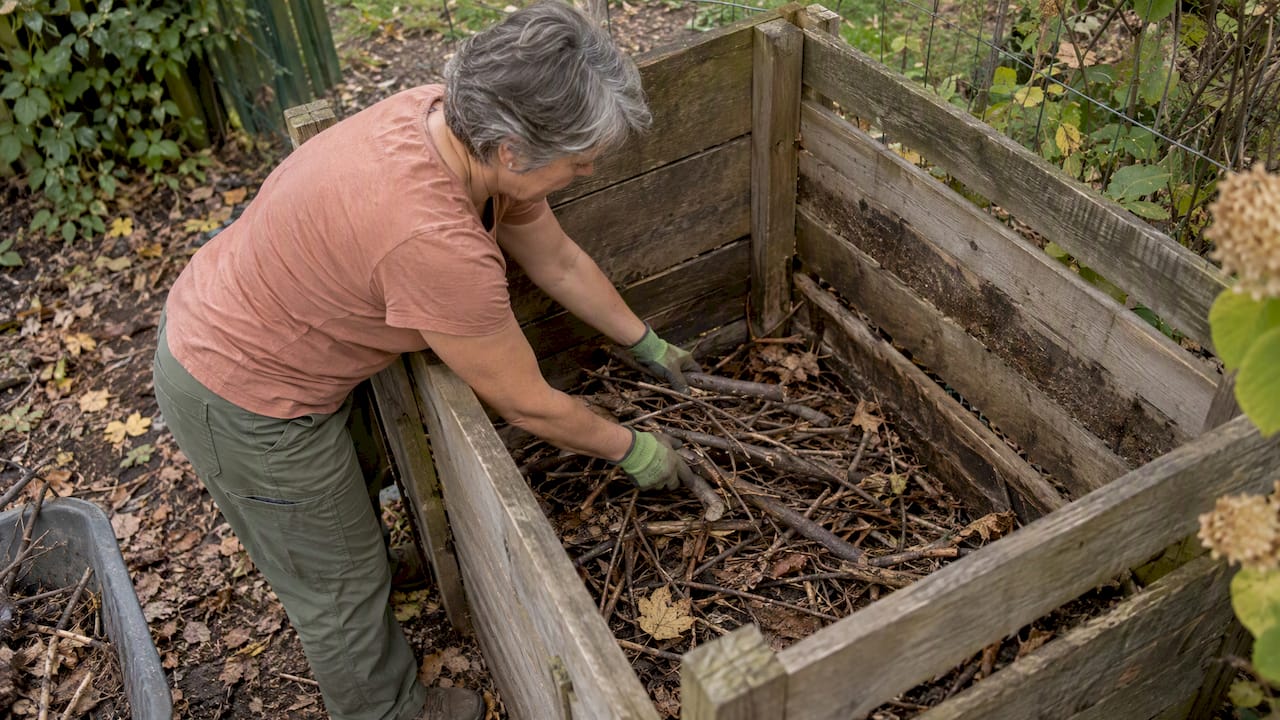
- Lay a base layer of 4 to 6 inches of coarse material like twigs or wood chips before adding anything else. This creates a kind of chimney that lets air move up through the pile, which EPA composting guidance notes helps prevent the anaerobic pockets that cause odor and slow breakdown.
- Layer browns and greens in roughly a 2:1 or 3:1 ratio, mixing rather than stacking in thick, separate layers.
- Check moisture by squeezing a handful: it should feel like a damp sponge, not dripping wet and not crumbly dry. Add water or dry browns to adjust.
- Turn the pile every 1 to 2 weeks if you’re going for hot composting, which speeds decomposition and keeps oxygen moving through the material.
- Track temperature if you want to hot-compost. A well-built pile should reach 130 to 160 degrees Fahrenheit (54 to 71 Celsius) for a few days, a range that EPA and university extension research ties to reducing pathogens and weed seeds.
- Let it cure for at least four weeks after active heating stops, before using it around sensitive plants.
A pitchfork or compost aerator tool makes turning easier on your back, a simple compost thermometer takes the guesswork out of hot composting, and a chipper or shredder can cut down chopping time if you have a lot of woody material to process.
Pro Tip: Build your base layer with the coarsest material you have on hand, even broken-up sticks, since that single step prevents most of the soggy, smelly piles people give up on.
Troubleshooting common problems
Most compost problems trace back to one of four things: moisture, airflow, the browns-to-greens ratio, or pile size. A quick check of smell, texture, and recent weather usually points to the fix.
- Rotten-egg smell: the pile is too wet or compacted. Turn it and mix in dry browns like shredded cardboard or leaves.
- No heat, slow breakdown: the pile is too small or too carbon-heavy. Add greens and increase the overall volume if you can.
- Pests or flies: food scraps are exposed. Bury fresh additions under a layer of browns and consider a tighter-lidded bin.
- Dry, dusty material: the pile needs water. Hose it down while turning to rehydrate evenly.
These fixes track closely with the troubleshooting guidance in extension research on making and using compost, which maps common symptoms directly to these same causes.
Pro Tip: Keep a bag of dry leaves or shredded paper near the bin so you always have browns on hand to fix a wet, smelly pile on the spot.
When compost is ready and how to use it in the garden
Finished compost is dark, crumbly, and smells like soil, not like the materials that went into it. You shouldn’t be able to recognize individual scraps, and the pile should have cooled back down to roughly ambient temperature after its hot phase.
Even once it looks done, let it cure for at least four weeks past the end of active decomposition. Guidance from the EPA warns that under-cured compost can carry residual salts and compounds that stunt or harm seedlings, so skipping this step is one of the more common mistakes new composters make. Screening the finished product through a half-inch mesh removes chunks that need more time.
- Garden beds: work 1 to 3 inches of compost into the top 6 inches of soil before planting.
- Lawns: topdress with a thin layer, about a quarter inch, and rake it in.
- Containers: mix compost at roughly 20 to 30% of the total potting volume.
- Seedlings and young transplants: use only fully cured compost, since unfinished material is more likely to burn tender roots.
Practitioner tips from Sacred Garden Designs
Two field habits consistently separate a pile that works from one that gets abandoned. First, build that coarse base layer deliberately, not as an afterthought. It costs five extra minutes and solves most airflow problems before they start. Second, resist the urge to use compost the moment it looks finished. Some gardeners have seen under-cured compost stunt new plantings, which is why a full curing period matters as much as the active composting phase itself.
Pro Tip: If your yard has a steep slope or compacted soil that makes an in-ground system impractical, that’s usually a sign it’s worth consulting a professional before you invest in a permanent bin setup.
A climate- and water-wise way to think about compost
Composting is a small act with a real payoff: better water retention, healthier soil, less landfill waste. Scaled across a neighborhood, it adds up to meaningfully more resilient ground during droughts and storms. Start with one bin, read the Sacred Garden Designs blog for more on integrating it into a garden plan, and build from there.
— Denise Buchanan
How Sacred Garden Designs can help
If you’d rather skip the trial and error, professional landscapers can design composting right into your landscape rather than bolting it on as a side project. That might mean siting a bin where it gets airflow without becoming an eyesore, building compost into an irrigation and planting plan through full landscape design services, or tackling broader needs like soil prep and cleanup through the full range of landscape services.

For gardeners who want to learn the hands-on skills themselves, classes and workshops that cover composting and sustainable garden practices are available. DIY composting works fine for most home gardens, but a professional consultation makes sense when you’re dealing with slope issues, large-scale cleanup, or a yard that needs a full redesign around water-wise principles. Book an initial consultation to see where composting fits into your plan.
FAQ
What is the best compost method for a garden?
There isn’t one best method; it depends on your space and how much time you want to spend. A 3x3x3 backyard pile or bin suits most yards, while worm bins work better for small spaces and tumblers suit anyone who wants faster turnaround with less labor, as outlined in EPA’s composting approaches.
How often should I turn my compost?
Turn an active hot compost pile every 1 to 2 weeks to keep oxygen moving and speed decomposition. Piles turned less often still break down, just more slowly, and tumblers simplify this step since you just spin the drum instead of digging with a fork.
Which vegetables should not be composted?
Most vegetable scraps compost well, but avoid anything heavily oiled, diseased, or mixed with dairy or meat sauces, since those attract pests and slow breakdown. Diseased plant material in particular should stay out, since composting can spread the pathogen back into your garden later.
Can I just throw compost in my garden?
Only if it’s fully finished and cured for at least four weeks past active decomposition; unfinished compost can contain compounds that harm seedlings, according to EPA guidance. Work finished compost into the top few inches of soil or use it as a thin topdressing rather than applying it in thick, uncured layers.
How long does it take to make garden compost?
Hot composting with regular turning can produce usable compost in a few months, while a passive, untouched pile can take considerably longer. Vermicomposting typically produces usable worm castings in about three to four months, per EPA guidance.