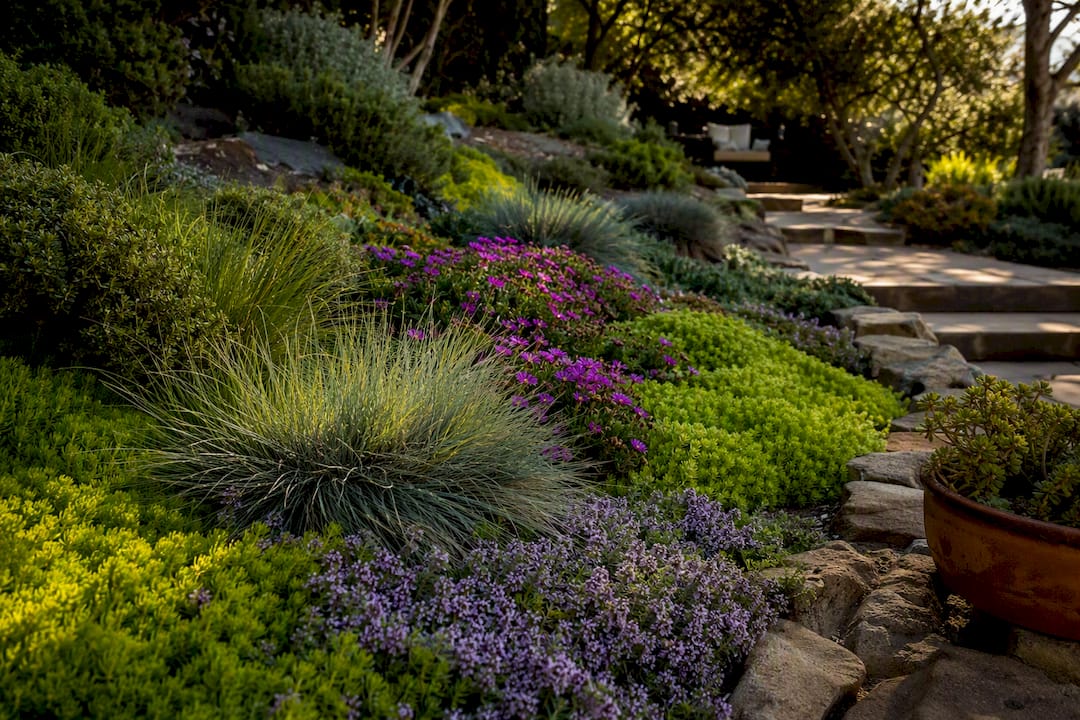
Start with a compact potager or two 4×8 raised beds near an outdoor tap, capping bed width at 4 feet and choosing a spot with 6 or more hours of sun. Map your sun hours this weekend, mark your bed footprint with stakes and string, and order soil or compost so you can fill beds within two weeks. That’s the whole plan in miniature; everything below fills in the how.
TL;DR:
- Most vegetables require at least 6 hours of direct sun to thrive, but herbs like mint and parsley can produce with as little as 4 hours.
- Beds should be limited to about 4 feet wide to prevent soil compaction and should include 24-inch-wide paths, with wider paths needed for wheelbarrow access.
- The 5-4-3-2-1 method optimizes small beds by planting five herbs, four greens, three root crops, two flowers, and one fruiting plant for pest control and continuous harvest.
- Use a soil mix of one-third topsoil, one-third compost, and one-third coarse sand, layering cardboard underneath if adopting a no-dig method to suppress weeds.
- Apracticing water efficiency with drip irrigation and applying a 2-3 inch mulch layer reduces watering needs and weeds, making garden maintenance more manageable.
Table of Contents
- Where Should You Put Your Kitchen Garden Plan?
- What Layout Fits Your Space: Potager, Raised Beds, or Containers?
- How Wide Should Beds and Paths Be?
- What Should You Plant, and What Is the 5-4-3-2-1 Method?
- What Soil Mix and Bed-Building Method Should You Use?
- How Do You Water and Maintain a Kitchen Garden Weekly?
- What’s a Simple Month-by-Month Planting Calendar?
- How Do You Make a Kitchen Garden Look Finished All Season?
- What Do Professional Designers Get Right That Beginners Miss?
- How Sacred Garden Designs Turns This Plan Into a Finished Garden
- Where to Read More on Kitchen Garden Design
- Sources
- FAQ
Where Should You Put Your Kitchen Garden Plan?
Most vegetables need 6 to 8 hours of direct sun to produce well, though culinary herbs like mint, parsley, and cilantro will still perform on as little as 4 hours. That flexibility matters if your yard has one shady corner and one bright one. Track sunlight across a full day before you dig anything. Walk the yard at 9 a.m., noon, and 4 p.m., and jot down which spots stay lit. A phone app such as Sun Seeker can speed this up by overlaying a sun path onto your camera view.
Wind and water access matter almost as much as light. A site tucked behind a fence or hedge protects tender seedlings from drying gusts, and keeping your garden within about 20 meters of an outdoor tap saves you from dragging hoses across the yard all summer.
Before committing to a spot, run these quick checks:
- Does the area get full sun for at least 6 hours between late spring and early fall?
- Is there a hose bib or spigot within a short walk?
- Does water pool there after rain, or drain within an hour?
- Is the ground relatively flat, or will you need to terrace or level it?
What Layout Fits Your Space: Potager, Raised Beds, or Containers?
A potager is a French-style kitchen garden built on symmetry: geometric beds, defined paths, and a central focal point that reads as designed even when crops are half harvested. It is the layout to choose if you want your vegetable patch to double as a front-yard feature. A classic starter potager runs about 8×8 feet, split into four quadrants around a birdbath, obelisk, or small tree.
Raised beds are the more forgiving option for first-timers, since you control the soil from day one and never compact it by walking on it. A pair of 4×8 beds gives you 64 square feet of growing space, enough for a serious mix of vegetables and herbs. Scale up to six 4×8 beds, roughly 200 square feet total, and you’ve got a family-scale garden that can realistically feed a household through summer.
Containers solve the problem of no ground space at all: a patio, balcony, or rented yard. Tomatoes, peppers, and most herbs thrive in anything from a 5-gallon bucket to a half-barrel, though yields per square foot run lower than beds.
If you want something closer to a full working garden, a 24×18 foot multi-bed layout, split into four quadrants for rotation, is a proven format:
- Potager (8×8 ft): best for visual impact near a house or patio, moderate maintenance
- Raised beds (4×8 ft each): best for beginners, lowest maintenance per square foot once built
- Containers: best for renters or paved sites, highest maintenance per plant but zero soil prep
- Four-quadrant plan (24×18 ft): best for households wanting real food volume, requires a weekly time commitment of 2 to 3 hours
Plan on roughly 1 to 2 minutes of weekly maintenance per square foot once a bed is established. That number scales fast, so resist the urge to build all 200 square feet in your first month.
How Wide Should Beds and Paths Be?
Bed width is the single most common mistake new gardeners make. Go wider than 4 feet and you’ll be stepping into the bed to reach the middle, which compacts soil and undoes the whole benefit of building raised beds in the first place. The standard rule caps bed width at about 1.2 meters, or roughly 4 feet, assuming access from both long sides. If a bed backs against a fence or wall with access from one side only, cut that width to 2 to 3 feet.
Paths deserve just as much planning as the beds themselves:
- Minimum path width: 24 inches (about 60 cm) for foot traffic only
- Wheelbarrow access: 36 inches (about 90 cm) minimum, wider if you’ll haul a loaded cart through regularly
- Main axis paths in a potager: 3 to 4 feet, since these double as the garden’s visual structure
Depth matters too. General vegetables do fine in 8 to 12 inches of soil, but root crops like carrots and parsnips want 12 to 18 inches to develop without forking. If you’re building on top of compacted clay or a patio slab, add height rather than fighting the base.
What Should You Plant, and What Is the 5-4-3-2-1 Method?
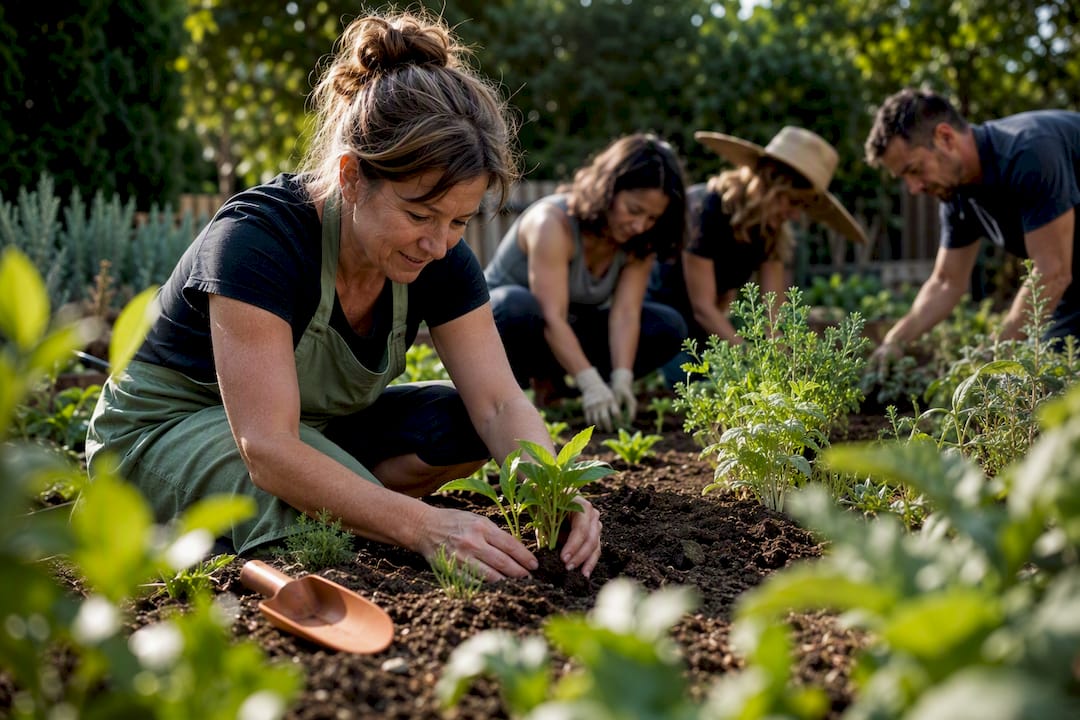
The 5-4-3-2-1 method turns a single 16-square-foot bed, think 4×4 feet, into a small, self-supporting ecosystem instead of a monoculture patch. The ratio breaks down like this:
- 5 aromatic herbs (basil, thyme, oregano, chives, parsley) around the perimeter to repel pests and fill gaps fast
- 4 leafy greens (lettuce, kale, chard, spinach) filling the mid-layer for quick, repeated harvests
- 3 root crops (carrots, beets, radishes) tucked between taller plants to use vertical space efficiently
- 2 flowers (marigold, nasturtium) to draw in pollinators and confuse pest insects
- 1 central fruiting plant (a tomato, pepper, or small squash) as the bed’s anchor
Scale the ratio up for larger beds. A 4×8 bed can run the 5-4-3-2-1 mix twice, once per 16-square-foot half, with the two fruiting plants staggered so they don’t shade each other.
Companion planting follows a simple logic here: tall plants go north or center so they don’t block sun, roots go between slower crops, and herbs go on edges where you’ll brush past them daily. Fast fillers like chervil, cut-and-come-again lettuce, and bush basil earn their keep by covering bare soil between seasonal crops, which also suppresses weeds.
Pro Tip: Plant your central fruiting crop last, after the herbs and greens are in. It’s easier to see how much room you actually have left once the perimeter is filled.
What Soil Mix and Bed-Building Method Should You Use?
A dependable raised-bed soil recipe is one-third topsoil, one-third compost, and one-third coarse sand, or an equal-parts version of the same three ingredients if your topsoil already drains well. Add a layer of worm castings on top of that mix if you want an extra fertility boost for hungry crops like tomatoes.
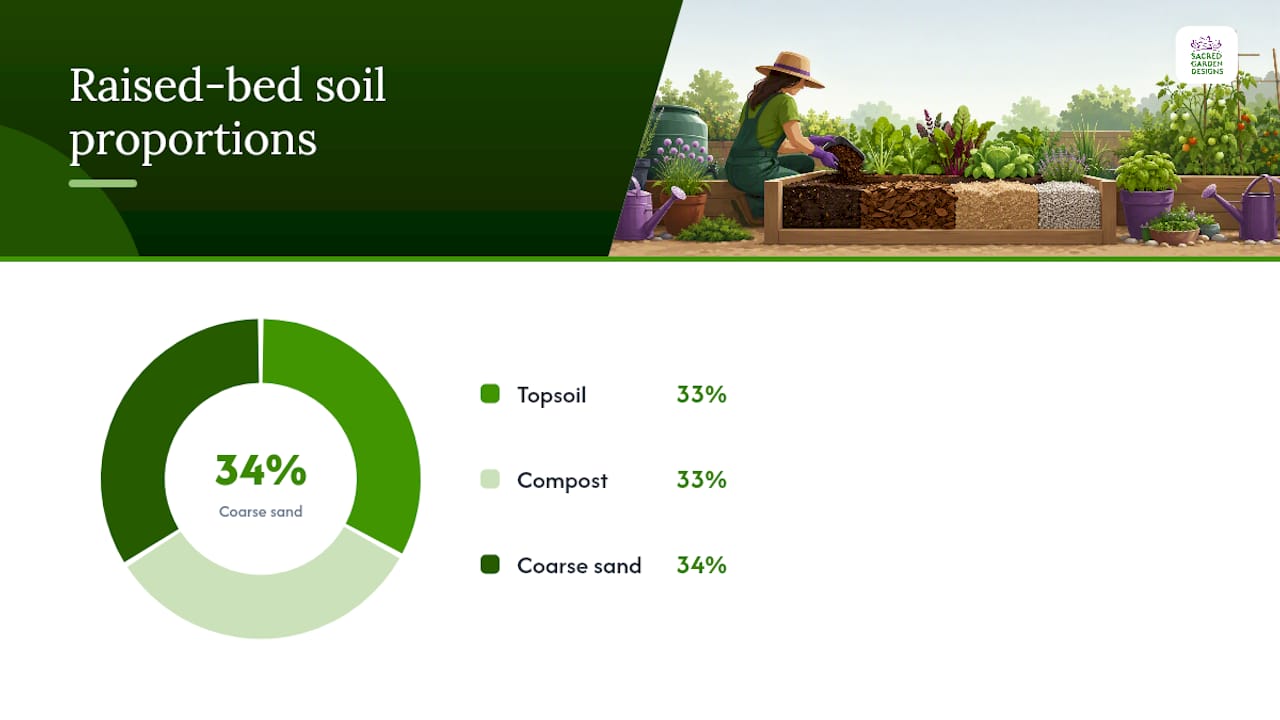
The no-dig method skips tilling entirely: you layer cardboard directly over grass or weeds, then build the topsoil, compost, and sand mix on top of it in 8 to 12 inch layers. The cardboard smothers what’s below while it breaks down, and you can plant into the new layer within days rather than waiting weeks for soil to “settle.”
Before ordering material, calculate volume: multiply bed length by width by depth in feet, then divide by 27 to get cubic yards. A single 4×8 bed at 12 inches deep needs about 1.2 cubic yards of mix, which is a reasonable one-trip delivery from most soil suppliers.
Bed material choices each carry trade-offs:
- Cedar or redwood: naturally rot-resistant, lasts 10+ years, costs more upfront
- Pine or fir: budget-friendly, typically needs replacing in 5 to 7 years
- Galvanized metal: long-lasting and modern-looking, but heats up soil faster in full sun
- Concrete block or brick: permanent and potager-appropriate, but the highest upfront cost
How Do You Water and Maintain a Kitchen Garden Weekly?
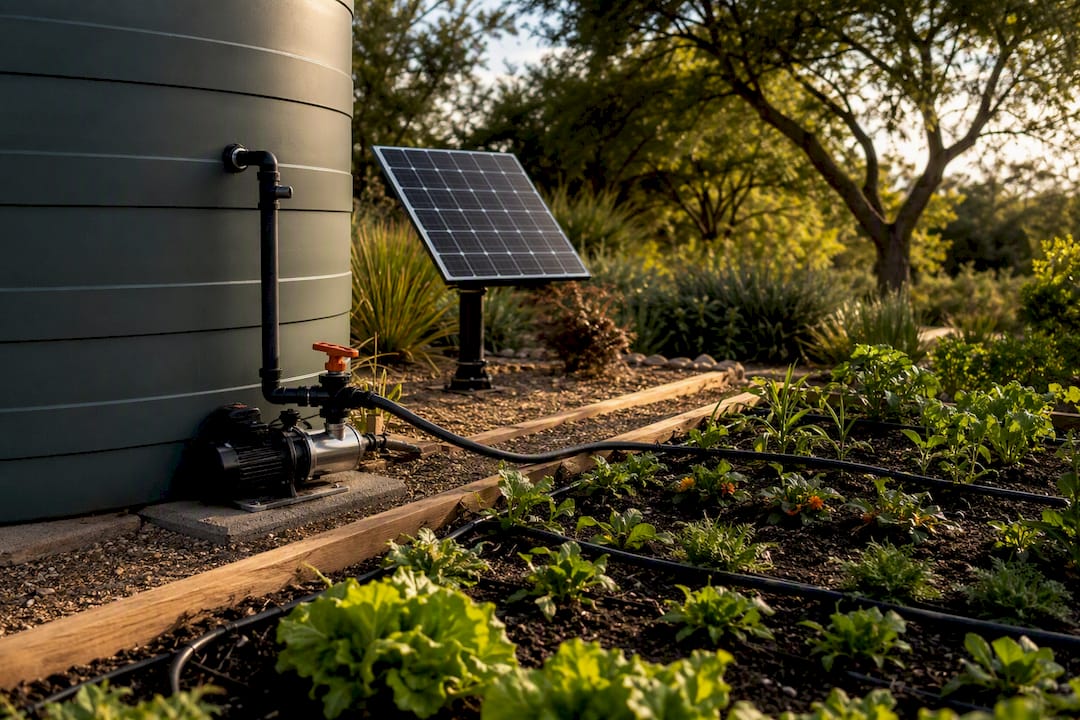
Drip irrigation on a timer beats hand watering for almost every kitchen garden, since it delivers water at the soil line where roots actually need it and cuts down on fungal disease from wet foliage. Soaker hoses work as a cheaper alternative for smaller beds, though they’re less precise about how much water each plant gets.
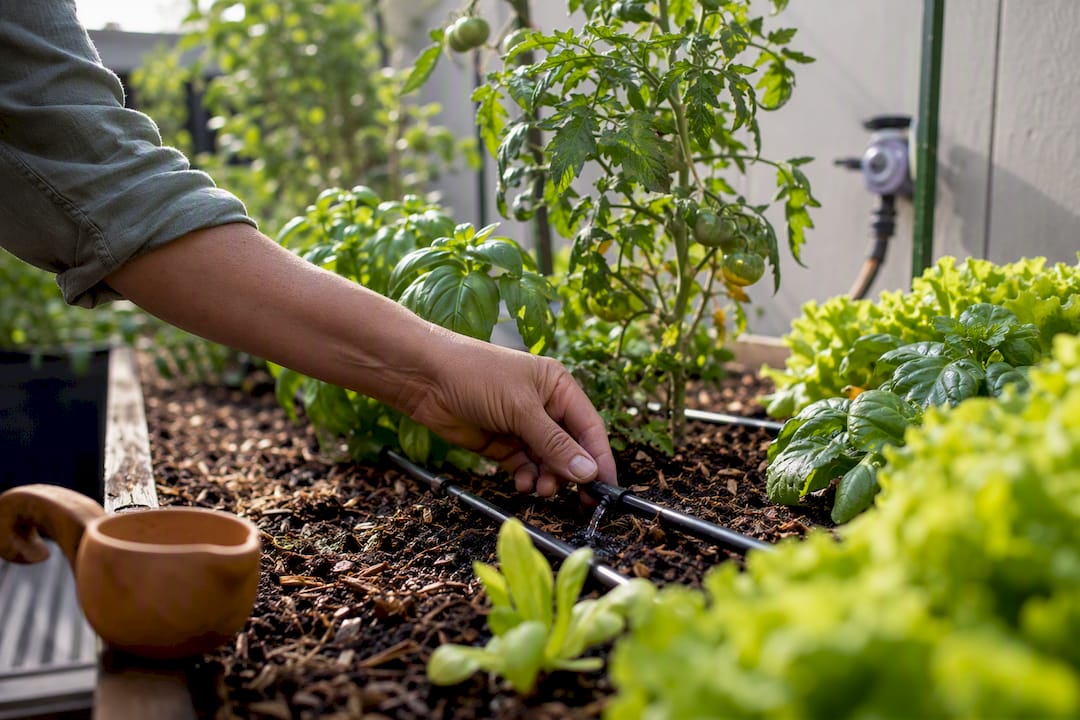
Before turning on any system, check moisture with the knuckle test: push a finger 2 inches into the soil, and if it’s dry at that depth, it’s time to water. Most beds need water two to three times a week in summer heat, less if you’ve mulched well.
A weekly routine keeps a kitchen garden from spiraling into a weekend-eating chore:
- Check soil moisture with the knuckle test before deciding to water
- Pull weeds while they’re small, ideally right after watering when soil is soft
- Scan leaves for pests or disease every time you harvest, not as a separate task
- Sow a new round of fast-growing greens every 2 weeks for continuous harvest
- Refresh mulch (straw, shredded leaves, or bark) whenever bare soil starts showing through
Pro Tip: A 2 to 3 inch layer of mulch cuts watering frequency nearly in half during hot months, and it suppresses weeds at the same time. Few single actions save more of your weekly time budget.
What’s a Simple Month-by-Month Planting Calendar?
A kitchen garden plan comes together fastest when you follow a rough calendar instead of guessing at timing. Adjust these windows by 2 to 4 weeks earlier or later depending on your regional frost dates.
- Site prep month: mark bed footprint, test drainage, order soil and lumber or blocks
- Build month: construct beds, lay no-dig layers if using that method, fill with soil mix
- First planting window: sow cool-season greens, herbs, and root crops directly; start warm-season crops like tomatoes and peppers indoors or buy transplants
- Six weeks later: transplant warm-season crops once nights stay above 50°F, direct-sow a second round of greens
- Midsummer: succession-sow fast greens every 2 weeks, harvest herbs regularly to encourage bushier growth
- Fall: clear spent summer crops, direct-sow cold-hardy greens and root vegetables, add a fresh layer of compost
- Winter (mild climates) or dormant season (cold climates): mulch heavily, plan next year’s rotation, order seeds
Keep a one-page checklist taped inside a shed or garage door for the first 90 days: sun mapped, footprint marked, soil ordered, beds built, first seeds in ground, irrigation running, mulch applied. Seven boxes, and your garden is functional.
How Do You Make a Kitchen Garden Look Finished All Season?
A potager reads as intentional because of repetition, not because every bed is perfectly full. Repeating the same edging plant, low hedge, or border material around each bed ties the whole layout together even when interior plantings are at wildly different growth stages. A central focal point, an obelisk, birdbath, or small fruit tree, gives the eye somewhere to land and anchors the four-quadrant structure that defines classic potager design.
Vertical accents solve two problems at once: they add visual height and they’re often edible. Trellised beans, peas, or cucumbers do double duty as living architecture.
Keep these design habits in rotation:
- Repeat one border plant (thyme, boxwood, or dwarf marigold) around every bed
- Place one focal feature at the garden’s visual center
- Use fast fillers like lettuce or basil to cover soil the moment a crop is harvested
- Choose 2 to 3 recurring colors rather than a random mix, so the garden reads as one composition
What Do Professional Designers Get Right That Beginners Miss?
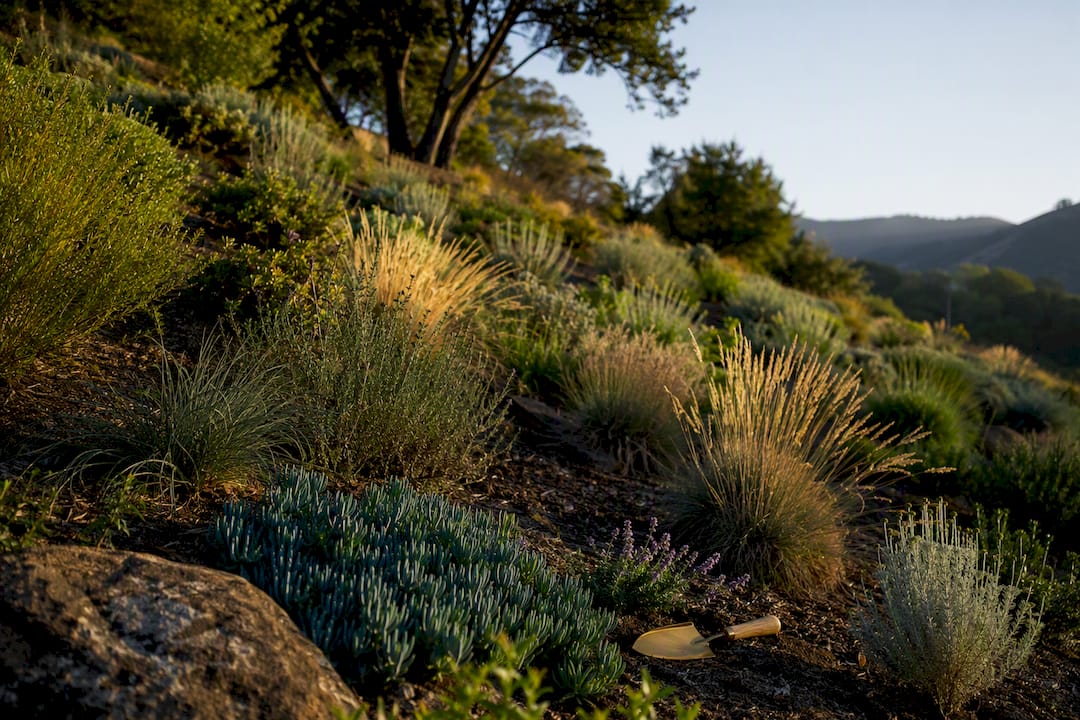
Beginners tend to overbuild on day one and underplan for water. The instinct is to fill every inch with beds before checking whether the site can actually support them through August. A garden that’s water-wise from the start, drought-tolerant herbs on the perimeter, mulch applied before the first heat wave, and a rain barrel feeding at least one bed, outperforms one that looks impressive in May and struggles by July.
Sacred Garden Designs has spent more than 25 years building sustainable, water-wise landscapes across drought-prone regions, work recognized with eight HOUZZ Awards and a Sustainable Business Council nomination. That experience keeps coming back to the same short list: mulch heavily, choose drought-tolerant varieties for anything not in daily use, and capture rain wherever a roofline makes it possible.
— Denise Buchanan
How Sacred Garden Designs Turns This Plan Into a Finished Garden
Sacred Garden Designs approaches every edible garden the same way it approaches drought-tolerant landscaping: water-wise first, beautiful second, and both at once whenever possible.

If you want a layout built around your yard’s actual sun and soil conditions instead of a generic template, Full Landscape Design starts at $2,500 and covers everything from bed placement to irrigation routing. For yards under 5,000 square feet, the Landscape Design Services package runs $1,500 and fits most residential kitchen garden projects. Prefer to build it yourself but want expert guidance first? Sacred Garden Classes and Workshops walk through potager design and raised-bed construction hands-on. Browse the full service list or book an initial consultation to get your site evaluated before you buy a single board.
Where to Read More on Kitchen Garden Design
For deeper reading beyond this plan: This Old House covers design fundamentals and soil recipes in more depth. Brooklyn Botanic Garden offers the clearest potager framing available online. Homes & Gardens breaks down bed width and layout decisions well. The Almanac provides ready-to-copy raised-bed plans for beginners who want a template to start from immediately.
Sources
- How To Design a Kitchen Garden
- Potager (Brooklyn Botanic Garden potager guidance)
- Raised bed vegetable garden layout (Almanac)
- Homes & Gardens: raised bed and potager guidance
FAQ
What Is the 70/30 Rule in Gardening?
It keeps a first-year kitchen garden from failing outright while still leaving room to test new varieties.
How Do You Design a Kitchen Garden?
Start by mapping sun exposure across your yard, then choose a layout, potager, raised beds, or a four-quadrant plan, that fits your available space and time. Cap bed widths at about 4 feet for two-side access, build paths at least 24 inches wide, and fill beds with a topsoil, compost, and sand mix before planting.
What Is the 5-4-3-2-1 Gardening Method?
It’s a planting ratio for a 16-square-foot bed: 5 aromatic herbs, 4 leafy greens, 3 root crops, 2 flowers, and 1 central fruiting plant like a tomato or pepper. The mix creates a diverse planting that resists pests better than a single-crop bed and keeps something harvestable at nearly every stage of the season.
What Should Go in a Kitchen Garden?
A well-rounded kitchen garden mixes fast-growing greens, a few root vegetables, culinary herbs, at least one fruiting crop, and a couple of pollinator-friendly flowers. Sacred Garden Designs also recommends leaning toward drought-tolerant herb varieties on the garden’s perimeter, since they need the least supplemental water once established.
How Big Should a Beginner Kitchen Garden Be?
A pair of 4×8 raised beds, 64 square feet total, is enough space to learn the basics without overwhelming your first season. Scaling to roughly 200 square feet, or six 4×8 beds, suits a household aiming to grow a meaningful share of its own produce.