Yes, you can reliably save seeds from most vegetables and heirlooms. Start with true-to-type, open-pollinated plants, harvest only fully ripe seed, clean and dry it thoroughly, and store it cool and dry, ideally below 41°F in a sealed container according to Utah State University Extension. Test germination before planting, and use the quick-reference list below to pick your first project.
TL;DR:
- Choose heirloom varieties that breed true; hybrid offspring may differ, while cucumbers can require isolation of up to 1,600 feet to preserve purity.
- Ferment seeds from tomatoes, cucumbers, and melons for 24 to 72 hours, then rinse and dry them in a single layer away from direct sun.
- Dry seeds until they snap, keep moisture below 8%, and store them in airtight glass jars at 41°F or colder; warm jars before opening.
- Test stored seed about a month before planting: sprout 10 seeds on a damp towel, and increase sowing density if fewer than 10 germinate.
Table of Contents
- Which plants give you reliable, true-to-type seed?
- How do you harvest and clean seeds step by step?
- What drying and storage conditions keep seeds viable?
- How do you test seed viability before planting?
- Which seeds should beginners save first?
- What do extension research and practitioners say about long-term storage?
- Why seed saving matters to how I think about garden design
- Want hands-on practice instead of reading alone?
- FAQ
- Sources
Which plants give you reliable, true-to-type seed?
Not every seed you collect will grow into the plant you expect. Open-pollinated and heirloom varieties breed true because their genetics stay stable from one generation to the next, while hybrid (F1) plants are crosses bred for a specific trait combination that does not carry through to their offspring. Saving seed from a hybrid tomato or squash usually produces plants that look and taste different from the parent.
Pollination type determines how careful you need to be. Self-pollinating crops like tomatoes, beans, peas, and lettuce rarely cross with neighboring varieties, so a modest buffer is enough. Iowa State Extension notes that common home isolation distances run around 10 feet for tomatoes and bush beans, while cross-pollinators like cucumbers may need isolation of up to 1,600 feet to stay pure.
- Selfers (tomatoes, beans, peas, lettuce): minimal isolation, forgiving for beginners.
- Outcrossers (squash, cucumbers, corn, melons): need real distance or timed planting to avoid crossing.
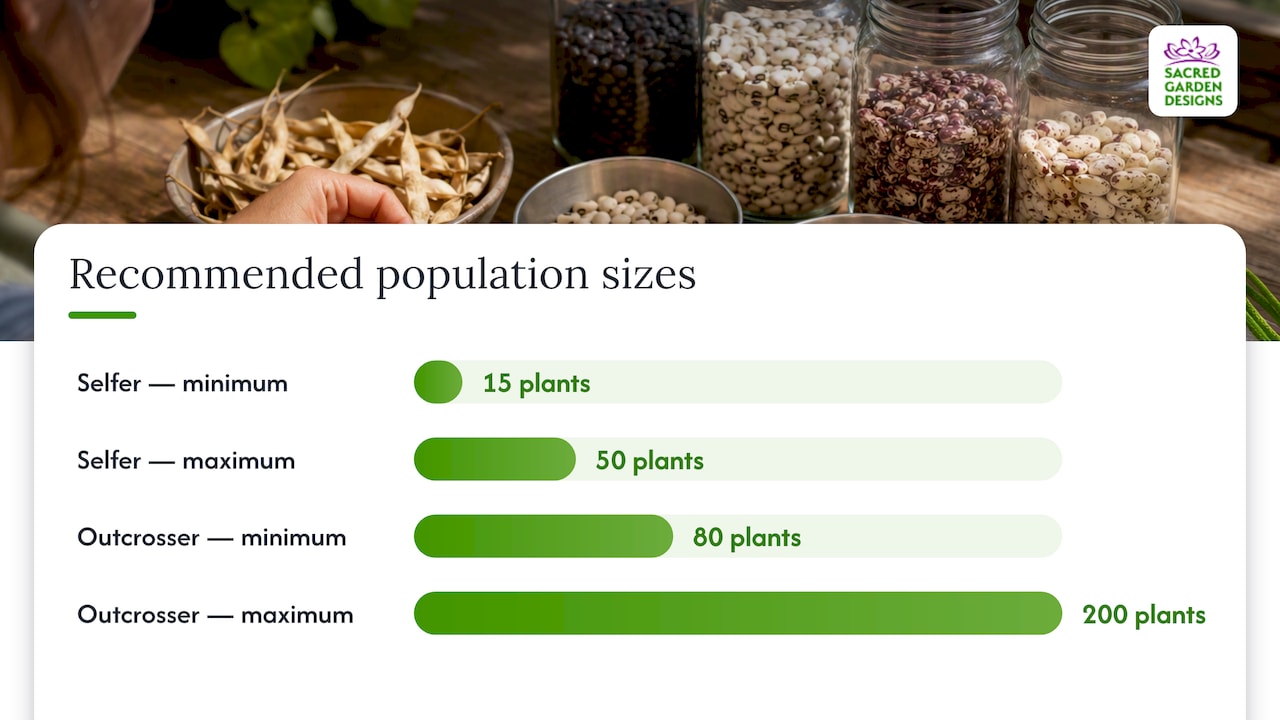
- Population size matters too: aim for 15 to 50 plants of a selfer and closer to 80 to 200 plants of a cross-pollinator to protect genetic vigor.
Most beginner-friendly vegetables are self-pollinating, which is why extension programs consistently point new seed savers toward beans, peas, tomatoes, and lettuce first, according to Iowa State Extension.
Keep a simple record for every batch: variety name, notes on the parent plant’s health and flavor, and the harvest date. That log is what lets you repeat your successes and skip the plants that underperformed.
How do you harvest and clean seeds step by step?
Timing separates good seed from wasted effort. For dry-seeded crops like beans, peas, and lettuce, wait until pods or seed heads rattle and turn brown or tan on the plant. For fleshy fruits like tomatoes, melons, and peppers, let the fruit go fully ripe, even past the point you would eat it, before extracting seed.
- Harvest pods, heads, or fruit once fully mature, pulling whole plants if weather threatens early frost or rain.
- For dry seed, thresh by hand or in a bag, then screen and winnow to separate seed from chaff.
- For wet seed (tomatoes, cucumbers, melons), scoop pulp and seed into a jar, add a little water, and let it ferment 24 to 72 hours at room temperature; this loosens the gel coating and curbs some seed-borne pathogens.
- Separate viable seed by stirring the fermented mix: good seed sinks, pulp and hollow seed float and get skimmed off.
- Rinse sunken seed in a strainer under running water until it feels clean and grit-free.
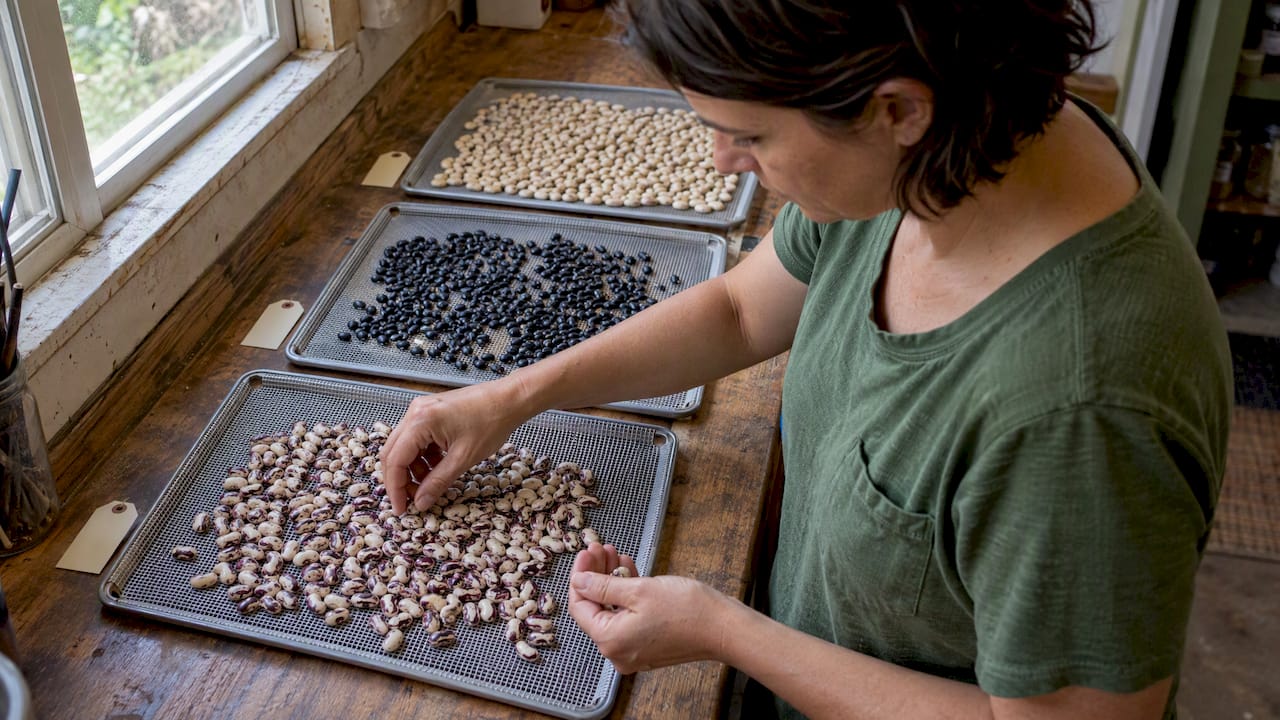
- Spread seed in a single layer on a screen, coffee filter, or paper plate, never paper towel, which sticks, and dry out of direct sun.
Mold during drying usually means seeds are too crowded or damp air is trapped; spread them thinner and improve airflow. Sticky tomato seeds that resist separating need another day of fermentation. Wind loss during winnowing is solved by working over a sheet or tray instead of open ground.
Pro Tip: Label trays the moment you start drying; identical-looking seeds from different varieties are easy to mix up once they’re loose on a screen.
What drying and storage conditions keep seeds viable?
Nearly every vegetable seed you save is “orthodox,” meaning it tolerates drying and cold storage without dying, unlike a handful of recalcitrant species such as avocado. That’s good news for home storage setups.
Dry seed until it snaps rather than bends, which generally puts it in the range extension programs recommend. Utah State University Extension advises keeping seed moisture below 8% and storing it cool, ideally at 41°F or lower, for the best long life. Colorado State Extension describes the same principle as a simple rule of thumb: each roughly 1% drop in seed moisture or 9°F drop in storage temperature approximately doubles how long seed stays viable, a heuristic sometimes called Harrington’s rule or the rule of 100, where adding the temperature in Fahrenheit and the relative humidity percentage should total no more than 100 for good long-term storage.
- Store dried seed in airtight glass jars with labeled paper envelopes inside, not sealed plastic bags alone.
- Add a silica gel packet or a few tablespoons of powdered milk wrapped in cloth as a homemade desiccant.
- Refrigerate for medium-term storage and freeze well-dried seed for multi-year preservation.
- Let cold-stored jars warm to room temperature before opening to prevent condensation from forming on the seed.
Utah State University Extension notes that vegetable seed often stores for 1 to 10 years under these conditions, with refrigeration or freezing extending that further once seed is properly dried.
How do you test seed viability before planting?
A simple home germination test tells you whether old seed is worth planting, or whether you should buy fresh stock and sow more thickly to compensate.
- Count out 10 seeds and lay them on a damp paper towel, then fold or roll it loosely.
- Seal the towel inside a plastic bag and keep it somewhere warm, around 70°F.
- Check daily starting around day 5, and count sprouted seeds through day 7 to 14 depending on the crop.
- Calculate the germination rate: 7 of 10 sprouting means roughly 70% viability, so sow more densely to compensate.
- Repeat annually for stored seed, ideally about a month before your planting date, and log the result on the packet.
For seed that’s borderline or valuable, a cut test, slicing a sample open to check for firm, healthy tissue, or a professional tetrazolium (TZ) test can confirm viability with more precision than the paper towel method, though most home growers never need to go beyond the basic soak-and-sprout check, as described in Utah State University Extension’s guidance on seed testing.
Which seeds should beginners save first?
Start small and pick crops that forgive mistakes. This cheat sheet covers the easiest options and the method each one needs.
- Beans and peas: dry method, low crossing risk, save pods from 5 to 10 plants per variety.
- Tomatoes: wet ferment method, low crossing risk, save seed from 2 to 3 fully ripe fruits per variety.
- Lettuce: dry method, low crossing risk, let a few plants bolt and go to seed before harvesting.
- Marigolds and zinnias: dry method, moderate crossing risk between color varieties, collect dried flower heads.
- Basil: dry method, moderate crossing risk, let flower spikes brown before stripping seed.
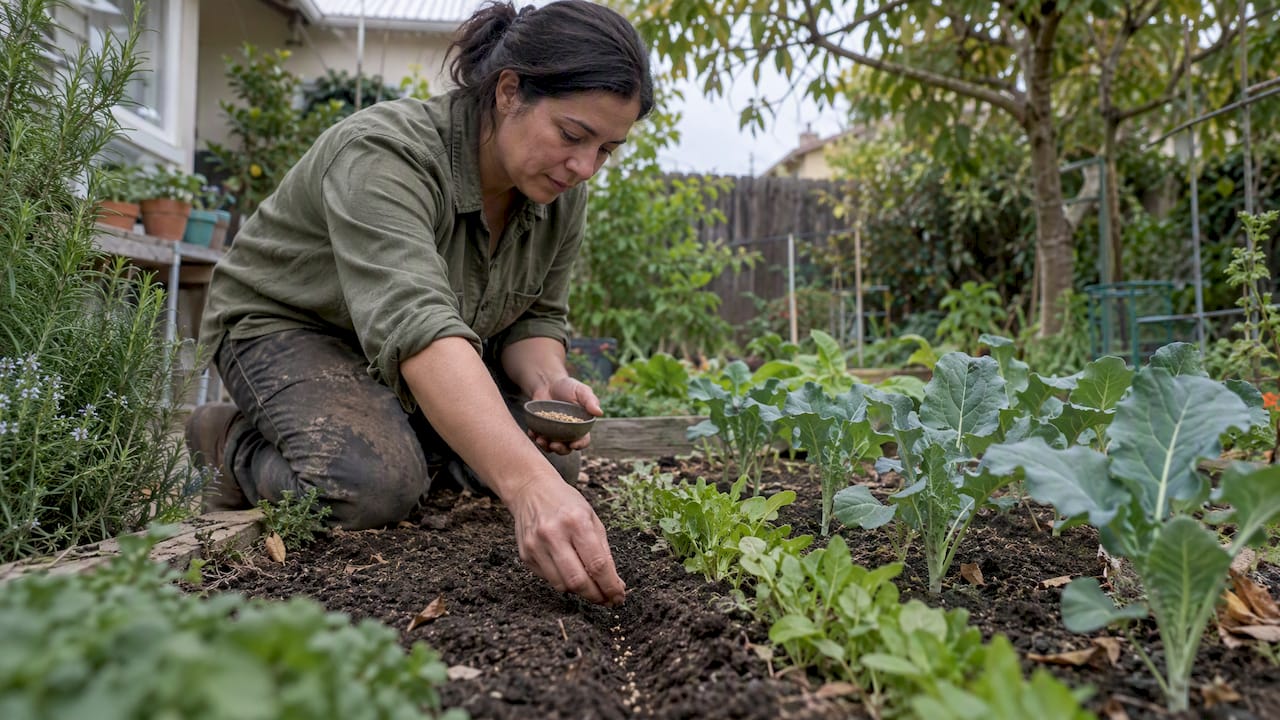
For good seed supply, save from several plants rather than just one, and favor fruit or pods from your healthiest, most true-to-type performers. A practical first season plan is one dry-seed crop, like beans, and one wet-seed crop, like tomatoes, so you learn both processing methods before expanding.
What do extension research and practitioners say about long-term storage?
The storage math is worth internalizing: Colorado State Extension reports that seed life roughly doubles with each 1% reduction in moisture or each 9°F drop in temperature, which is why a seed that lasts two years at room temperature on a damp shelf might last eight years or more dried and refrigerated properly.
Saving seed from plants that perform well in your own garden, season after season, gradually produces lines better adapted to your soil, heat, and humidity than anything bought off a shelf.
That local adaptation effect is one of the most underrated reasons to save seed at all, as described by Going to Seed. A few practitioner habits consistently show up in extension guidance: using silica gel in storage jars, fermenting tomato seed for the full 48 to 72 hours rather than rushing it, and testing germination on a fixed yearly schedule rather than guessing.
Why seed saving matters to how I think about garden design
Watching a garden across several seasons changes how you design it. When we teach Sacred Garden Classes, we see the same thing: gardeners who save seed start noticing which plants thrive in their specific microclimate, and that observation shapes smarter planting choices the following year. Seed saving isn’t separate from sustainable design. It’s the feedback loop that makes a garden more resilient every season it runs.
— Denise Buchanan
Want hands-on practice instead of reading alone?
Reading about fermentation and moisture targets only gets you so far. Our Sacred Garden Workshops walk through live fermentation demos, drying station setups, and germination testing side by side, so you can see what properly dried seed actually feels like before you’re relying on your own judgment.

If you’d rather have your whole garden designed around varieties worth saving from, our sustainable landscape design services start with a conversation about what you want to grow and keep growing.
For storage supplies between classes, a dedicated spot for hoses and tools also keeps your garden beds easier to work, something NAMORRA’s garden storage guide covers well.
FAQ
What is seed saving?
Seed saving is the practice of collecting, cleaning, drying, and storing seed from your own plants so you can grow them again in future seasons. It works best with open-pollinated or heirloom varieties, which reliably reproduce the same traits as the parent plant.
How do I save my seeds for next year?
Let seed mature fully on the plant, clean it using a dry method for pods and seed heads or a wet fermentation method for fleshy fruits like tomatoes, then dry it completely before sealing it in an airtight container. Store that container somewhere cool and dark, ideally refrigerated, as recommended by Utah State University Extension.
Why is it illegal to replant seeds?
It generally is not illegal to replant your own seed for personal use. USDA’s Plant Variety Protection Office grants growers a right-to-save exemption for legally purchased protected varieties, though other restrictions like patents or seed contracts can still limit saving or redistributing certain commercial varieties, so it’s worth checking the label.
Are 20 year old seeds still good?
Some seed can still germinate after 20 years, but viability depends heavily on how dry and cold it was kept during storage. Colorado State Extension notes that properly dried orthodox seed stored at very low moisture and cold temperatures lasts far longer than seed kept at room temperature, so testing germination before planting old seed is the only reliable way to know.
Sources
- Which plants are easiest to save seed from? | Iowa State Extension
- Seed storage and handling | Utah State University Extension
- Storing vegetable and flower seeds | Colorado State Extension
- PVPO frequently asked questions | USDA AMS